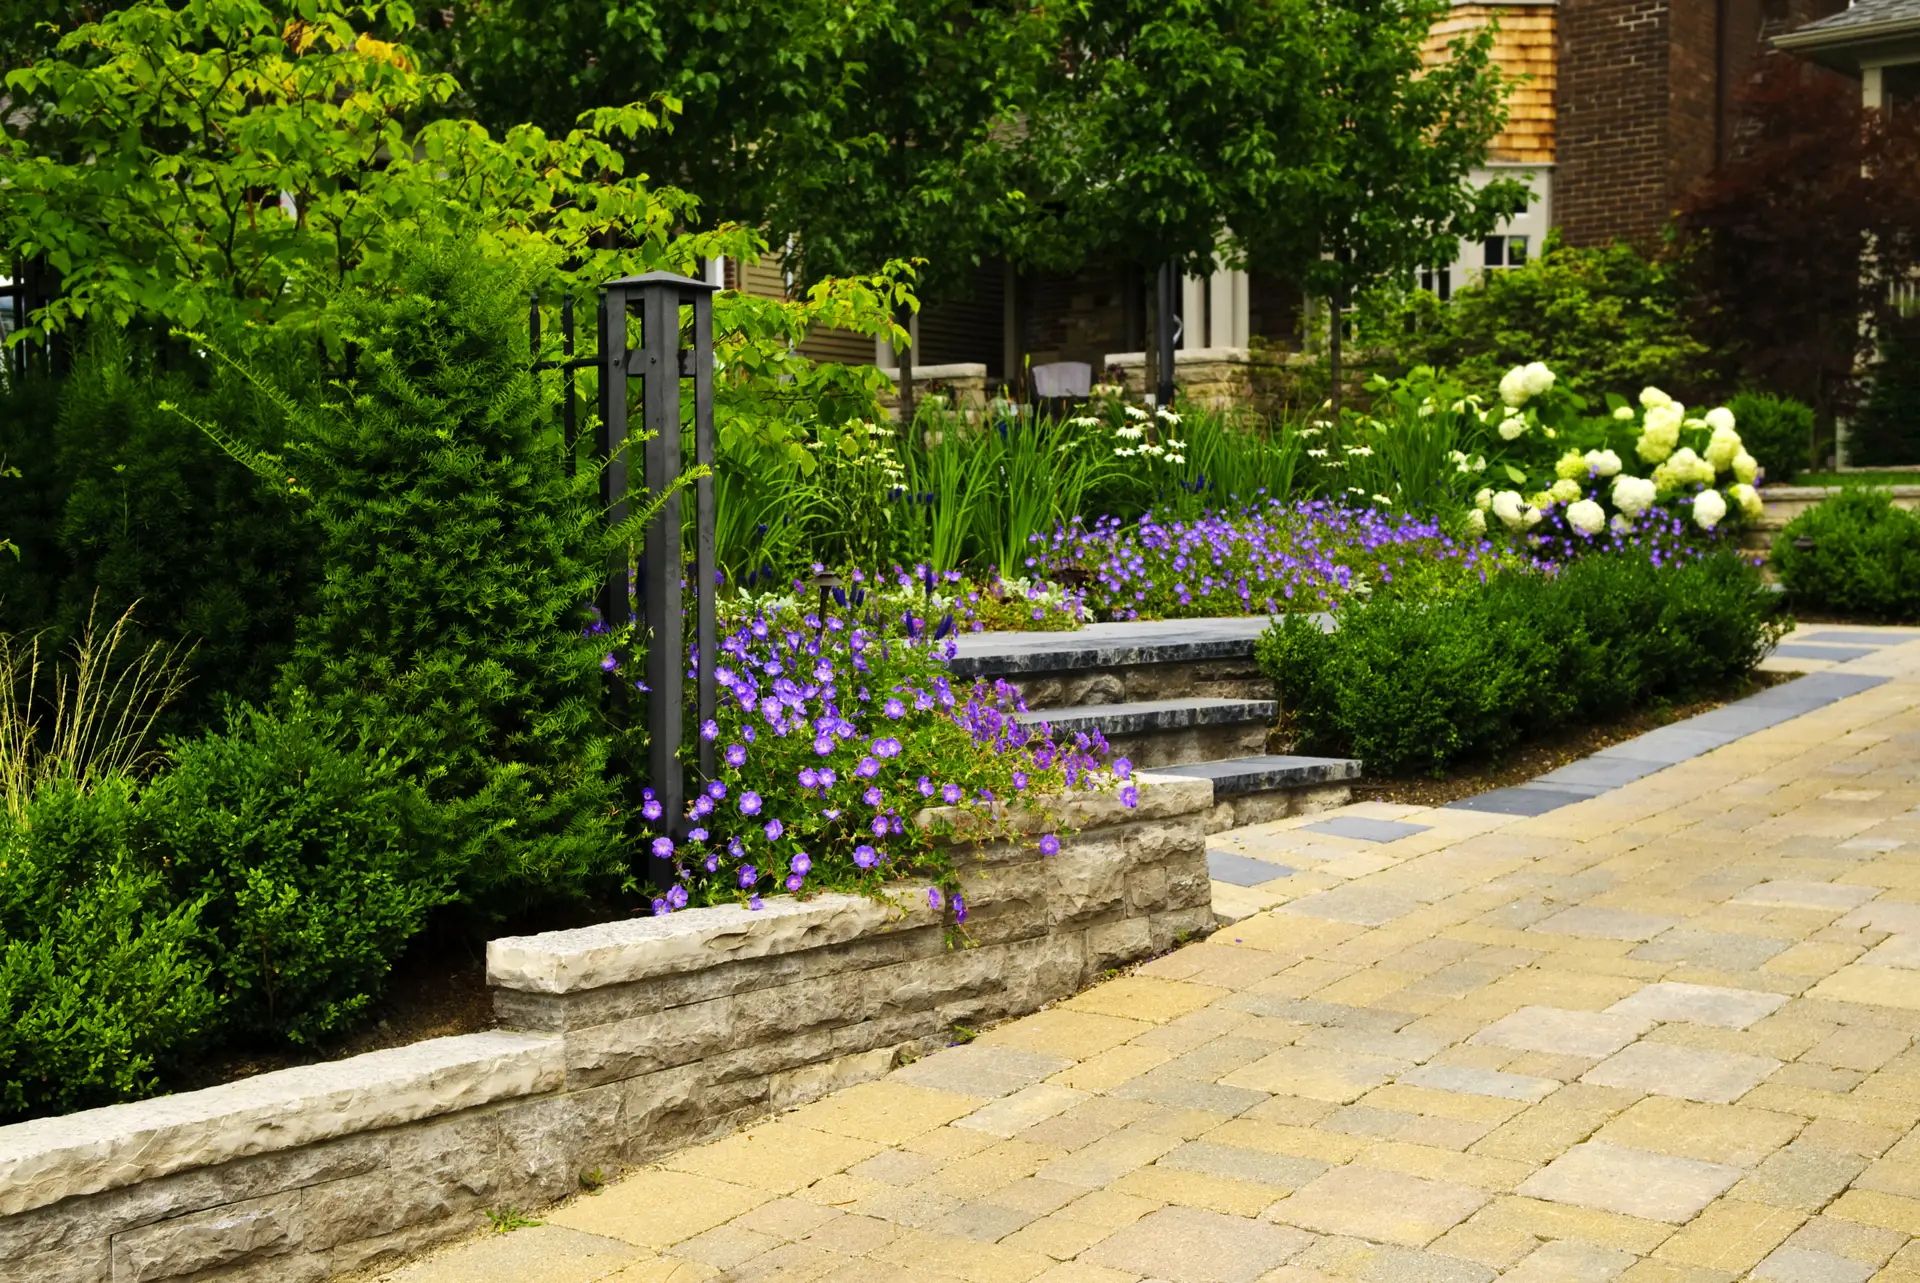
Can a well planned path transform a yard and last for decades in East Tennessee’s freeze-thaw climate?
Anchored Construction & Restoration answers that question with clear guidance. This local company has over 25 years serving Knoxville and East Tennessee. Their team blends simple technique with practical planning.
Start smart: a minimum 4-inch slab over a 4-inch gravel base helps drainage and freeze resistance. Place 6×6 welded wire mesh mid-depth and add control joints at regular intervals. Specify air-entrainment (about 4–8%) and pour when temperatures sit between 50°F and 90°F.
Readers will learn each essential step and the right tools for the job. The guide also explains the proper area to excavate and when it is best to call the pros. Always call 811 before digging, and wear protective gear during work.
Key Takeaways
- Plan with a 4-inch slab and 4-inch gravel base for durability.
- Use welded wire mesh mid-depth and spaced control joints.
- Choose air-entrained mixes and pour in 50°F–90°F conditions.
- Pick the right tools and protect yourself from cement hazards.
- Call 811 before digging and contact Anchored Construction & Restoration for expert help.
Why Choose Anchored Construction for Your Sidewalk Project
Anchored Construction brings local skill and long-term reliability to every pavement project across East Tennessee. The company has built a strong reputation since 2000 under founder Travis Bullington. Homeowners and businesses rely on trained crews for consistent, quality work.

Over 25 years of proven service: Anchored Construction offers concrete services, landscape and hardscape, decks, outdoor kitchens, retaining walls, warehouse work, pallet racking, and excavation.
Professional crews focus on critical details. They install a compacted base, set the correct slope for drainage, place control joints at the right spacing, and specify air-entrained mixes for freeze-prone areas.
- Local knowledge of soil, drainage, and weather that affects sidewalk performance.
- Careful planning of length, width, and form layout to prevent heaving and settlement.
- Efficient coordination that saves you time and keeps projects on schedule.
- Finishing methods that yield a smooth, traction-ready surface and low maintenance over years.
For estimates and scheduling, call (865) 316-6933 or email Info@anchoredconstructiontn.com. Anchored Construction blends regional expertise with clear communication so you know what happens and when.
Planning Your Sidewalk: Layout, Budget, and Timeline
A clear layout and realistic timeline set the stage for a smooth walkway project in Knoxville. Anchored Construction helps homeowners pick practical routes, materials, and schedules that fit each property and budget.
Mapping straight vs. curved routes and ideal width
Decide if the path should be straight or curved based on daily use and the feet of frontage. A 3′-6″ to 4′ width feels spacious and improves accessibility for wheelchairs and carts.
Estimating materials, forms, and time
Measure the length and calculate the area before ordering. Include a 4″ gravel base and a minimum 4″ thick slab when estimating concrete volume.
Plan for flexible forms on curves. Curved walks need hardboard and extra stakes. Small pours under about three yards may incur short-load charges, so factor delivery costs into the budget.
- Map the route with spray paint or a garden hose and measure carefully.
- List the forms, stakes, and finishing tools you will rent or buy.
- Allow time for 811 calls, permits, and mild weather scheduling.
Codes, Permits, and Safety: Call 811 Before You Dig
Before breaking ground, confirm permits and utility locations so the project stays safe and on schedule.
Make 811 your first step. Utility locates are free and reveal pipes or cables that may lie less than 4 inches below the surface. Marked utilities protect people and property and prevent costly repairs.
Anchored Construction coordinates permitting in East Tennessee when needed. Check local rules for placement, minimum widths, required slopes, and expansion joint locations. Pros often design ADA-aware widths of 3′-6″ to 4′ for comfortable walking and accessibility.
Site access and wheelbarrow routes
Plan a clear path from the street or driveway to the forms before the ready-mix truck arrives. Design turning space and stable ground so crews can move material with minimal strain and keep work on time.
- Confirm permits when the project meets public right-of-way.
- Place expansion joints at abutting structures and every 20–25 feet.
- Verify finished elevations for drainage away from buildings and safe transitions for feet.
Main Steps: how to make concrete sidewalk
A clear, repeatable sequence keeps every sidewalk pour consistent and durable. Anchored Construction’s crews follow a steady routine that speeds work and improves the final top surface.
Start with excavation: dig 5–7 inches, then compact the subgrade and add a 4-inch gravel base. Set straight or curved concrete forms on pins and string lines so the finished elevation is precise.
- Place reinforcement (6×6 welded mesh) mid-depth and confirm clearances.
- Pour evenly, then use a screed in a steady sawing motion to level concrete across the forms.
- Follow with a bull float to push aggregate down and bring the cream up for a uniform finish.
Edge the slab with a hand edger and cut control joints with a groover at the right spacing. Use a light broom finish for traction and check slope while the slab is workable. Protect the cure from rapid moisture loss. After the initial cure, carefully remove forms and backfill the sides to support the edges and keep the slab level.
Site Prep: Excavation, Subgrade, and Base Gravel
A consistent excavation and base give every pour a reliable foundation in East Tennessee soils.
Dig 5–7 inches below finish grade and remove loose soil. Compact the subgrade until it feels firm. This creates a stable, level platform for the next step.
Excavate and compact
Excavate the full area plus a few inches beyond the forms. That extra room lets crews set forms and backfill the edges without disturbing the slab.
Install a 4-inch gravel base
Add a 4″ layer of clean, well-graded gravel for drainage and freeze-thaw resilience. Lightly moisten the gravel if needed, then compact with a plate compactor.
- Maintain consistent depth so no thin spots form beneath the surface.
- Check slope and level so water sheds away from structures.
- Set mesh supports and reinforcement locations before pouring so the mesh stays mid-depth.
Anchored Construction uses bobcat and excavation services to speed site prep and ensure even depths across the area. A firm gravel base reduces movement and helps the concrete reach a smooth, durable surface.

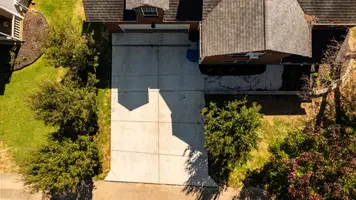
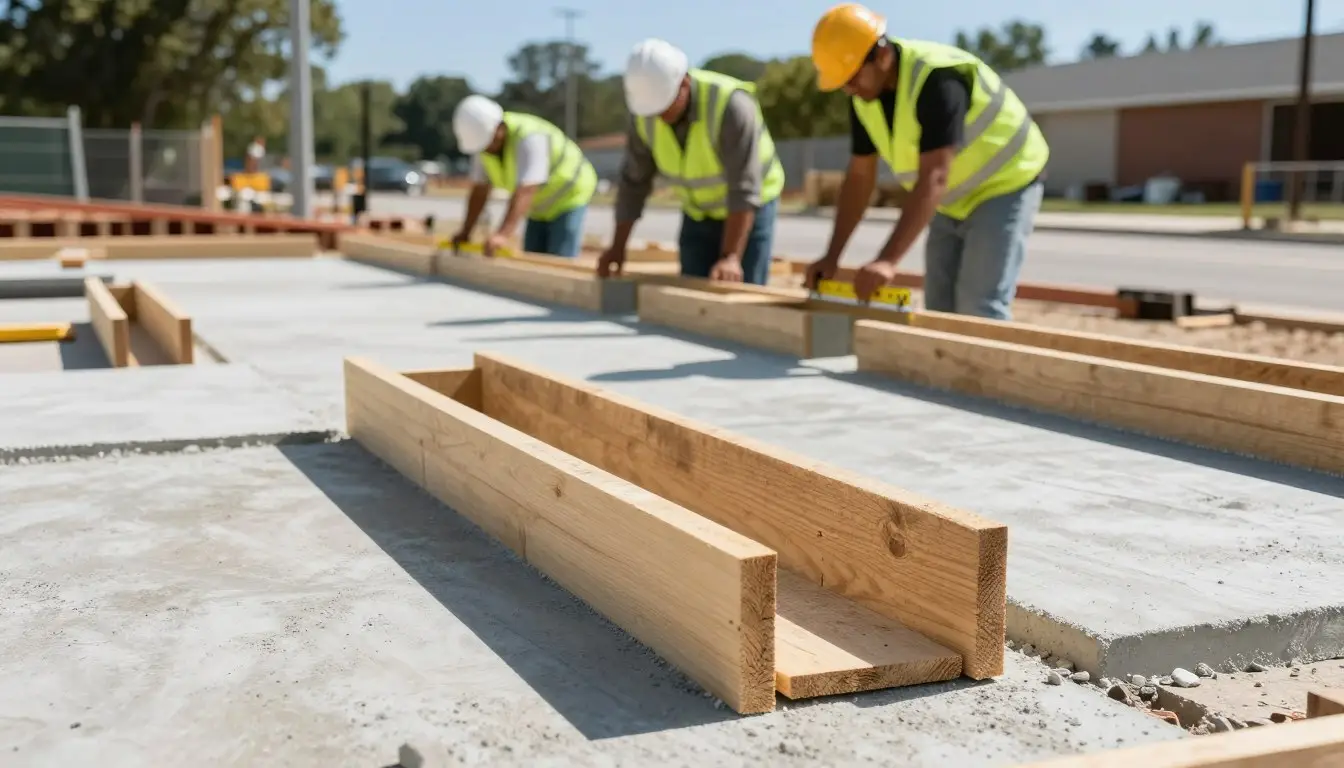
Forming the Sidewalk: Straight Lines and Smooth Curves
Proper forms control finished elevation and give a clean, lasting edge. Set a tight string line at finish grade before placing boards. Anchored Construction’s crews use this benchmark so every segment stays true.
Choosing boards and setting grade
Use straight 2x lumber for linear runs. For graceful curves, pick hardboard or siding that bends without kinking. Drive stakes or form pins so the top of the form just touches the string.
Bracing, slope, and alignment checks
- Space stakes closer on curves and near joints to resist pressure from wet concrete.
- Fasten the form face firmly and add temporary bracing at transitions.
- Confirm slope with a level so water sheds off the surface and avoids trip hazards.
- Check alignment every few feet and adjust before the pour to save rework.
These steps keep the form stable through the pour and make finishing a simpler step for a durable surface.
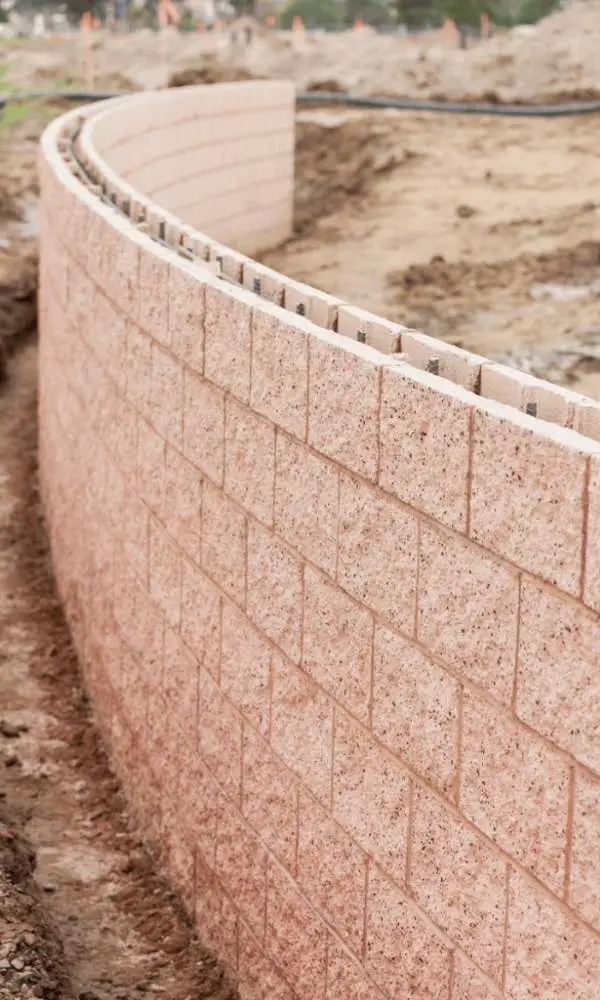
Reinforcement and Joints: Mesh, Control Grooves, Expansion Strips
Durable paving starts with centered reinforcement and a clear joint layout. Anchored Construction specifies layouts that reduce random cracking and improve long‑term performance.
Place 6×6 welded wire mesh at mid-depth. Support the mesh on chairs or lift it slightly during the pour so it stays centered. This ties the slab together and limits crack movement without bringing steel to the surface.
Plan control joints by length and width. Cut grooves at intervals equal to the slab dimension. For example, a 4′ wide run should have joints every 4′ so the slab cracks where intended.
- Place mesh mid-depth and support it with chairs during pouring.
- Match joints to the slab length or width so cracking follows planned lines.
- Install expansion strips at abutting structures and along runs every 20–25 feet.
- Keep joint depth consistent when grooving and maintain straight lines for a clean finish.
- Combine proper joint spacing with a firm base to reduce curling and surface defects over time.
Tools You’ll Need to Pour and Finish Concrete
A well-organized tool layout makes finishing a slab faster and more accurate. Set tools near the forms in the order you will use them. This reduces wasted steps during the pour.
- Screed board sized to the form span. It strikes off the surface at the correct elevation.
- Bull float and magnesium float. The bull float pushes aggregate down and brings cream up for a smooth finish.
- Fresno, edger, and groover. These refine the surface and create clean edges and joints.
- Plate compactor or hand tamper for the subgrade and gravel base to prevent settling.
Bring two or more wheelbarrows and strong helpers. A planned wheelbarrow route saves time and keeps set times under control.
Practical tips:
- Stage tools in use order near the form face so each step flows without delays.
- A garden rake pulls concrete into corners. A stiff-bristle push broom adds final traction.
- Consider renting specialty items such as a fresno or plate compactor for a professional surface at lower cost.
Anchored Construction can supply labor and the right tools if you prefer partial DIY support. That keeps your project moving and gives access to experienced finishing hands.
Concrete Mix Options: Bagged, On-Site Mixing, or Concrete Delivered
Deciding between bagged mixes, on‑site batching, or a ready truck shapes labor and schedule for most residential paths.
Small jobs: Bagged products and a portable mixer work for tiny pads or patching. They keep costs down when the area is limited and access is tight.
Larger runs: Ordering concrete delivered usually saves time and labor once you approach 3–4 yards. A typical 4‑ft by 60‑ft run at 4 in. thickness needs just over 4 yards, so a ready truck often pays off despite short‑load fees.
Short‑load charges and placement
Suppliers charge extra for small deliveries under about 3 yards. Compare that fee against the value of faster placement and consistent quality from a ready mix.
DIY ratios, water control, and working time
Keep water additions minimal. Excess water weakens strength and yields a soupy surface that may dust or scale. Confirm the mix design and request air‑entrainment for freeze resistance in East Tennessee.
- Stage wheelbarrows and helpers for efficient transfer from truck to forms.
- Plan a clear route and use the bull early to smooth the surface while workable.
- Balance budget with long‑term performance when choosing mix and delivery.
Weather and Timing: Temperature, Air Entrainment, and Set Time
Weather windows shape every successful pour and protect long-term performance in East Tennessee. Anchored Construction schedules pours when crews have time to place, screed, and finish concrete without rushing.
Place concrete when air and ground sit between 50°F and 90°F. Request an air-entrained mix with about 4–8% entrainment for freeze resistance. This step helps the slab resist seasonal cycles common in the region.
In hot weather, use a clear-drying curing compound to slow evaporation. Slower water loss gives a uniform surface and reduces plastic shrinkage. In cold snaps under roughly 45°F, cover with insulating blankets and maintain warmth for about 120 hours so hydration continues.
Protect the site from rain during the early set to avoid pitting while the concrete is still wet. Plan drainage so runoff cannot flow across the slab or erode edges. Watch the first hour closely; finishing must match setting time or the surface will show defects.
- Aim for moderate temperatures so crews can work methodically.
- Specify air-entrained mixes for freeze-thaw durability.
- Use curing compounds or blankets depending on heat or cold.
- Keep traffic off green concrete and manage moisture to prevent curling.
Pouring Concrete: Screed, Bull Float, and Fresno Workflow
Finishing a fresh pour demands a steady rhythm and clear sequencing from placement through float work. Anchored Construction trains crews so each pass improves the last without overworking the surface.
Screed first: distribute mix evenly and use a sawing motion. Strike off so the slab matches forms and yields a flat, level concrete top.
Bull float next: push the bull float slowly across the slab. This pushes aggregate down and brings cream up for a workable surface. Keep the leading edge slightly lifted to avoid digging.
Refine with a fresno: remove small ridges and work the cream before the surface tightens. Time a final magnesium float pass as the sheen fades. That pass firms the finish without overworking it.
- Distribute and screed steadily for a uniform surface.
- Move the bull float slowly; preserve the cream for finishing.
- Use the fresno, then magnesium float at the right set window.
- Coordinate helpers and keep a clear wheelbarrow route if concrete delivered arrives fast.
Watch the top sheen. It signals when to move from screeding to bull float and then to fresno. Proper timing prevents gouges and yields a durable, even surface ready for joints and edging.
Edges, Joints, and Surface Texture: Pro Finishing Tips
Clean edges and consistent joints give a walkway a finished, professional look and help control cracking. Anchored Construction ensures crisp edges and evenly spaced joints that look professional and control cracking.
Cut clear edges and set joint spacing
Run a hand edger along the forms for a rounded edge that resists chipping and improves appearance. Use a groover to place control joints at spacing equal to the slab width or length — for example, a 4′ wide run gets joints every 4′.
Surface texture and finishing touches
Pull a stiff‑bristle broom lightly across the top for traction. Keep strokes perpendicular to the main walking direction so traction works with foot traffic.
- Edge the forms with an edger for neat, durable edges.
- Groove straight control joints and align them for uniform marks.
- Install expansion material at transitions and every 20–25 feet for movement relief.
- Use a light broom finish for traction; remove stray tool marks while the cream remains.
- Keep the top edge clean and avoid overworking paste that can flake later.
Pro tip: A steady bull pass before edging helps keep the surface even and makes joints cut cleaner. Proper finishing leaves a durable, attractive result that performs through seasons.
Curing, Protection, and When to Remove Forms
Early protection and monitored moisture keep a fresh slab strong through the initial curing window. Proper curing reduces shrinkage and improves final strength. This step is a simple, high‑value part of the project.
Initial set versus green concrete
After the initial set, the form can often be stripped the next day. The slab will still be green and brittle for several days. Keep people, pets, and equipment off the surface during this period.
Remove forms and backfill edges
Anchored Construction schedules return visits to strip forms, backfill sides, and check early curing conditions. When forms come off, backfill with soil or gravel to support edges and prevent drop‑off.
- Guard fresh slabs from foot traffic and pets during the first several days.
- Use a curing compound in heat or light misting so water does not evaporate too quickly.
- Remove forms after an overnight cure in many conditions, then backfill with gravel or soil for edge support.
- Handle edges gently; green concrete still has limited strength and can spall if struck.
- Keep sprinklers off the slab and divert runoff so water does not pool on concrete still wet.
- Monitor color and sheen for steady curing rather than rapid drying; this helps time final checks.
Cleanup, Safety, and Common Mistakes to Avoid
A tidy site and a clear safety plan speed cleanup and protect everyone during a pour. Anchored Construction emphasizes neat crews, proper PPE, and timely cleaning so the final surface holds up.
Personal protection and chemical burn precautions
Wear gloves, eye protection, long sleeves, and waterproof boots to keep hands, eyes, and skin safe from alkali burns. Rinse splashes with clean water right away and change clothes if they are soaked.
Tools care and finishing best practices
Clean floats, trowels, and forms before the mix hardens. Dried residue is hard to remove and can ruin a finish or leave marks on the edge.
- Wear protective gear so any hand contact with wet material does not cause injury.
- Rinse spilled material with fresh water and wash affected skin immediately.
- Clean tools and forms at the end of each work step; don’t let paste set on blades or boards.
- Avoid adding water on the surface during finish work; extra water weakens the slab and causes dusting.
- Don’t overwork the top; stop when sheen and texture look uniform and consistent.
Review each step with helpers before starting. A clear sequence keeps everyone aware of duties and prevents marks, weak spots, and common errors on a sidewalk. A careful cleanup is the last, important step that preserves appearance and durability.
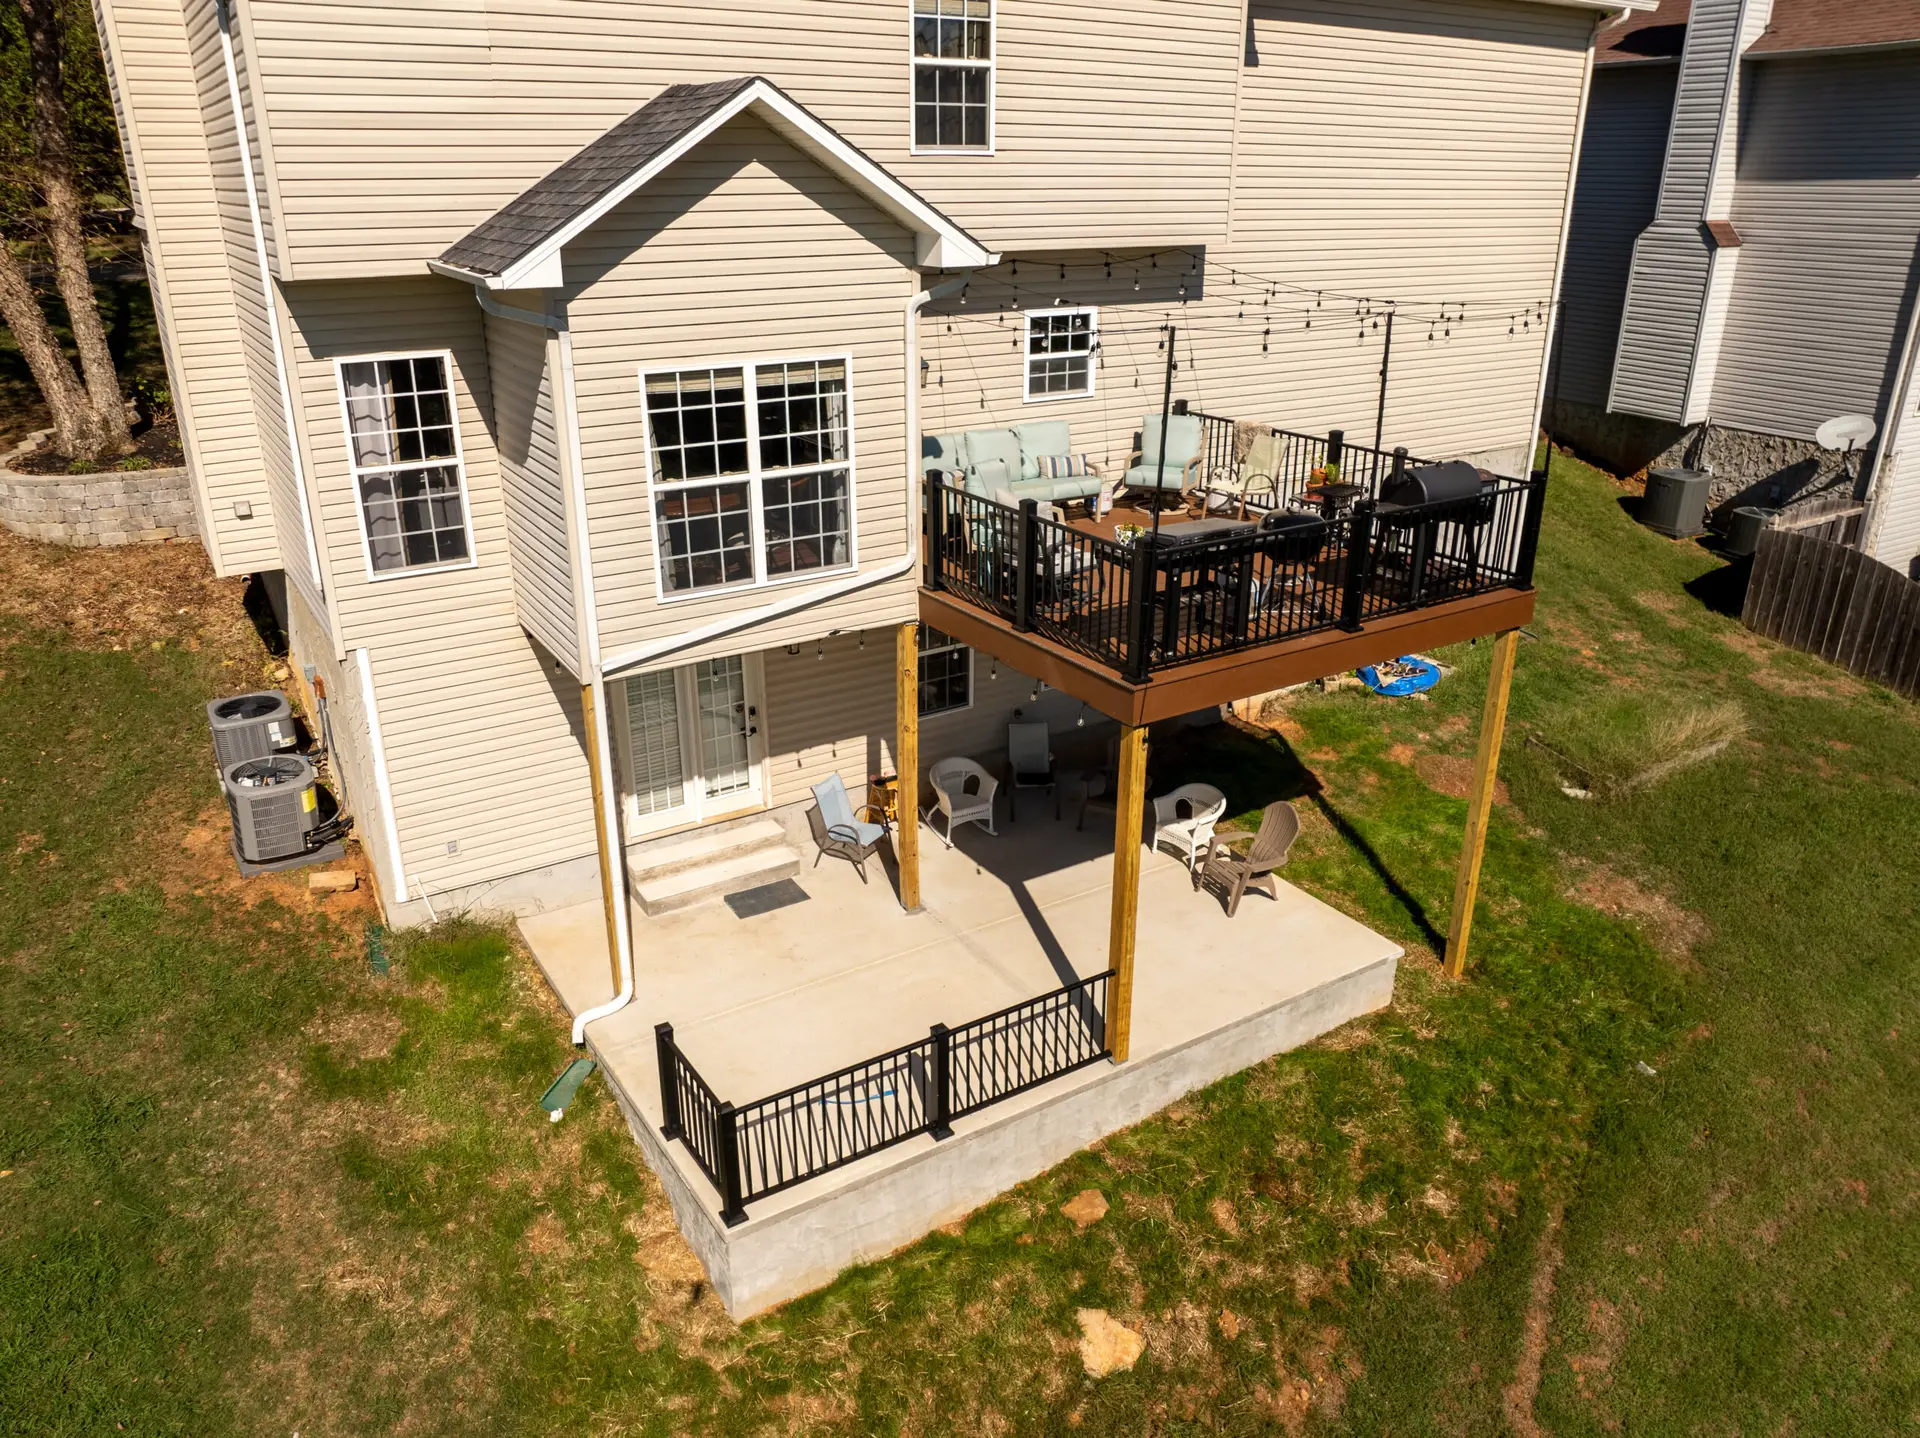
When to Hire the Pros: Anchored Construction Can Help
Complex layouts and long runs benefit from trained teams and proper equipment. Anchored Construction handles projects from small walks up through large poured concrete jobs, patios, and retaining walls.
Professional crews coordinate ready‑mix delivery, maintain steady pour rates, and manage concrete forms and mesh placement for consistent results. Larger areas need steady placement to avoid cold joints and uneven elevation.
Consider hiring professionals when access is tight, the area is large, or timing demands quick placement. Anchored Construction brings equipment, forms, and manpower for curves, tie‑ins, and long runs.
- Pros pour concrete across long runs and complex layouts while keeping finish quality steady.
- Teams place reinforcement and joints correctly to minimize cracking and extend life.
- Partial DIY is an option: clients prep the site while pros handle the pour and finish.
- Bundled work: sidewalks, patios, steps, retaining walls, decks, and landscape builds for cohesive upgrades.
Contact: Call (865) 316-6933 or email Info@anchoredconstructiontn.com for estimates and scheduling.

Conclusion
A careful finish and steady curing are the small tasks that yield long-term performance. A well-planned pour becomes lasting poured concrete when basics are followed and patience guides the cure.
Begin with a compacted gravel base and the right mix. Keep the slab level with the forms. Cut joints at consistent length intervals so cracking happens where intended.
Float the surface, then apply a light broom finish for traction. Work in sequence to avoid marks and overworking the top.
Whether you prefer a diy approach or a full service job, follow best practices for placement and curing. Call 811 before digging and plan pours between 50°F and 90°F.
Anchored Construction stands ready to help. With 25+ years in East Tennessee, the team offers estimates and skilled crews. Call (865) 316-6933 or email Info@anchoredconstructiontn.com to discuss your plans.