Can a small home project add lasting curb appeal and cut maintenance for years? That question matters when you plan a patio or walkway on East Tennessee soils.
Anchored Construction & Restoration brings more than 25 years of local experience. Led by Knoxville native Travis Bullington, the team blends craftsmanship with practical site knowledge. Homeowners learn what makes a paver project succeed here: proper base thickness, a 1″ bedding sand layer, and a steady drainage slope of 1/8″-1/4″ per foot.
This short guide outlines the sequence for installing pavers. It notes where you can DIY and where licensed equipment and a crew save time and prevent callbacks. Expect clear terms, compacted base tips, and sealing guidance so your landscape place looks great and lasts.
For an on-site estimate, contact Anchored Construction at (865) 316-6933 or Info@anchoredconstructiontn.com.
Key Takeaways
- Prepare a compacted base sized for pedestrian or vehicle loads.
- Use a 1″ bedding sand layer and proper edge restraint for stability.
- Keep a slope for drainage and avoid recycled material in the base.
- Compact pavers and sweep joint sand or use polymeric sand before sealing.
- Local pros know clay soils and freeze‑thaw risks in Knoxville.
Start Here: What “How to Concrete Paving” Really Means for Your Project
A well‑planned exterior project keeps water moving and cuts long‑term repairs. In Knoxville, choosing pavers over a poured slab often makes sense. Interlocking units flex with freeze‑thaw cycles and handle clay subsoils better than a rigid pour.
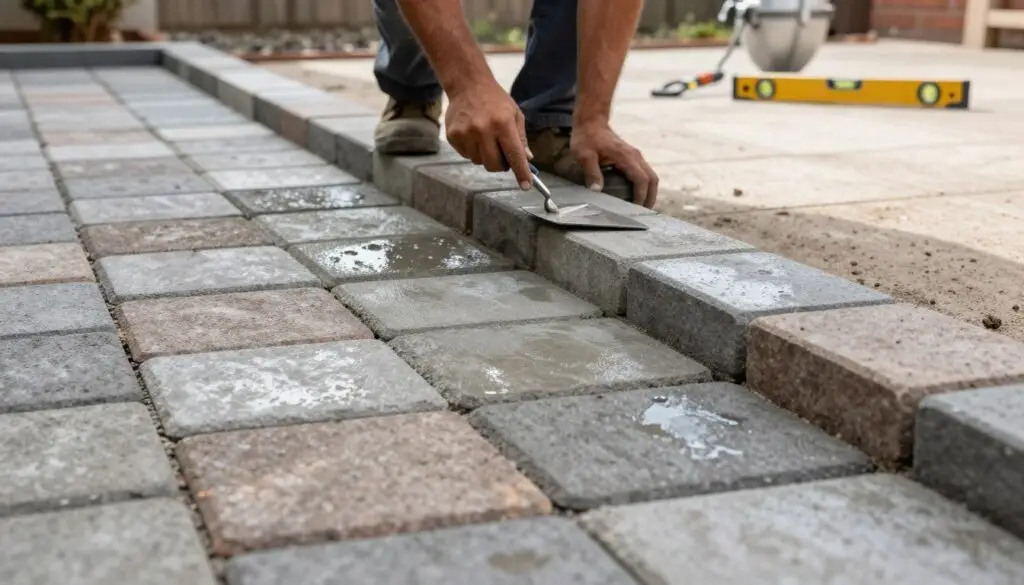
Anchored Construction & Restoration, led by Knoxville native Travis Bullington, brings 25+ years of local experience for patio and walkway work. The team advises when DIY fits and when a pro saves time, cost, and headaches.
- Durability: Pavers shed water through joints and resist cracking.
- Serviceability: Replace single units rather than tearing out an entire slab.
- Precision: Pros set proper slope (1/8″-1/4″ per foot), compacted base, and a true 1″ bedding sand layer.
If the area is small and low traffic, renting a plate compactor and following grade lines may work. For driveways, complex patterns, or tight sites, call Anchored Construction at (865) 316-6933 or Info@anchoredconstructiontn.com for an on‑site estimate.
Project Planning, Tools, and Materials Checklist
A clear layout and proper staging make a patio or walkway build run smoothly. Start with measured footprints and a snapped chalk line for control. Square corners using a 3-4-5 triangle and mark finished heights at thresholds.
Measure and set reference lines. Snap string lines to guide excavation and keep grades true. Plan access for soil removal and stage pallets of pavers near the work area to cut handling time.
Tools
- Plate compactor and hand tamper for base and pavers.
- Wheelbarrow, shovels, levels, rubber mallet.
- Circular saw or angle saw with a diamond blade for cuts.
- PPE: hearing and eye protection, gloves, and dust control.
Materials and site prep
- Class II road base or paver base aggregate; avoid recycled concrete.
- Pavers, bedding sand, polymeric sand, and paver edging with spikes.
- Landscape fabric where soils are weak and stakes for edge restraint.
- Set a fall of 1/8″–1/4″ per foot for proper drainage away from structures.
Use a plate compactor for both base and final compaction. Screed exactly 1″ of clean bedding sand with 1″ OD pipes and a straight 2×4. Do not disturb the screeded bedding.
Safety and logistics: Call 811 before digging and mark utility lines. Anchored Construction & Restoration can provide bobcat work, excavation, full material handling, and turnkey service. Call (865) 316-6933 or email Info@anchoredconstructiontn.com for an estimate.
Subgrade and Base Preparation for Long‑Lasting Pavers
A stable subgrade is the single biggest factor in a paver surface that lasts. Excavate the area deep enough for the paver thickness, a 1″ bedding sand layer, and the compacted base. Match depths for use: 3″-4″ for patios and walkways, 4″-5″ for light vehicle parking, and 6″-8″ where heavier loads apply.
Compact the subgrade first. Install base aggregate in 2″-3″ lifts and compact each lift with a vibrating plate compactor. This process produces a uniform platform and limits settlement.
- Slope and drainage: Maintain 1/8″-1/4″ per foot away from structures for reliable drainage.
- No recycled concrete: Avoid recycled concrete in base or bedding sand. Its fines trap moisture, reduce drainage, and can cause pumping or efflorescence on the pavers.
- Problem soils: Use a geotextile separator and add French drains or daylight outlets where water persists.
Anchored Construction & Restoration’s bobcat and excavation services speed removal and grade shaping on sloped Knoxville lots. For a professional assessment of weak soils or drainage issues, call (865) 316-6933 or email Info@anchoredconstructiontn.com.
Bedding Sand and Edging: Setting the Stage for Flat, Stable Pavers
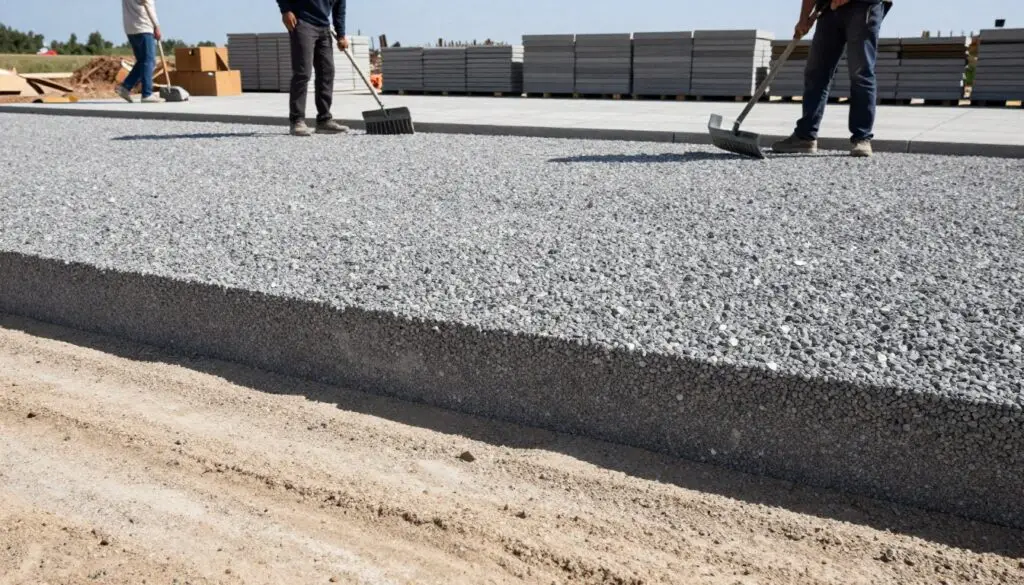
A true test of a durable patio begins at the bedding layer and the edge that holds it. Start with a precise 1″ bedding sand plane and a restraint system that matches the home’s style. Anchored Construction & Restoration’s crews screed layers and set edge systems for lasting results.
Use two 1″ OD pipes and a straight 2×4 as screed rails. Pull the board across the pipes to make a consistent layer sand depth. Do not walk on or disturb screeded sand before placing pavers.
- Place screed rails, remove them, and fill voids without stepping on the prepared bedding.
- Protect the bedding: it provides the final micro‑level and lets pavers interlock during compaction.
- Choose an edge restraint that suits your design: the house edge anchors one side, vinyl edging follows curves, and a concrete border adds strength and style.
- Set vinyl edging on the compacted base and pin with long spikes. For a decorative border, install a concrete edge about 8″ wide by 7″ deep just ahead of the outer row.
Keep a straight line with strings across the patio and confirm slope across the bedding so water moves away from the house. Use clean, sharp sand and avoid recycled fines or poor material. For precision installation and matched paver edging, call Anchored Construction & Restoration at (865) 316-6933 or Info@anchoredconstructiontn.com.
How to Concrete Paving: Step‑by‑Step Installation
Begin by setting reference lines so the finished patio reads balanced and true. Perform a dry run across the footprint. Confirm center lines, pattern spacing, and border reveals before any cutting begins.
Dry run and pattern layout: Snap a center line and secondary strings. Mock the chosen pattern—herringbone, running bond, or a custom layout—to check symmetry. Adjust the line until the visual balance is right.
- Lay pavers in the field first. Use string lines for straight courses.
- Keep each unit flat on the bedding sand. Do not tilt pieces into place.
- Keep joints hand‑tight, about 1/8″ using built‑in spacers or tapping with a mallet.
Border and cutting: Once the field is complete, set the edge and border rows. Mark cuts clearly. Use a circular saw with a diamond masonry blade for straight edges and an angle grinder for radius cuts in stone or concrete units.
- Work methodically to reduce rework and save time.
- Sweep a light layer of sand as you progress to protect the surface and help seat the pavers during initial compaction.
- Pause frequently to verify the pattern stays square to your reference lines.
Anchored Construction & Restoration brings pattern expertise and clean borders that lift curb appeal. For pro layout and speed, call (865) 316-6933 or email Info@anchoredconstructiontn.com.
Compaction, Joints, and Finishing Steps
Final compaction and joint lock-up finish the installation process. After all units sit true, spread a light layer of sand across the field. Make one initial pass with a vibrating plate compactor to begin interlock and check the border for movement.
Initial plate compaction and sand lock‑up
Sweep dry sand into the joints and compact two to three more times until the pavers stop settling.
Keep joint fill about 1/8″ below the top so edges stay crisp and traffic wears evenly.
Polymeric sand vs regular joint sand
Polymeric sand resists weeds growing and washout when activated correctly. Sweep the surface clean before wetting to avoid haze on concrete pavers or stone.
If using polymeric sand, mist per manufacturer directions. Avoid overwatering, which can float polymers and leave voids.
Final clean‑up and sealing
Rinse and blow off dust after the sand cures. Consider a compatible sealer to enhance color and shield against stains and freeze‑thaw cycles on the patio.
- Inspect joints and refill low spots after each compaction pass.
- Use quality materials for the sand and base for lasting results.
- Anchored Construction offers maintenance plans and resealing schedules for long life. Call (865) 316-6933 or Info@anchoredconstructiontn.com.
Special Case: Installing Pavers Over Existing Concrete
An overlay on a sound slab offers a fast route to a fresh patio or walkway when details are checked. Anchored Construction assesses slab condition, door thresholds, and drainage before recommending an overlay.
When it works: intact slabs, flat surfaces, and height transitions
Overlays work when the concrete is intact and largely flat. Small depressions can be leveled without removing the slab.
Check thresholds and entry heights. Plan for the added height so the patio meets code and doors open safely at the house.
Leveling with bedding sand, edge control, and weed prevention
Clean the slab and place landscape fabric over visible cracks to deter weed intrusion. Spread about 3/4″ of bedding sand to level minor variations.
- Retain the perimeter with secure paver edging made for overlays.
- Dry-fit courses and confirm the field will level and still drain away from structures.
- Cut pieces with diamond blades for clean fits against stone, posts, and curved borders.
After laying, fill joints with polymeric sand and activate per instructions. If the slab is cracked, heaving, or badly sloped, Anchored Construction can remove the concrete and rebuild the base for a lasting result. Call (865) 316-6933 or email Info@anchoredconstructiontn.com for an evaluation.
Conclusion
A thoughtful finish ties each element of an outdoor project into a lasting result.
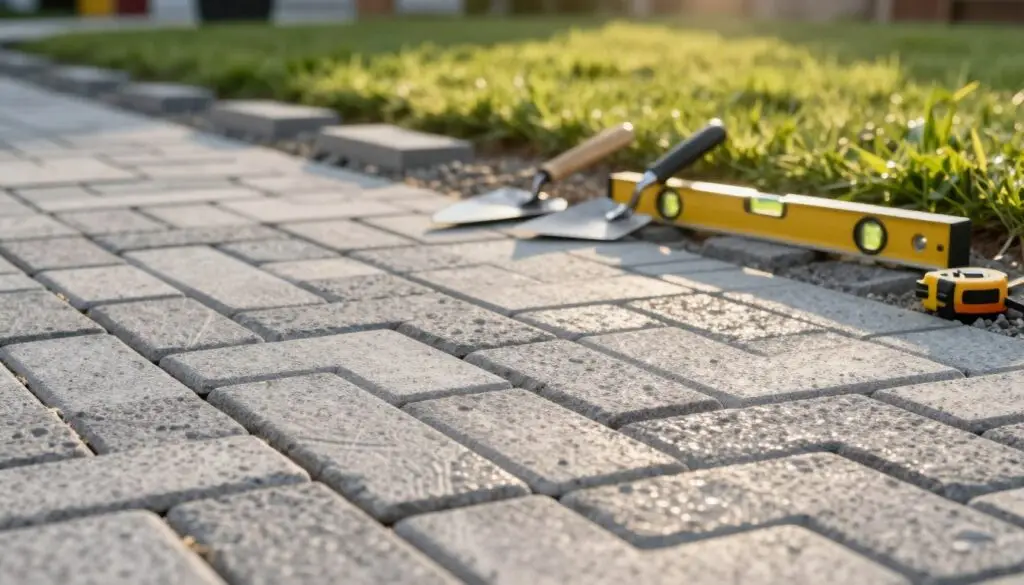
Anchored Construction & Restoration has built quality hardscapes across Knoxville since 2000 under Travis Bullington. Their crews follow a simple checklist: compacted paver base sized for use, a 1″ screeded bedding layer, and a 1/8″–1/4″ per foot slope for reliable drainage.
Use clean materials and a diamond‑equipped circular saw for precise cuts. Stage compaction, set clean lines, and lock joints with standard or polymeric sand for a refined top surface.
A proper pattern, secure border, and correct edge restraint extend life and reduce callbacks. For estimates or fast scheduling, call (865) 316-6933 or email Info@anchoredconstructiontn.com.