Curious how a well-planned outdoor project can change the way you use your yard?
Anchored Construction & Restoration brings East Tennessee craftsmanship to every job. Led by Knoxville native Travis Bullington, the team blends 25+ years of experience with local knowledge of soils, drainage, and freeze-thaw cycles. The result is a durable outdoor space that fits your home and enhances daily living.
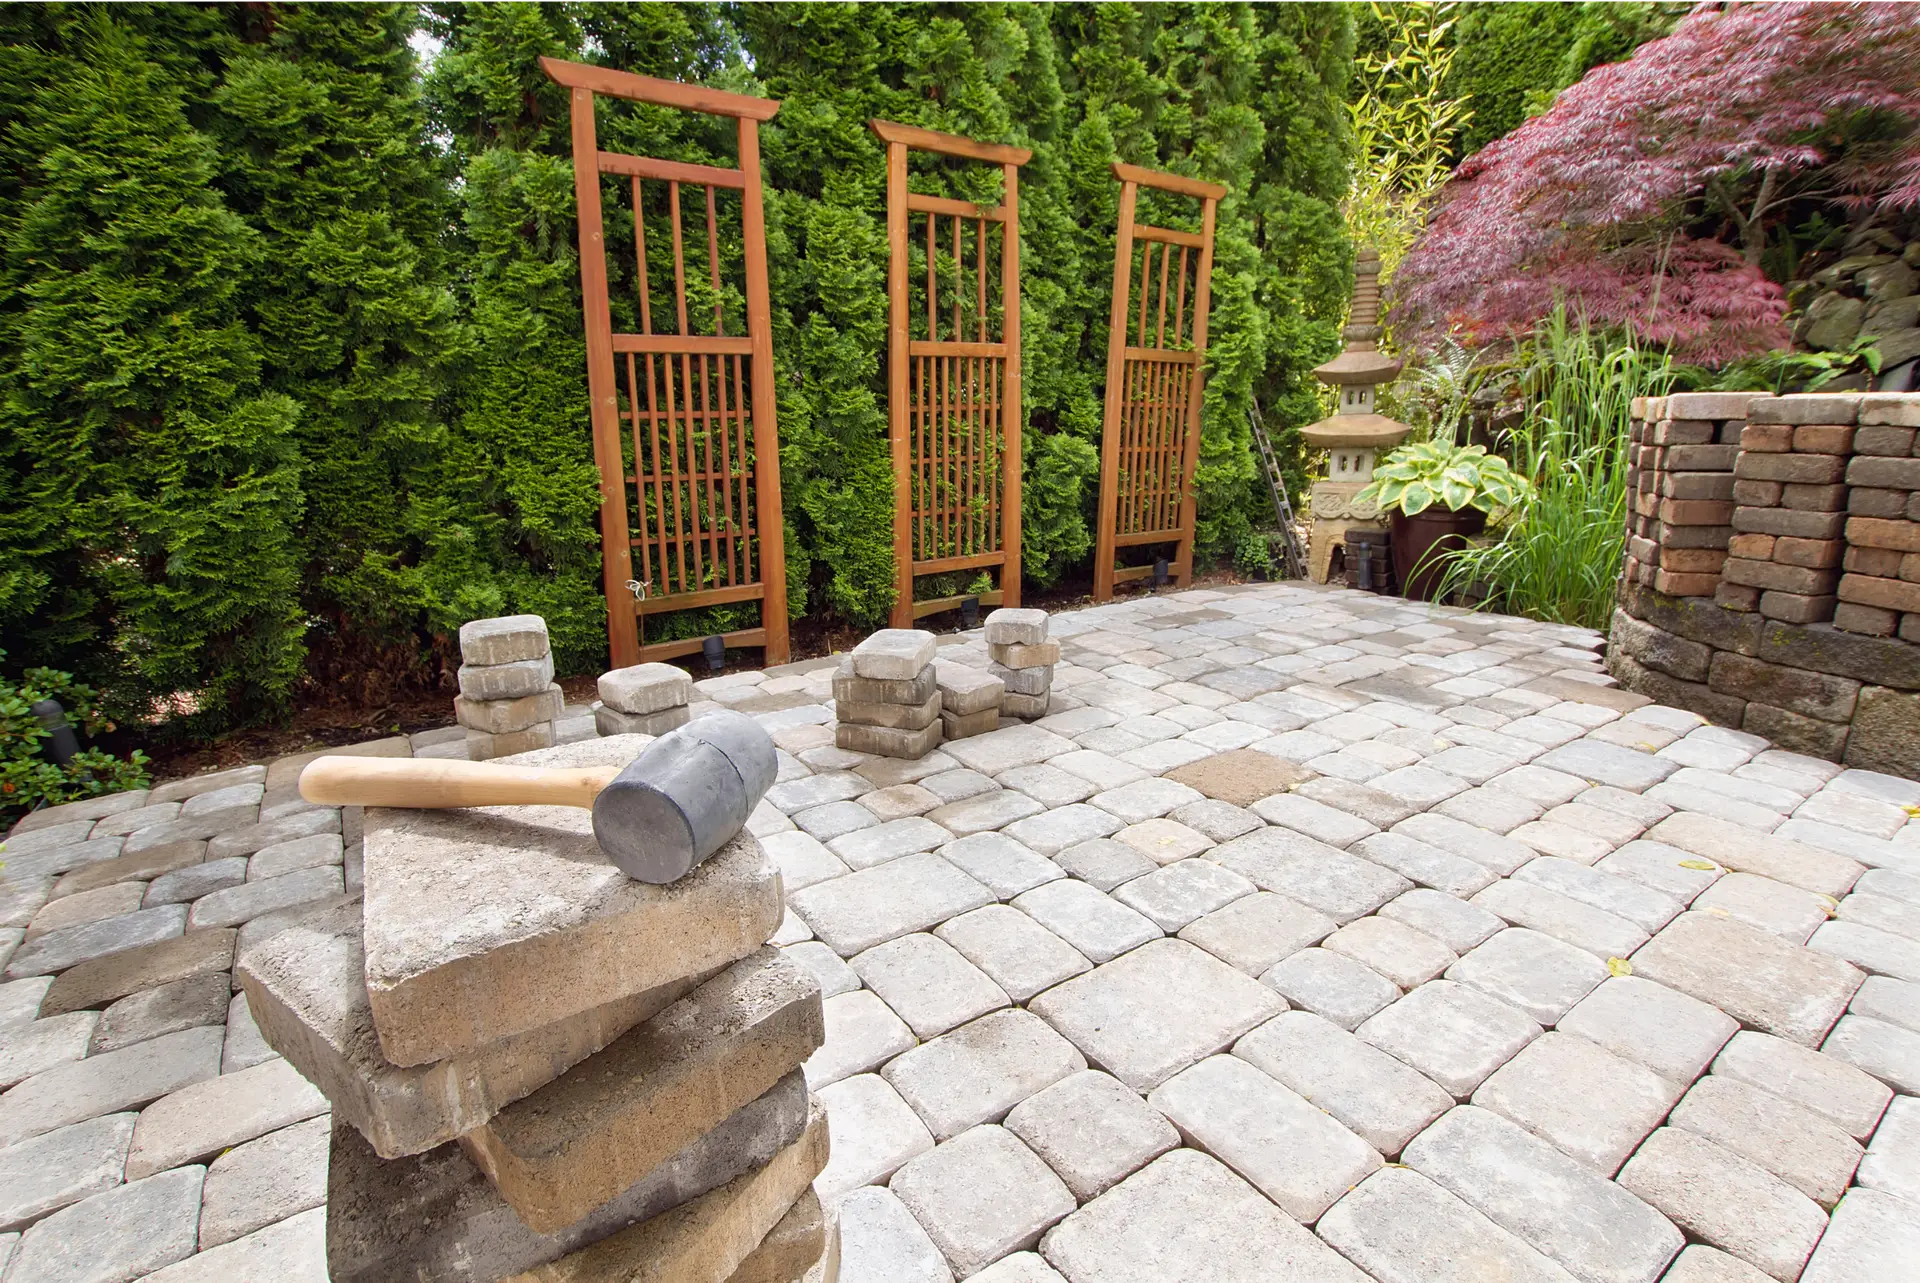
The process follows clear steps: preparation, base and sand layers, laying the field, and finishing touches. Typical work takes about 4–7 days, with weather sometimes adding time. The crew sequences each phase to cut on-site days and keep your yard usable.
Homeowners get guidance on patterns, colors, and materials that match style and budget. Anchored Construction coordinates related work like concrete tie-ins and low retaining features when needed. Ready to talk? Call (865) 316-6933 or email Info@anchoredconstructiontn.com.
Key Takeaways
- Anchored Construction pairs local know-how with proven methods for dependable results.
- Expect a 4–7 day timeline for an average build, weather permitting.
- Focus on a stable base, correct elevations, and clean lines for lasting value.
- The team helps with design choices so your space matches your home and budget.
- Transparent schedules and clear daily plans keep you informed through the project.
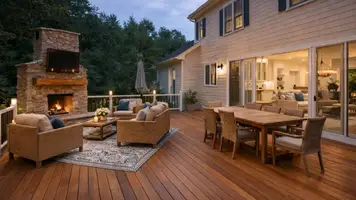
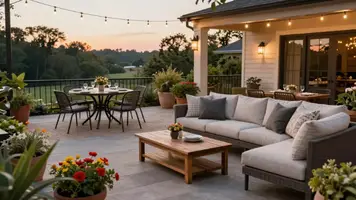
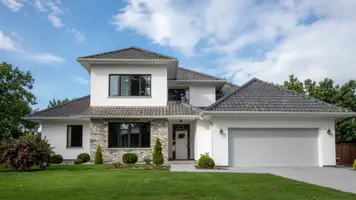
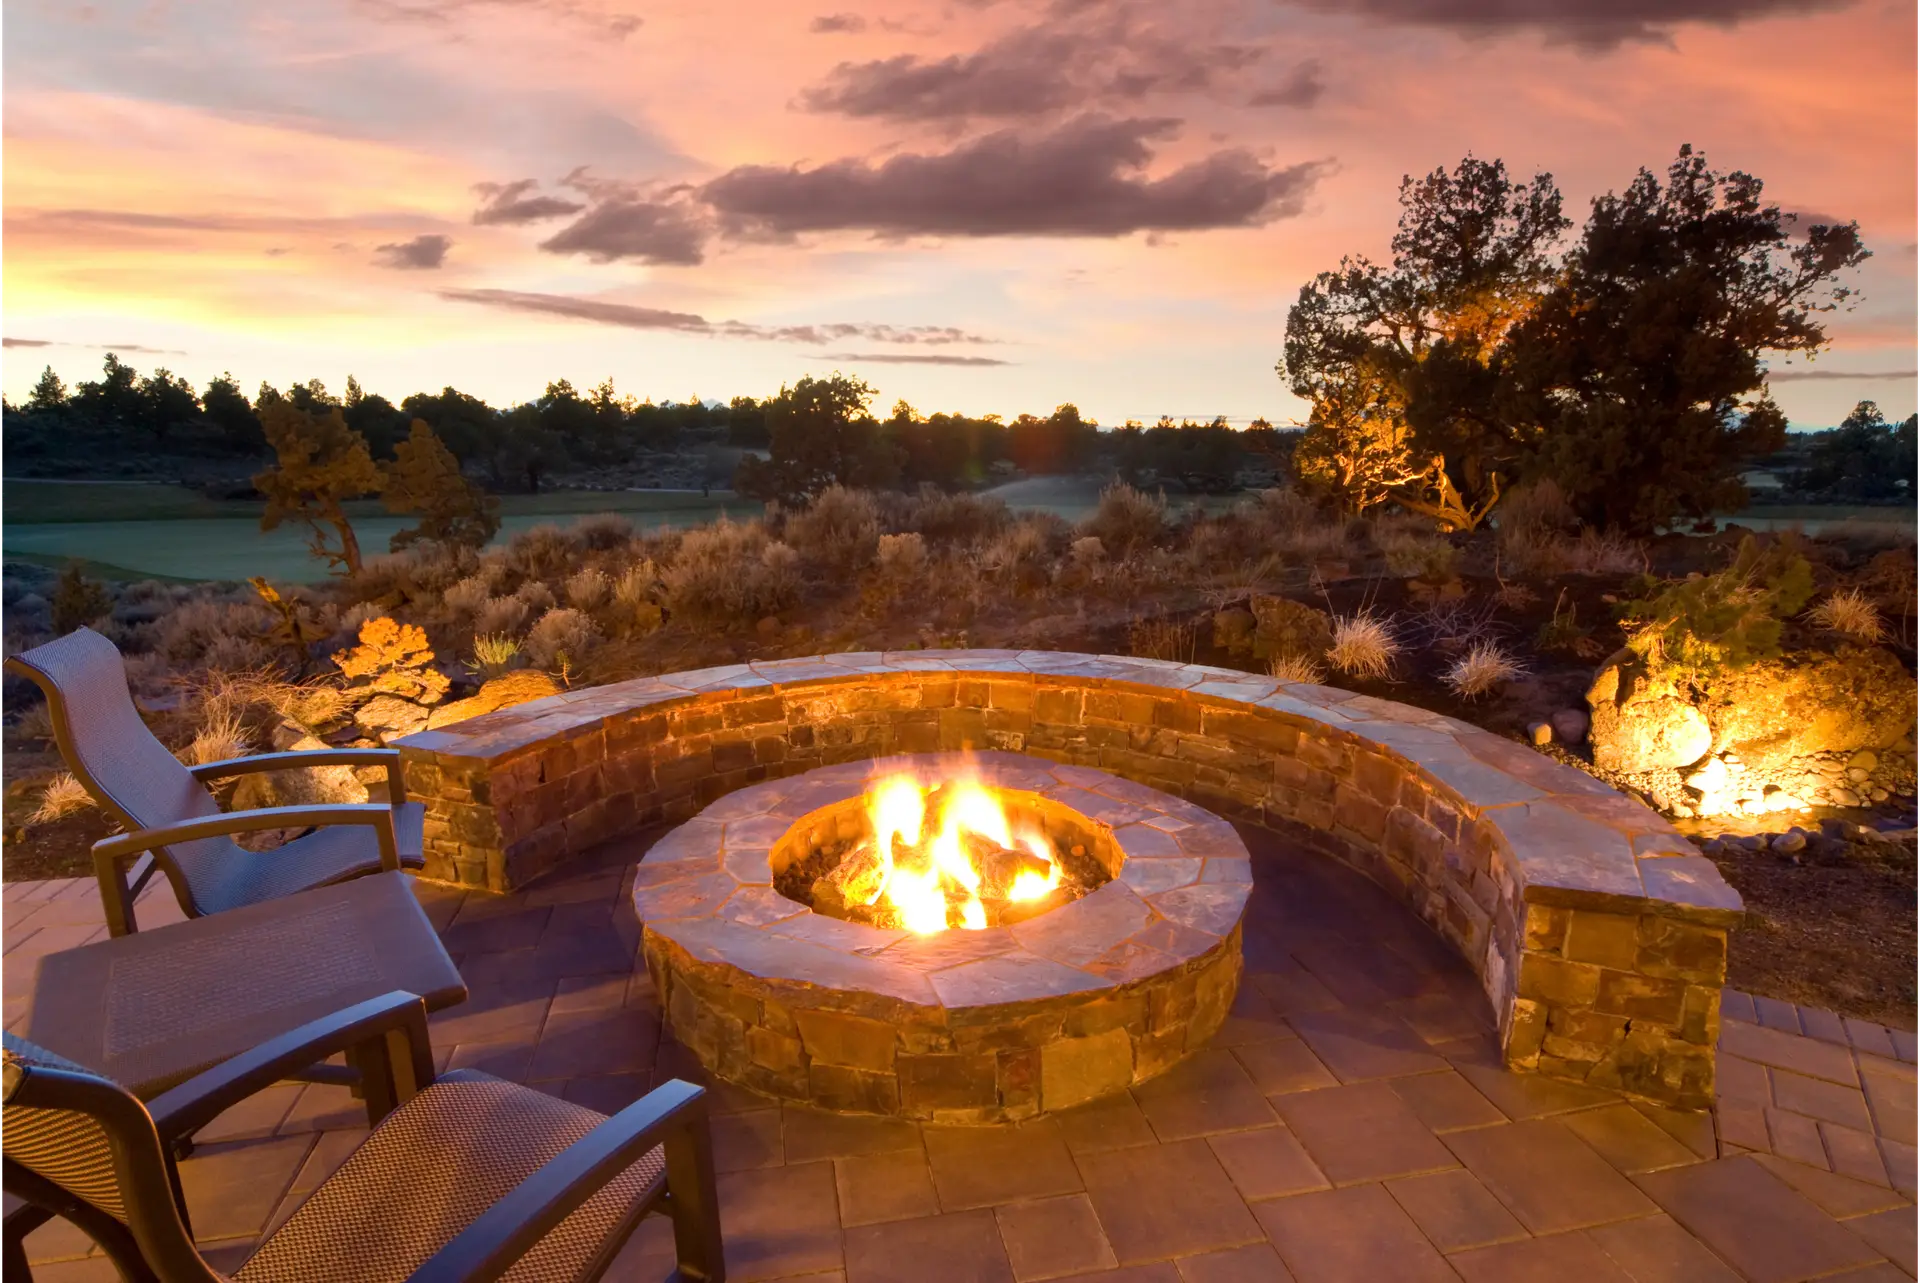
Why a Paver Patio Belongs in Your Knoxville Outdoor Living
Choosing the right surface gives Knoxville homeowners a durable, attractive place to gather. Anchored Construction & Restoration helps weigh style, longevity, and upkeep so the result fits your home and lifestyle.

Durability and repairability set modular units apart from a single concrete slab. Individual pieces resist cracking and lift out for quick fixes. That reduces long-term repairs and keeps usable areas looking sharp.
Drainage and performance are improved by joints between units. Water moves through or between the pieces, which limits pooling after heavy local storms. Proper base and edge restraint keep lines straight and stable for years.
- Pavers create a premium look and a stable surface for furniture and foot traffic.
- Modular units distribute loads and resist single-slab cracking common with concrete.
- Jointed surfaces move water efficiently, keeping outdoor areas drier.
- Materials and colors can be tailored so the space complements your home.
- A range of patterns—from running bond to herringbone—lets you customize the look.
- Repairs are simple: replace individual units without redoing the whole surface.
- With a proper base the surface keeps clean lines and alignment over time.
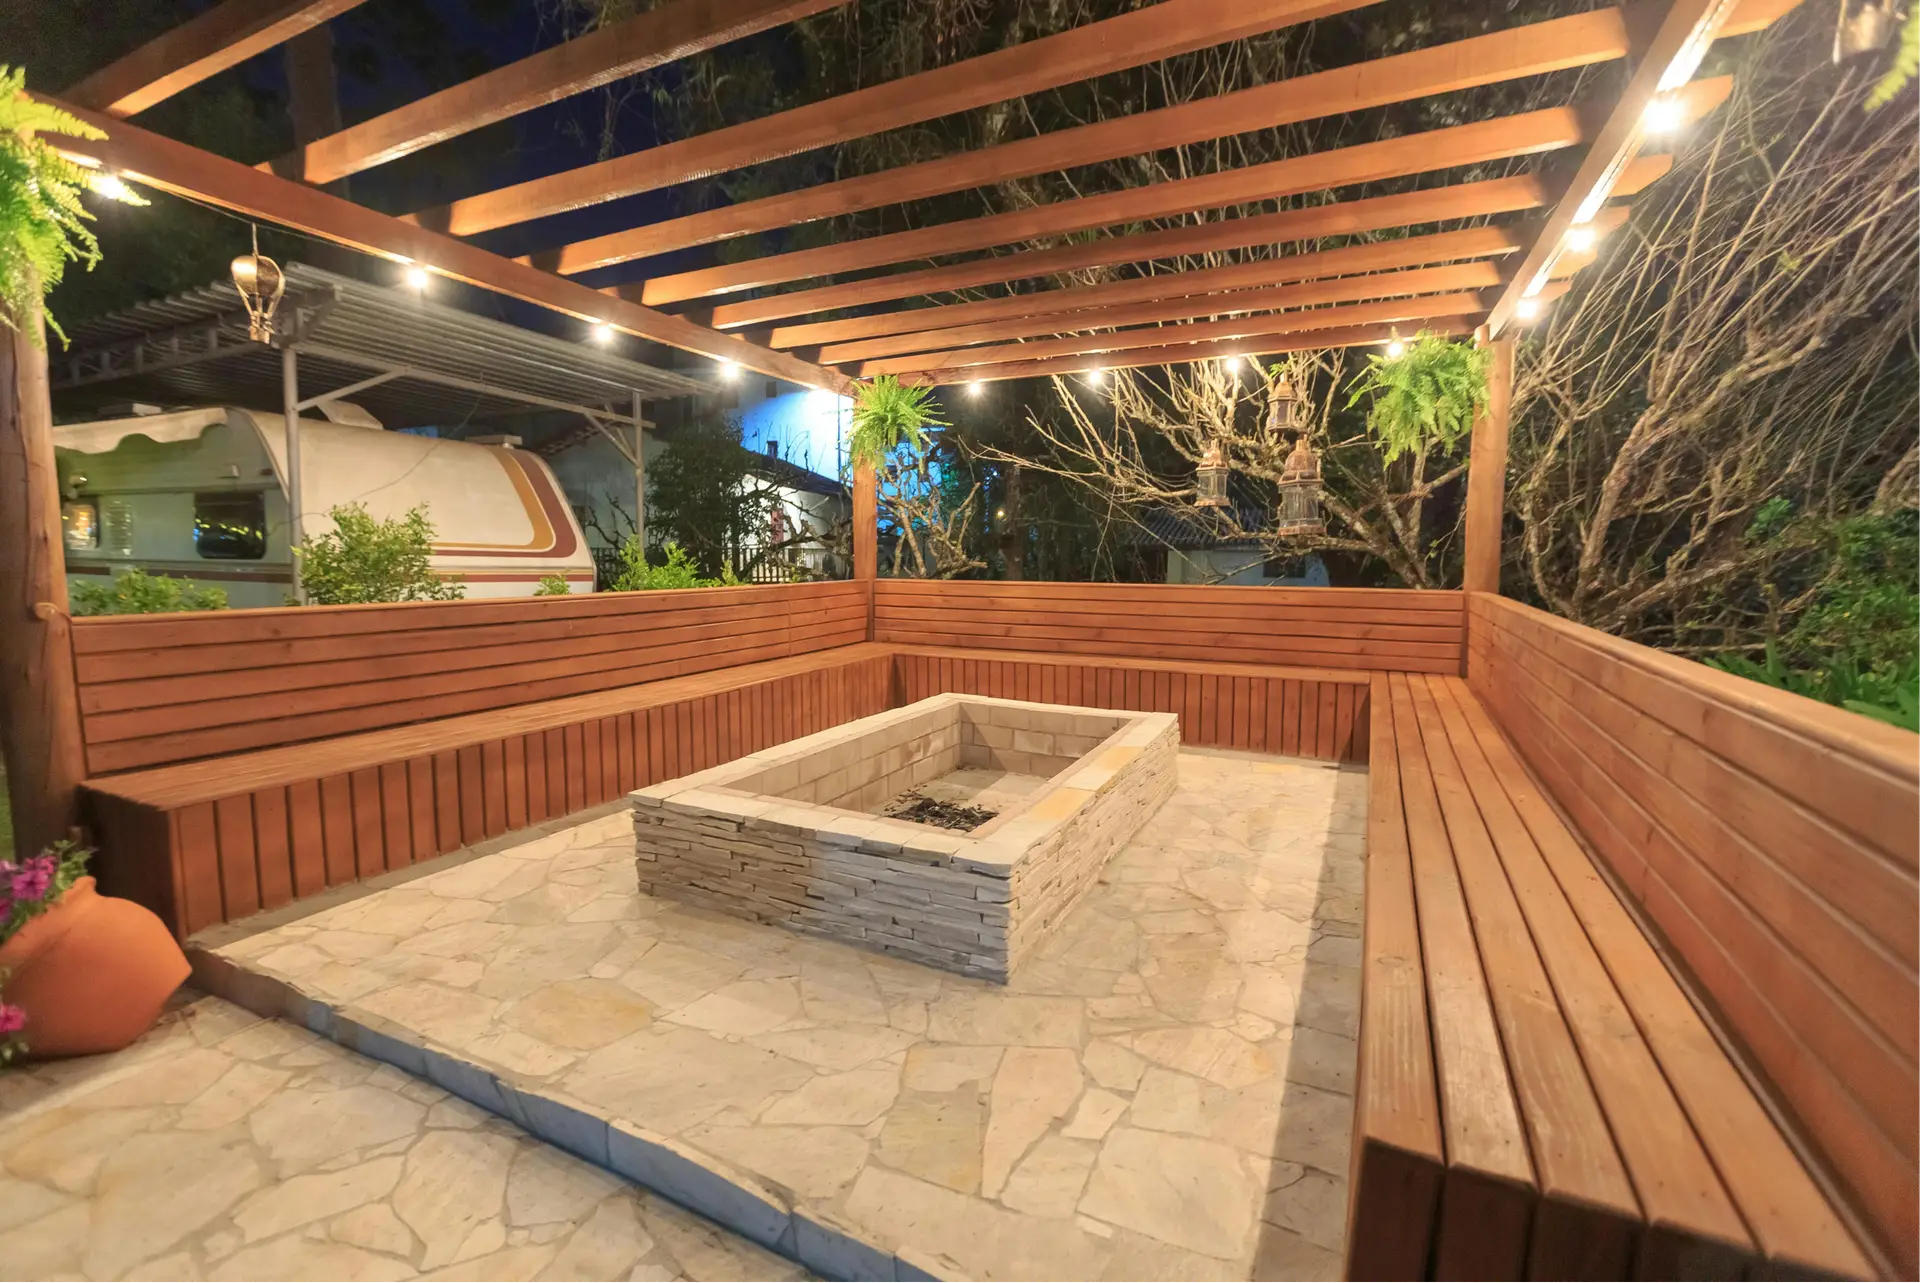
- The finished area defines space for grilling, dining, and relaxing.
- Common materials include concrete, brick, and natural stone—each has its own cost and look.
Anchored Construction guides homeowners in choosing materials, patterns, and a base that match budget and the way they use their yard. The result is a practical, long-lasting living space that adds value and comfort.
Planning Your Project: Timeline, Scope, and Seasonality
Knowing how long each step takes reduces surprises and keeps the project on track.
Typical timeline: preparation to finishing touches (about 4–7 days)
Anchored Construction breaks the process into clear steps so homeowners see progress daily. Preparation usually runs 1–2 days. Building the base and screeding sand takes about 1 day. Laying the field is often 1–2 days, with finishing touches another 1–2 days.
Sizing, patterns, and complexity that affect project time
- Area: larger spaces need more lifts and checks on line and elevation.
- Patterns: intricate cuts and borders add days for precise layout.
- Site: slope, drainage, and access change how crews stage base and sand.
DIY vs. professional install in East Tennessee weather
DIY can take longer; a pro crew may finish ~300 sq ft in 2–3 days. Rain slows work because bedding and base must dry to give a stable surface that resists water and freeze-thaw cycles.
Spring and fall are the best seasons in Knoxville. For scheduling windows, call (865) 316-6933 to align scope, budget, and timing.
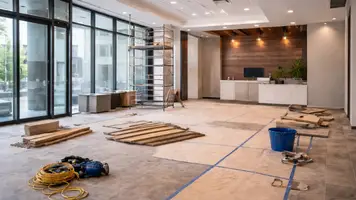
Essential Tools and Materials for a Pro-Grade Result
A clear tool list and the right materials make the difference between a short-lived surface and a pro-grade result. Anchored Construction & Restoration supplies the heavy equipment and operates it safely. Homeowners get a simple list of what will be on site and why.
The crew brings a plate compactor and compactors for base work and final seating. Diamond-blade saws make precise cuts around edges and obstacles. String lines, a line level, and layout stakes keep courses straight across the area.
- Safety gear: eye protection, hearing protection, gloves, and respirators during cutting and sweeping.
- Base materials: crushed stone or gravel compacted in lifts and geotextile fabric to separate soil and improve drainage.
- Bedding and jointing: a screeded 1-inch layer of concrete sand under the pavers and sand or polymeric joint sand to finish the surface.
Edge restraints—plastic, metal, or concrete curbing—hold the field in place and resist lateral movement. Anchored Construction brings the right tools and supplies so the installation runs efficiently and meets local standards.
Site Preparation and Excavation for Lasting Performance
Proper site prep makes a long-lasting outdoor surface start on the right foot. Anchored Construction coordinates utility marking, site protection, and access before crews dig. Call 811 so buried lines get located and flagged.
Strip sod, roots, and soft dirt to reach firm ground that can support the base. Excavation for a pedestrian area typically ranges 6–8 inches to allow for crushed stone, bedding sand, and the paver height. Drive areas often need 8–12 inches.
Grade for drainage first. A general guideline is about 1 inch of fall per 4 feet (roughly a 2% slope) to move water away house. Near foundations, use 1/4 inch per foot for the first 4 feet, then 1/8 inch per foot beyond.
On-site checklist
- Make sure utilities are marked before excavation.
- Use string line and levels to confirm finished elevations.
- Compact the subgrade and keep spoils tidy to limit dirt tracking.
- Address clay or poor soils with geotextile and extra base as needed.
These simple steps protect the house, keep water moving away house, and create a stable line for the base. A clean start makes the rest of the build faster and more reliable.

Building a Solid Foundation: Base Layers and Bedding Sand
Longevity begins with proper layering—soil separation, compacted stone, and a precise sand bed. Anchored Construction sets clear compaction targets and adjusts elevations so thresholds and adjoining walks meet code and drainage goals.
Installing geotextile and base lifts
Install geotextile first to keep the subgrade and base material separate. Spread 4–6 inches of crushed stone or gravel for pedestrian areas. Place the material in thin lifts and compact each lift to the specified density.
Compaction technique and equipment
Use a plate compactor and make multiple passes. Check transitions and edges carefully. A smooth plate on the compactor protects the bedding plane and helps reach target density.
Screeding the bedding sand
Screed a true 1-inch layer of concrete sand using rigid guides and a straightedge. Keep the bed flat and check the level and slope so the final surface sheds water as planned. Avoid walking on the screeded sand; set pavers from laid courses or use kneeboards.
- Confirm base thickness matches design for heavier-use areas.
- Maintain a straight reference line for consistent courses.
- This foundation work supports clean lines, tight joints, and long-term performance.
Paver Patterns, Layout, and Professional Laying Techniques
Good courses begin with square control and a straight starting edge that guides every row. Anchored Construction helps homeowners pick a pattern that balances beauty with fewer cuts and faster work.
Choosing a pattern
Running bond uses fewer cuts and installs fastest. It fits clean, modern homes and reduces waste.
Herringbone adds interlock strength. It requires more cutting but gives a classic, durable look.
Basket weave offers a decorative feel for smaller spaces and formal layouts.
Layout and laying techniques
- Start from a straight edge or a true 90-degree corner and snap a control line.
- Dry-lay a few rows to confirm pattern, gaps, and border alignment before full production.
- Lay pavers straight down onto the sand; avoid sliding to protect the screeded bed.
- Keep tight, uniform gaps so joint material performs as designed.
- Check level and line frequently and use spacers where needed to hold courses true.
Edge Restraints and Borders that Keep Pavers Locked In
Edges do more than finish a design; they lock the field and protect the base beneath. Anchored Construction recommends a restraint that suits the layout, plantings, and how the space will be used.
Plastic, metal, or concrete curbing: where each excels
Plastic edging is flexible and follows sweeping curves. It works well in organic yards and softer lines.
Metal edging gives a crisp modern line. It is thin, durable, and ideal for straight runs and tight geometry.
Concrete curbing is permanent and pairs with steps or raised features. It blends with masonry and stands up to heavy use.
Trenching and setting durable bond-beam borders
For a robust perimeter, trench to native soil and set stones into concrete to form a bond-beam. Tie borders into the compacted base so loads transfer without settlement.
- Proper restraints stop lateral movement and keep edges true.
- Match border size and color to the main field for cohesion.
- Keep the plate off fresh borders and protect the finish line during compaction.
Paver patio installation: Setting, Spacing, and Joint Stabilization
A careful approach to filling gaps and compacting seals the work and extends life. Anchored Construction explains sand selection, compaction passes, and cleanup so the finished surface stays stable and neat.
Polymeric sand hardens when activated with water. It limits weeds and washout in exposed areas. Regular sand stays loose and is economical. Choose polymeric sand for low maintenance. Choose regular sand when cost is the priority and access for re-sanding is easy.
- Fill joints by sweeping dry sand across the field, then compact so material settles into gaps.
- Use a plate compactor with a protective mat to seat units without scratching the surface or line.
- Repeat sweep-and-compact passes until joints are full and the area feels stable.
- Lightly top off joints after final compaction and confirm expansion allowances at steps or walls.
- Finish with a thorough clean so no haze or fines remain before any sealing step.
Clear communication about this final step helps lock in a long-lasting result. Anchored Construction guides homeowners through sand choice and compactor passes so the job completes cleanly and performs well.
Cleaning and Sealing for Beauty and Protection
A careful wash and the right sealer can lock in color and cut maintenance. After joints are filled, the crew advises a gentle first rinse to settle joint material without washing it out. Use a low-pressure hose setting and sweep lightly so polymeric sand activates, then stop before any runoff.
Rinse all surface dust thoroughly to prevent haze when the area dries. If haze appears, re-rinse gently and allow full drying before sealing.
When and how to apply sealer in Tennessee
Choose a dry, mild-weather window. Warm, wind-free days let sealers cure evenly. Wait until moisture from the base and sand has evaporated before applying. Anchored Construction schedules sealing based on local conditions to avoid trapped moisture under the surface.
Pros and cons of sealing
- Benefits: deepens color, resists stains, and helps stabilize joints for years.
- Trade-offs: some products reduce traction when wet and need reapplication every 2–3 years.
- Test a small area first to confirm sheen and slip resistance.
Practical tips: keep sprinklers off during cure and limit foot traffic until dry. Anchored Construction can recommend products and timing for Knoxville areas so the finished surface performs well.
Maintenance Made Simple: Keep Your Patio Level, Clean, and Weed-Free
A little attention each season makes a big difference in surface life and appearance. Anchored Construction & Restoration provides a clear post-project care guide so homeowners know what to do and when.
Seasonal care: freeze-thaw, de-icers, sun exposure
Sweep and rinse regularly to remove grit and organic debris. This keeps color and reduces wear over the years.
In winter, avoid corrosive de-icers. Use sand for traction instead of salts that harm joints and the base.
Fixing settling, replacing damaged units, and re-sanding joints
If a small area settles, lift the units, correct the base, and reset for a level surface. One advantage of pavers is replacing single units without redoing the whole field.
Tackling efflorescence and preventing future issues
Treat white mineral deposits with a suitable cleaner. Improve drainage and keep joints full to reduce recurrence.
- Sweep debris often and rinse as needed to keep the patio looking its best for years.
- Make sure joints stay filled; add sand if gaps appear after heavy rains or seasonal movement.
- After resetting, a light pass with a compactor or a plate compactor mat re-seats units where appropriate.
- Use polymeric sand to discourage weed growth and washout in exposed areas.
- Inspect edges each spring to confirm restraints are tight and aligned. Keep a short log of work for future reference.
Your Knoxville Team: Anchored Construction’s Experience You Can Trust
When accuracy, schedule, and respect for your home matter, choose a team that backs its work with years of proven results. Anchored Construction & Restoration was founded in 2000 and is led by Knoxville native Travis Bullington.
Travis is a South Doyle High and University of Tennessee graduate. He leads a crew that understands East Tennessee soils, freeze-thaw cycles, and good drainage.
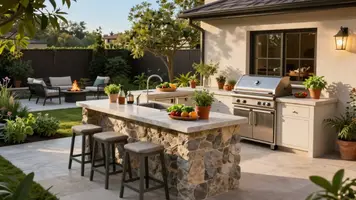
The company handles decks, concrete services, landscape work, outdoor kitchen design, hardscape work, retaining wall repair, warehouse projects, pallet racking, and bobcat and excavation services.
Why homeowners choose Anchored Construction
- 25+ years delivering durable outdoor spaces that fit local conditions.
- Integrated work: steps, sitting walls, grill pads, and concrete tie-ins for a cohesive result.
- Bobcat and excavation services keep timelines tight and sites tidy.
- Clear updates and careful site protection show respect for your property.
- Make sure your goals guide each decision; the team listens first, then recommends the best path.
Ready to start your project? Call (865) 316-6933 or email Info@anchoredconstructiontn.com to share photos, measurements, and a preferred start window.

Conclusion
A thoughtful finish ties every step together and keeps the new surface performing for years.
A well-executed project follows one sequence: careful excavation, compacted base, screeded sand, accurate layout, secure borders, full joints, and a final rinse or seal. Typical work completes in about 4–7 days, weather permitting. That steady time frame helps homeowners plan around daily life and landscaping.
Choose materials and patterns that match your goals. Install pavers with consistent spacing, compact with a plate, and top off small gaps so the surface stays stable. Final rinses with a hose remove dust and reveal true color.
Ready to transform your space? Call Anchored Construction & Restoration at (865) 316-6933 or email Info@anchoredconstructiontn.com to share photos, dimensions, and an ideal start time.