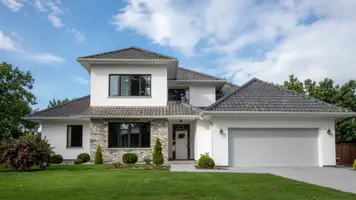
Have you ever wondered why a well-built outdoor structure can change how your home feels and functions?
Anchored Construction & Restoration brings more than 25 years of experience to East Tennessee projects. Founded in 2000 and led by Knoxville native Travis Bullington, the team blends practical know-how with a respect for property and landscape.
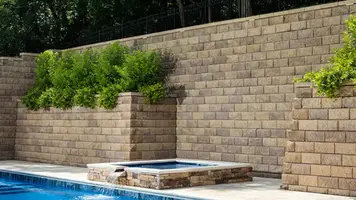
The company designs and builds the right stone retaining wall for your landscape, focusing on drainage, footing details, and finish choices that improve both performance and curb appeal.
Clients get clear recommendations on materials and methods. The process stays professional and respectful of your schedule and existing plants. Repairs are handled with the same care as new builds to restore look and stability without needless disruption.
For estimates and scheduling, call (865) 316-6933 or email Info@anchoredconstructiontn.com to start a straightforward, guided project with a local team you can trust.
Key Takeaways
- Anchored Construction offers 25+ years of local expertise in East Tennessee.
- The team explains materials and methods in plain language.
- Design and drainage are prioritized for long-term performance.
- Repairs and new builds use proven techniques to protect landscape and timeline.
- One contact coordinates excavation, compaction, and finishing details.
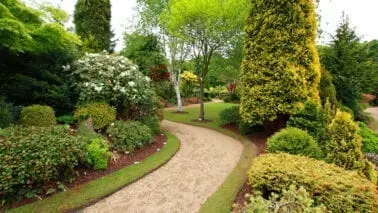
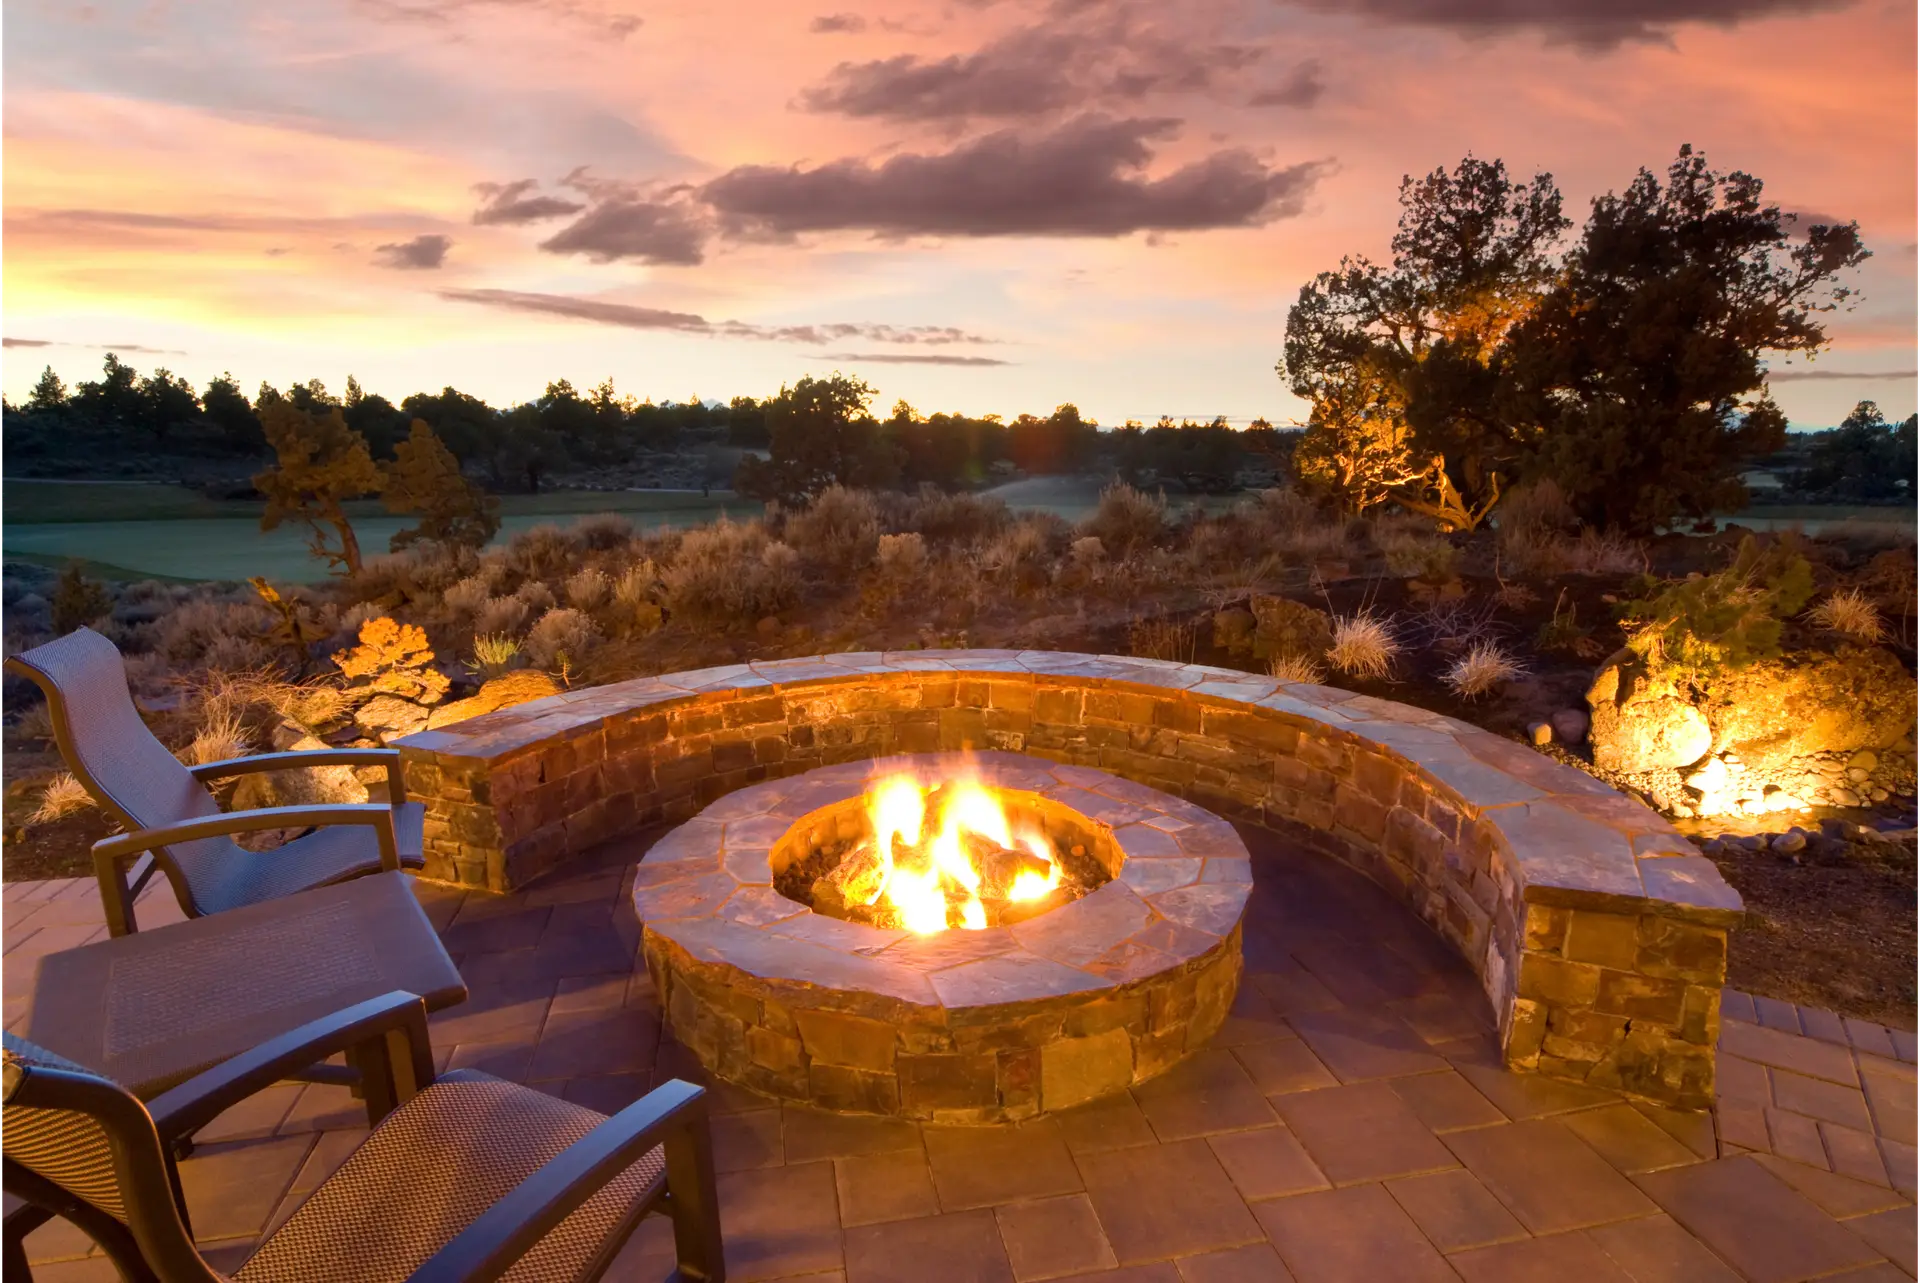
Why a Stone Retaining Wall Works: Form, Function, and East Tennessee Curb Appeal
A thoughtfully built barrier transforms erosion-prone ground into usable landscape. Anchored Construction & Restoration draws on 25+ years of local experience to recommend materials and finishes that match regional sites. Travis Bullington guides choices that balance durability with look.
Proper drainage reduces hydrostatic pressure behind a structure and prevents movement over time. Short, dry-stack stone features drain well and suit DIY projects when under 3 feet.
- On a slope, a masonry element creates terraces, controls erosion, and directs water away from foundations.
- Stabilizing soil limits washouts after storms and protects your landscape investment season after season.
- Natural stone offers varied color and face texture; manufactured block gives uniform sizing and a modern profile.
- Taller builds need attention to height, load, and possible engineering so the result performs for years.
Anchored helps homeowners pick the right type and materials so the finished face complements the home and property.

Plan First: Codes, Permits, Utilities, and Wall Height Limits
Before you break ground, check codes and plan carefully to avoid costly delays. A short permitting plan saves time and protects your property. Anchored Construction & Restoration helps homeowners in Knoxville and nearby areas navigate local rules and safe excavation.
Call 811 before you dig and map out utilities
Always call 811 to have underground utilities marked before excavation. This prevents service interruptions and keeps projects on schedule.
Permit triggers and local rules for 30–48 inches
Many jurisdictions require permits at 30, 36, or 48 inches. Make sure your planned retaining wall height is verified before you buy materials or dig.
- Proximity to a property line, drive, or structure can change the type of review needed.
- Some area requirements include inspections even for smaller builds.
- Clear permit plans align inspections with compaction and drainage steps.
When engineering is required and when DIY is appropriate (≤3 feet)
Engineering is often required when a wall supports surcharge loads or exceeds about 3 feet. DIY projects are realistic at or below 3 feet in simple conditions.
Anchored Construction coordinates permitting guidance, safe excavation planning, and timeline management so projects move without surprises.
Materials, Tools, and Site Layout for a Long‑Lasting Build
Choosing the right aggregates and layout makes the difference between a project that lasts and one that fails.
Gravel base, sand, and landscape fabric form the foundation. Order compactible gravel for the base and coarse sand for final leveling. A typical gravel base is 5–6 inches, compacted in lifts. Screed a 1‑inch layer of coarse sand above the gravel to get a consistent level.
Lay landscape fabric perpendicular to the face with 6‑inch overlaps. This separates soil and aggregates and improves drainage.
Selecting stones and organizing the build area
Sort stones by function before setting any piece. Reserve large, flat units for the first course. Use smoother pieces for capstones to create a finished edge. For natural stone, order extra to cover size variation and selection on site.
Tools, layout, and compaction gear
Use wood stakes and a mason’s line to mark alignment. A long straightedge and a 4‑foot level keep courses true end to end. Anchored Construction & Restoration brings bobcat excavation, calibrated levels, and plate compactors to ensure a consistent base and finish.
- Stage materials off the layout line and close to the work area to reduce handling.
- Plan trench depth to include inches of gravel and sand plus the buried portion of the first course.
- Use a plate compactor for broad areas and a hand tamp near edges and tight spots.

How to Build a Stone Retaining Wall: Step‑by‑Step Pro Method
Begin with a careful trench layout to ensure the structure stays level from the first course upward. A clear plan saves time and prevents common problems later.
Excavate and prepare the base
Excavate a flat trench about 12 inches deep so the base bears on undisturbed ground. Roll out landscape fabric perpendicular to the face with 6‑inch overlaps and extend it onto the upper ground.
Build the compacted base and set the first course
Place 5–6 inches of compactible gravel in lifts and compact each lift firmly. Screed a 1‑inch sand layer so the first stones seat without rocking. Set large, flat stones for the first course and check level across multiple pieces.
Stacking, drainage, and backfill
Stagger vertical joints and step each course back slightly for stability and a clean face. Install a perforated drain pipe at the base, surround it with drainage gravel, and daylight the line every 20–30 feet.
- Backfill with gravel only and compact in stages, keeping backfill just below the working course.
- Add tie‑back (deadman) stones about every 4 horizontal feet to lock into the slope.
- Fold fabric over the drainage layer near the top, then set capstones; a bead of masonry adhesive can secure the top course.
Make sure finished grades direct water away from the structure. Anchored Construction & Restoration uses pro tools and crew coordination to keep lines true and drainage reliable across East Tennessee seasons.
Repairing and Maintaining Retaining Walls: When to DIY and When to Call Anchored Construction
Noticing a bulge or lean is the first step toward preventing a costly failure. Quick checks save time and can limit repair scope.
Common issues: bulging, settling, and hydrostatic pressure
Bulges and settled sections usually mean trapped water or poor backfill. Soft soil behind the face lets movement start at the base. Freeze‑thaw and storms speed the process.
Smart fixes: regrading, improved backfill, added drainage, and stone reset
Tip: Regrade the top to shed water away from the structure. Replace soil near the face with drainage gravel. Add a perforated drain that daylights to a safe outlet.
- Reset loose caps; clean debris and use mortar or adhesive for a secure top.
- Disassemble lean sections to a stable course, correct base compaction, then rebuild.
- Install tie‑backs or improved backfill when soil or loads cause repeat movement.
Pro help for taller walls, structural failure, and large projects
DIY repairs fit short, simple jobs under 3 feet. For taller structures, load‑bearing locations, or commercial projects, call a pro.
Anchored Construction & Restoration inspects soil, diagnoses causes, and specifies targeted fixes. For an on‑site assessment, call (865) 316-6933 or email Info@anchoredconstructiontn.com.

Conclusion
A strong foundation and reliable drainage make the difference between a short-lived fix and a lasting improvement.
Build a durable stone retaining wall on a dense base, set level courses, and use staged gravel backfill to control soil and load. Daylight drainage so water leaves the face and ground stays stable. Keep the top aligned and capstones tight for a crisp look that sheds water.
For simple slopes and projects up to 3 feet, a careful DIY approach can work. For taller or loaded structures, engineering and pro installation protect the result over time.
Anchored Construction & Restoration, founded in 2000 by Knoxville native Travis Bullington, brings 25+ years of East Tennessee expertise. Call (865) 316-6933 or email Info@anchoredconstructiontn.com to start your project.