Wondering why some outdoor projects settle or drain poorly even after careful paving? That question matters when you invest in a durable surface.
Anchored Construction & Restoration brings over 25 years of field experience across Knoxville and East Tennessee. Their team explains how a proper layered system creates a long-lasting foundation that handles weather, foot traffic, and furniture.
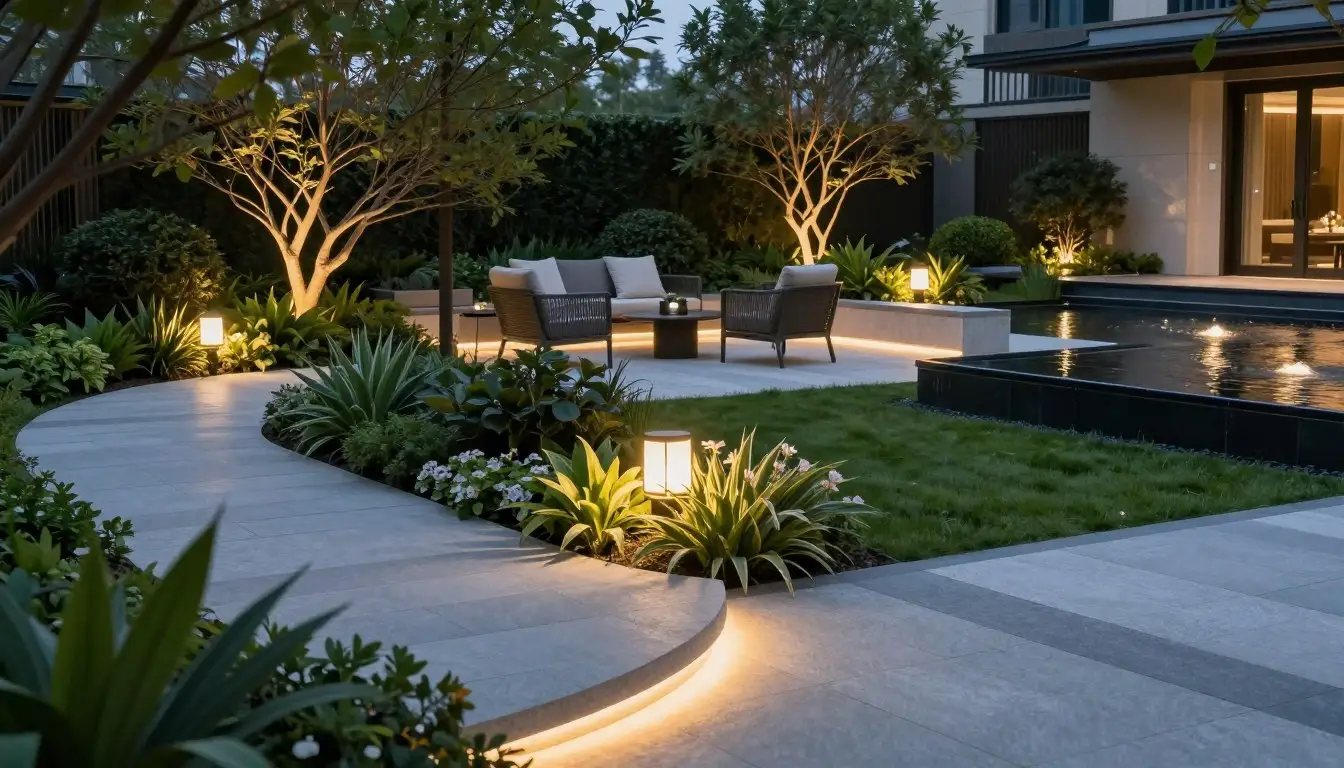
The right setup uses compacted gravel or crushed stone in lifts and a true 1-inch bedding course of coarse sand or ASTM No. 9 on top. This combination improves stability and drainage while preventing shifting or sinking.
This short guide walks you through planning, excavation depth in inches, lift compaction, and material choices so your project performs for years. For quotes or questions, call (865) 316-6933 or email Info@anchoredconstructiontn.com.
Key Takeaways
- A layered system of compacted stone and a 1-inch bedding course delivers strength and drainage.
- Proper lift thickness and compaction reduce settlement and long-term maintenance.
- Know local soil and weather to size each layer for your load and climate.
- Choosing the right materials saves time and money during the process.
- Anchored Construction offers expert help from planning through final sweep.
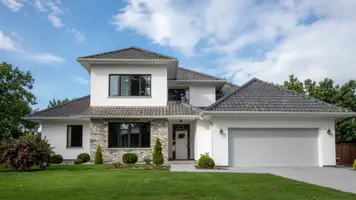
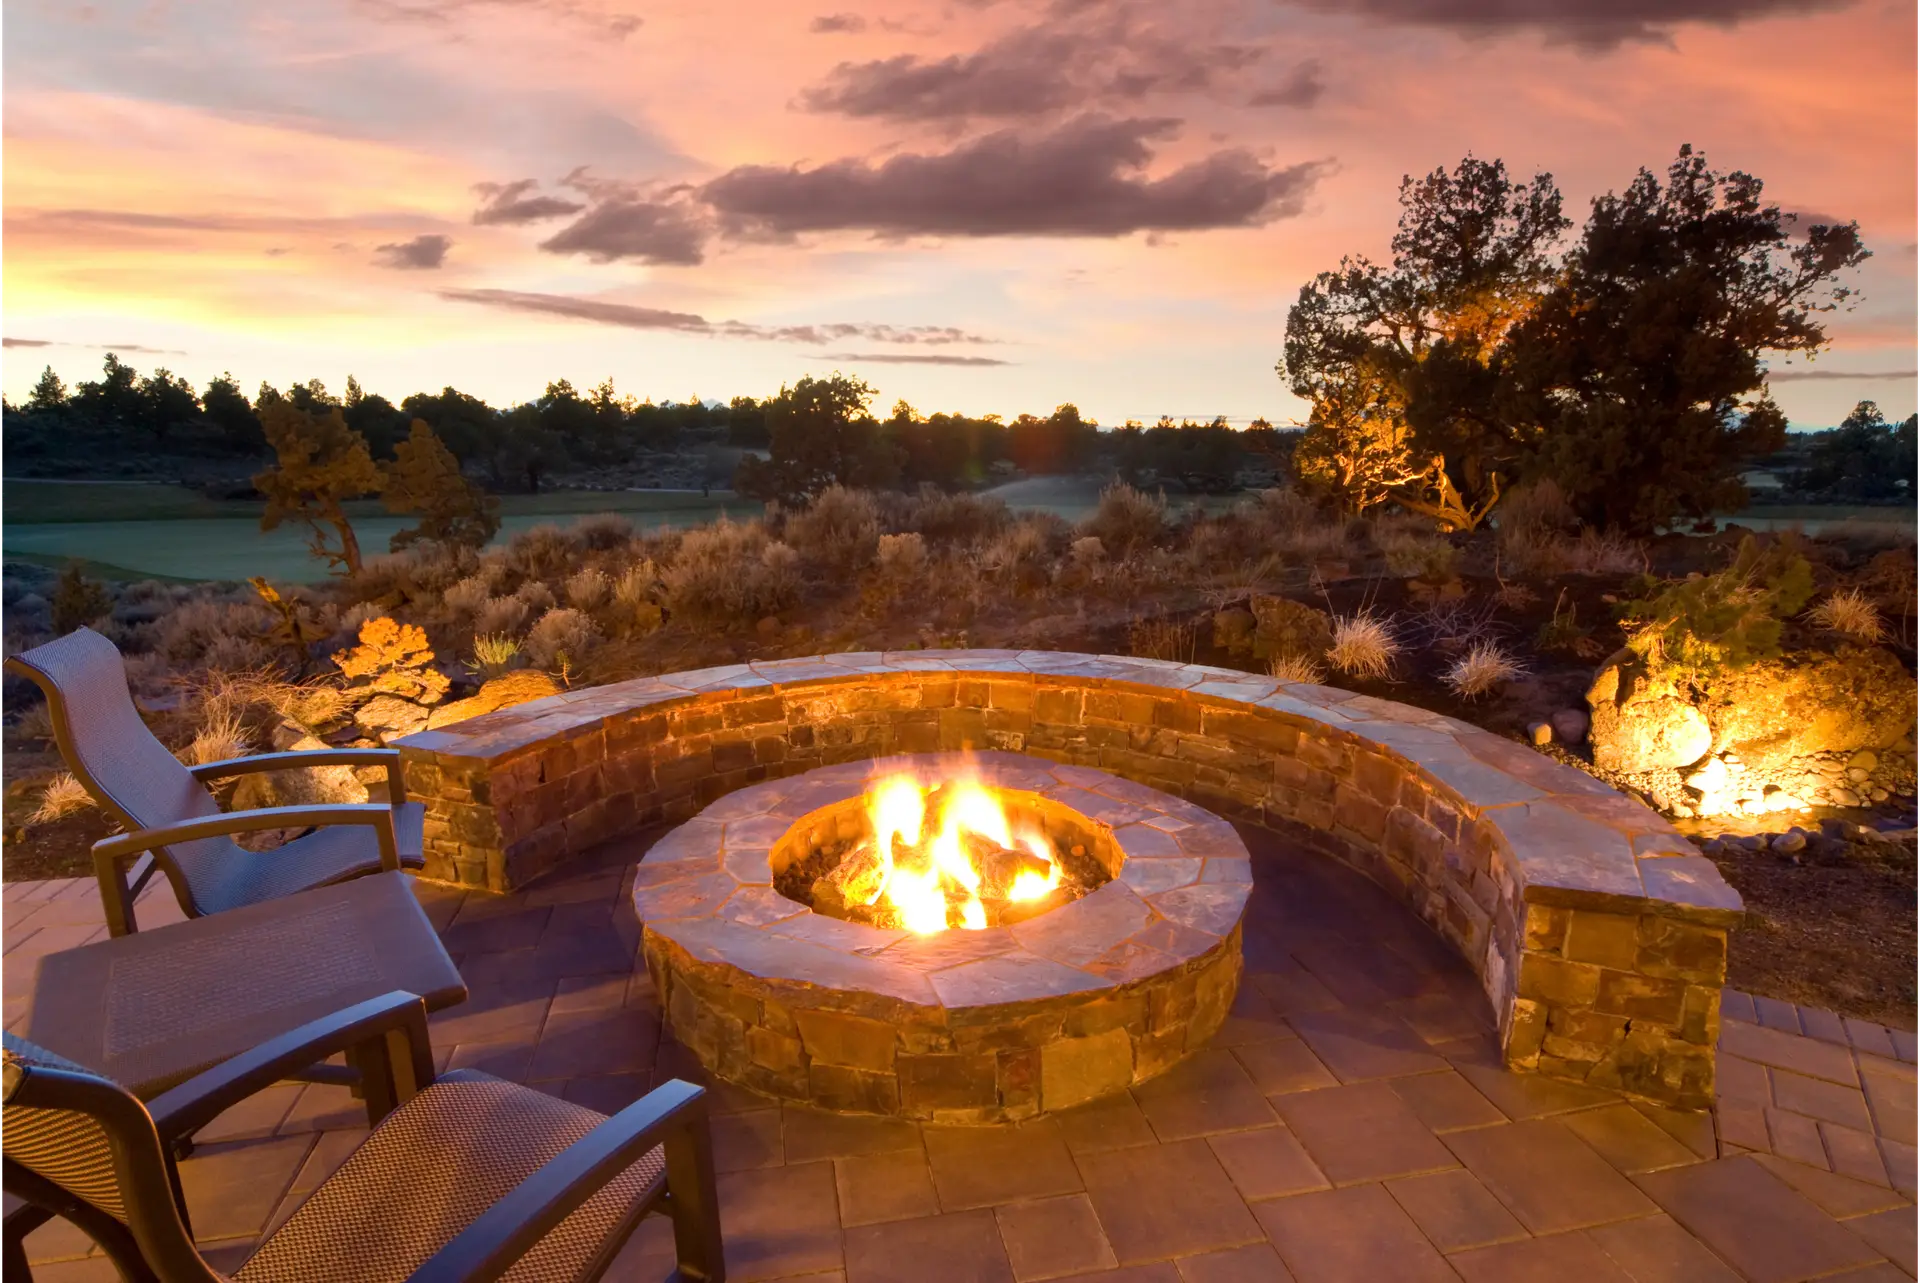
Why the Right Paver Patio Base Matters for Long-Term Stability and Drainage
The right structural layers decide whether your outdoor surface stays level through seasons. Anchored Construction & Restoration stresses that a well-built foundation controls water, distributes weight, and limits movement.

How layers prevent sinking and frost heave
Compacted crushed stone or clear stone supports loads and lets water escape from the bedding layer. Layers compacted in stages spread weight into the soil and reduce gaps that form when soils shift after rain.
A design that maintains voids in the aggregate helps water flow downward. That reduces pressure on the bedding, lowers freeze-thaw risk, and prevents long-term damage to paving materials.
- Staged compaction limits settlement and trip hazards.
- A 1-inch bedding of coarse sand or HPB/ASTM No. 9 levels the surface while passing water to the gravel layer.
- Tailoring layer type and thickness to local soil and climates protects your investment.
For a professional evaluation in Knoxville and East Tennessee, contact Anchored Construction & Restoration at (865) 316-6933 or Info@anchoredconstructiontn.com.
Plan Your Project: Soil, Climate, and Load Considerations Before You Start
Begin with a realistic assessment of the ground and how you will use the space. Anchored Construction evaluates soil type, site access, and intended use during a free consultation in Knoxville and East Tennessee. Call (865) 316-6933 or email Info@anchoredconstructiontn.com.
Assessing subsoil type: sandy, silty, or clay and what it means for depth
Determine whether the subsoil is sandy, silty, or clay by texture and drainage. Sandy soils drain fast and usually need less depth. Clay holds water and often requires more depth to protect the foundation.
Foot traffic vs. drive loads: patios, walkways, and vehicle areas
Use load needs to set excavation targets. For seating and walkways, common base thickness ranges from 6 to 10 inches by soil type. Drive areas may need 8 to 14 inches for lasting stability.
- Identify soil and drainage first.
- Match materials — road-grade gravel or clear stone — to your soil and climates.
- Plan access and edges so compaction and containment work well in tight areas.
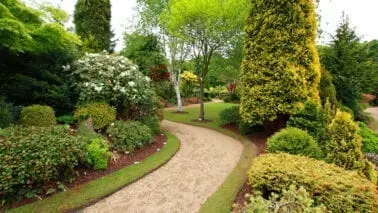
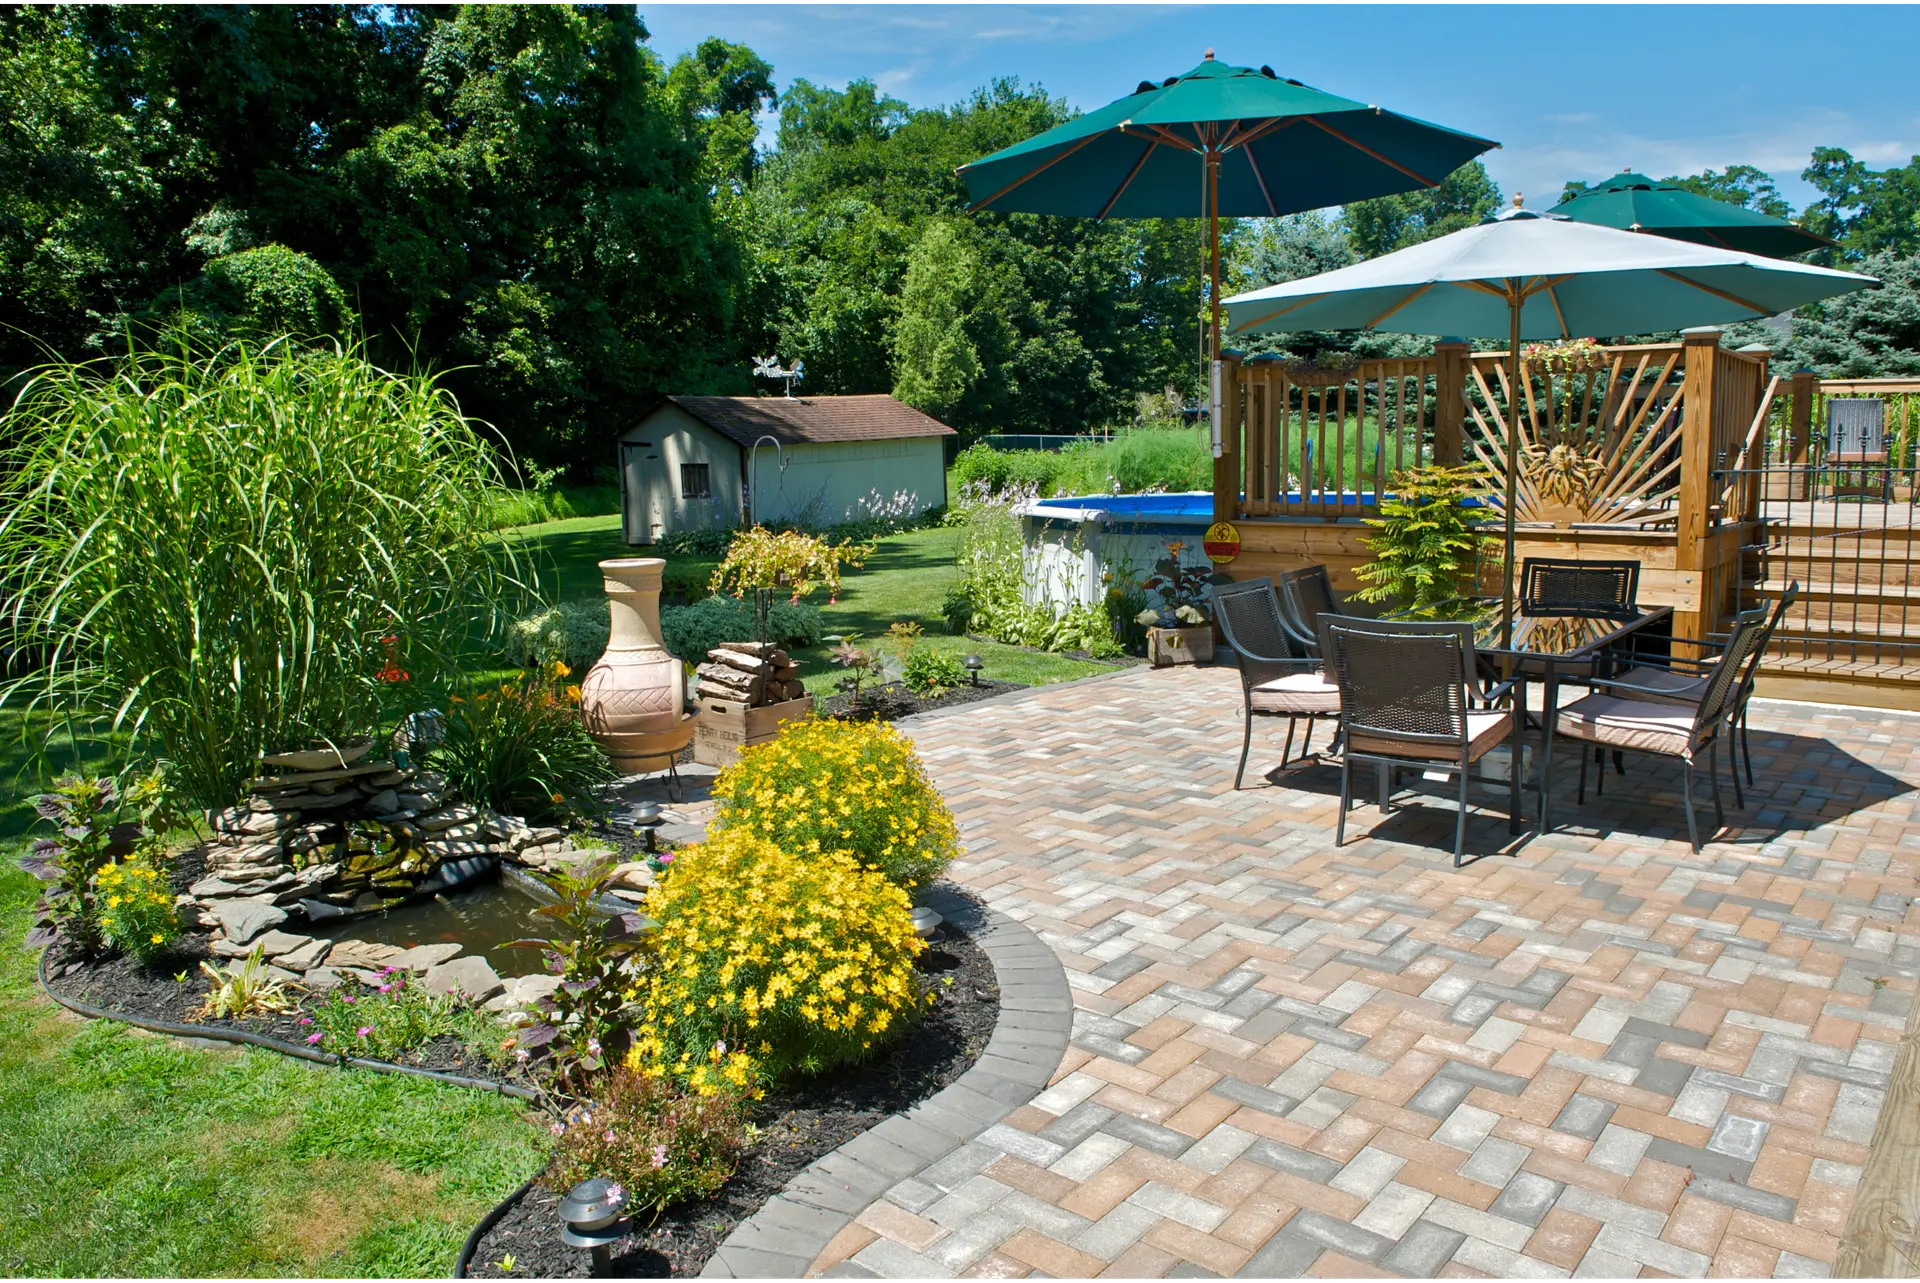
Materials You’ll Need: Gravel, Crushed Stone, Bedding Sand, and Geotextile
Good results start with the right stone, sand, and separation fabric chosen for the site. Anchored Construction sources reliable aggregates and accessories for Knoxville and East Tennessee.
Traditional vs. open-graded material: when to choose each
Traditional material with fines compacts dense. Choose it for mixed use and tighter budgets. It locks under traffic and gives firm support.
Open-graded clear stone drains well. Use it in wet settings or for permeable installations where water management matters.
Clear stone, road-base gravel, and HPB/ASTM No. 9
Clear stone around 3/4″ gives voids for drainage while still performing under compaction. Road-base gravel (three-quarter minus) includes fines for dense support. For bedding, use a true 1-inch layer of coarse sand or HPB/ASTM No. 9.
Edge restraints, geotextile fabric, and joint sand
- Select sturdy edge restraints to stop lateral movement.
- Lay geotextile fabric over soft subsoil to limit migration of fines.
- Finish joints with polymeric or washed concrete sand based on the design and weed control needs.
Anchored Construction will specify exact materials and layer thickness for your projects. Call (865) 316-6933 or email Info@anchoredconstructiontn.com for a tailored materials list.

Tools and Equipment for a Pro-Grade Base
Choosing the right tools speeds work and ensures a consistently compacted surface. Anchored Construction & Restoration brings professional equipment to reduce project time and deliver uniform compaction across the entire area. For tool-free builds, call (865) 316-6933 or email Info@anchoredconstructiontn.com.
Plate compactor vs. hand tamper: For larger areas, a plate compactor rated 7000+ pounds of centrifugal force gives reliable density for each lift of the base. A rubber-padded compactor in the 4500–5500 range helps seat paver units without marring faces.
Hand tampers work well in tight corners, steps, or very small spots where machinery cannot fit. Using the right tool for the space prevents uneven compaction and costly rework.
- A plate compactor delivers consistent density across lifts—hard to match by hand.
- Use a hand tool for tight areas and delicate edging near steps.
- Carry a level, string line, and stakes to check slope and elevations as you compact.
- Keep a flat shovel, rake, and wheelbarrow to spread gravel evenly before compaction.
- Screen rails and a straight board help set the bedding layer before laying pavers.
Anchored Construction uses contractor-grade equipment sized to your site. The right setup speeds installation, improves uniformity, and extends the life of the patio and paver surfaces.
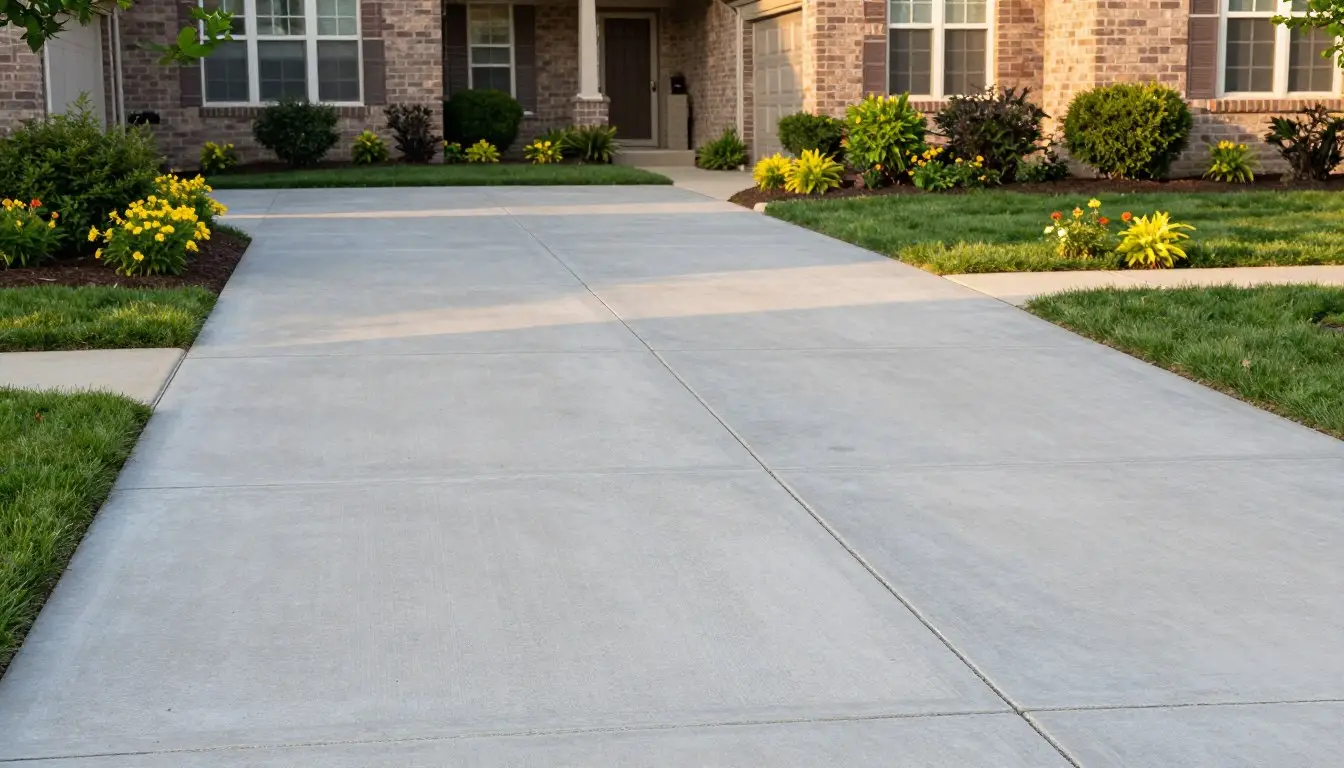
How Deep Should Your Base Be? Calculating Depth by Use and Soil
Deciding how deep to dig starts with matching soil type and intended use. Depth controls load capacity, drainage, and long-term performance. This quick guide gives simple rules and a fast math method to order materials.
Typical depths for walkways and drive areas
Patios and walkways: sandy soils ~6 inches; silty ~8 inches; clay ~10 inches. Add a 1-inch bedding of coarse sand or HPB on top.
Driveways: sandy ~8 inches; silty ~12 inches; clay ~14 inches. Then add the 1-inch bedding layer.
Quick math to estimate materials
Use Length × Width × Depth (feet) = cubic feet. Divide by 27 to get cubic yards.
- Example: 10 × 10 ft with 6″ depth = 50 cubic ft ≈ 1.85 cubic yards.
- Spread gravel in 3-inch lifts and compact each lift before the next.
- Round up for compaction and waste when ordering stone and sand.
Anchored Construction & Restoration can size your excavation and materials list and handle hauling. For a precise takeoff, call (865) 316-6933 or email Info@anchoredconstructiontn.com.
Excavation and Subgrade Prep: Set the Stage for Success
Start excavation by clearly defining the footprint so work stays precise and predictable. Mark utilities, stakes, and string lines before digging. This keeps the work area accurate and safe.
Excavate to the calculated depth, allowing for the base, the 1-inch bedding, and the paver thickness. Remove loose soil and account for extra inches where soft spots exist.
Marking, digging, and managing slope for water runoff
Shape the subgrade with a consistent fall of about 1 inch for every 4 feet to move water away from structures. Keep string lines visible as elevation guides.
Subgrade compaction and when to use geotextile fabric
Compact the exposed soil until it is firm and unyielding. Bridge soft or clayey soils with geotextile fabric before placing the first lift of stone.
- Place stone in roughly 3-inch lifts and compact each lift methodically.
- Check elevations frequently with a level or laser; fix errors at the subgrade stage.
- Keep clean, defined edges to support future restraints and a neat surface.
Anchored Construction & Restoration handles utility marking, clean haul-off, and precise grading for consistent slope across the area. Call (865) 316-6933 or email Info@anchoredconstructiontn.com for site prep help. A disciplined process here protects drainage and prevents uneven settlement as you proceed to the paver base and final installation.
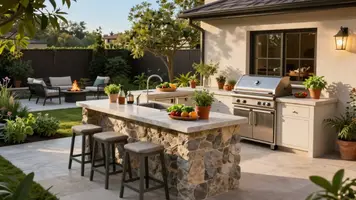
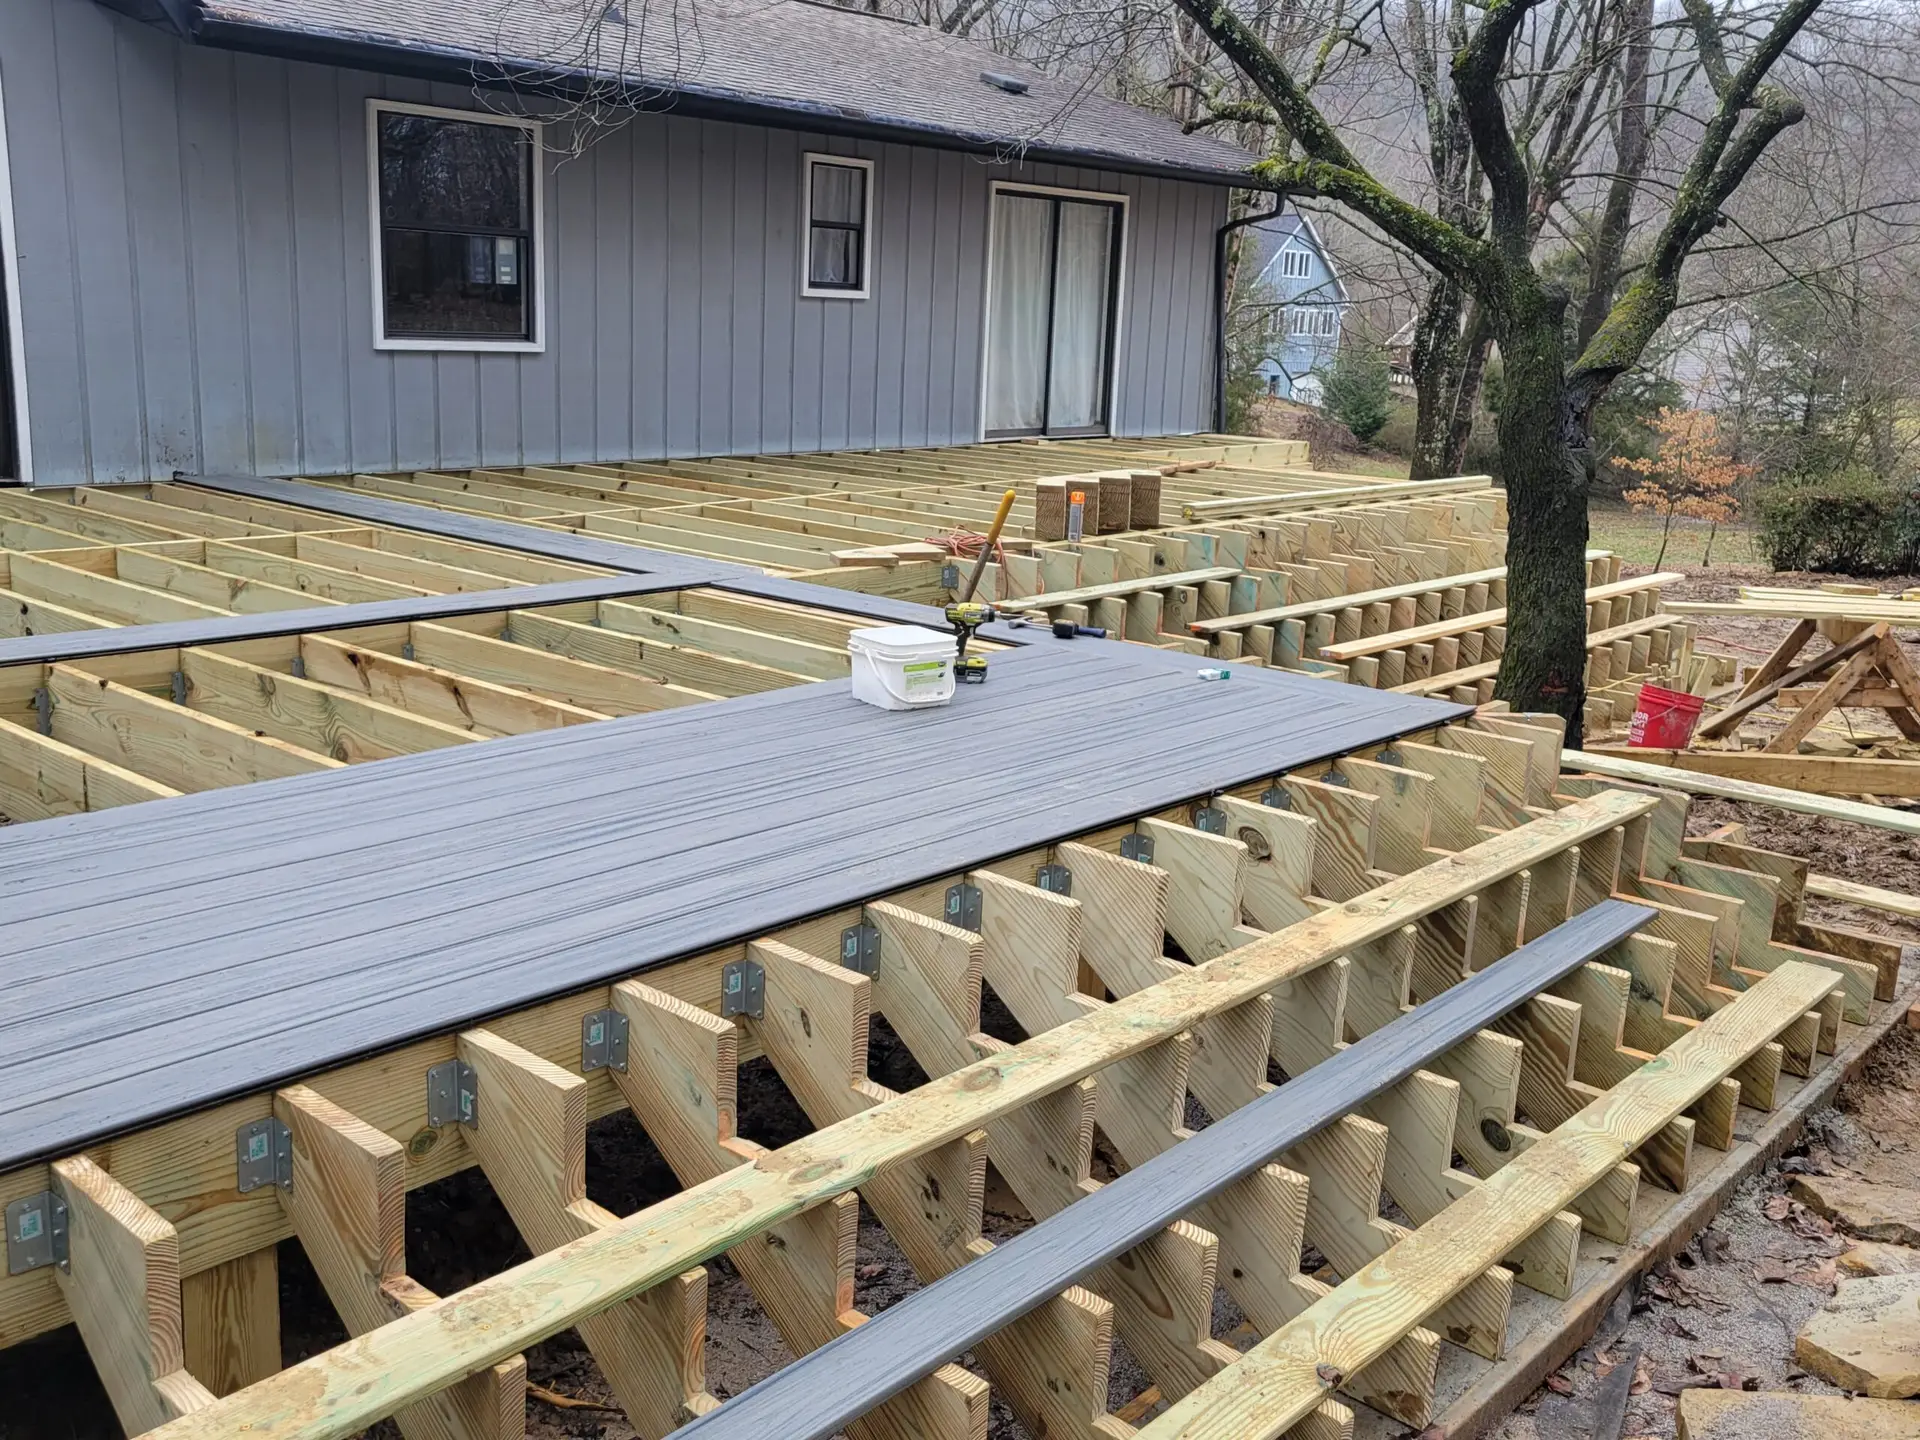
Install the paver patio base: Build the Gravel Base in Proper Layers
Proper sequencing of deliveries and compaction sets the stage for a durable finished surface. Anchored Construction & Restoration stages materials so crews maintain even lifts and a consistent slope during installation.
Lift thickness, compaction passes, and moisture tips
Spread gravel in 3-inch lifts and compact each one before adding more. Place the first lift of stone, run overlapping passes with the compactor until it rides firm, then repeat until you reach elevation.
Lightly dampen dry aggregate to help particles lock during compaction. Avoid saturation; too much water creates slurry and reduces density.
Achieving a consistent slope and level across the area
Check slope and level with string lines and a level between lifts so you do not lose fall during densification. Feather material into low spots, compact, then re-check elevations to avoid waves in the finished surface.
- Work from the outside in and protect freshly graded edges from equipment to prevent sloughing.
- Bridge seams with the compactor to keep density uniform across the ground.
- Confirm the final surface is smooth and at the correct height to accept the 1-inch bedding layer.
Take your time with compaction. A few extra passes now save repair time later. For turnkey builds in Knoxville, call (865) 316-6933 or email Info@anchoredconstructiontn.com. Anchored Construction sequences deliveries and compaction to deliver a level, well-drained surface.
Set the Bedding Layer and Lay Pavers the Right Way
Start the final stage by creating a clean, accurately leveled bedding before laying each unit. A consistent 1-inch screed prevents future rocking and uneven joints. Anchored Construction ensures clean rails and careful screeding for every installation in East Tennessee.
Screeding HPB/coarse sand to a true 1-inch layer
Set 1-inch screed rails and pull a straight board to make a uniform bedding layer of HPB or coarse sand. Do not walk on the screeded surface. Place units from the laid field backward to preserve the finish.
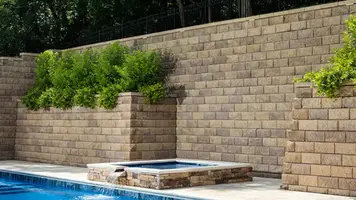
Edge restraints, joint sand, and final compaction to lock pavers
- Align the first course on a straight reference line so patterns stay true across the area.
- Install edge restraints as you go to prevent lateral spread and reduce gaps.
- Sweep joint sand into joints and compact with a plate compactor fitted with a protective mat to seat the pavers into the bedding.
- Repeat sanding and compaction until joints are full. Check level as you work and correct any slight rocking by lifting, adjusting the bedding, and resetting the unit.
Finish tip: Trim edges with a saw for clean cuts and rinse polymeric joints per manufacturer instructions. A careful installation sequence produces a flat, stable surface that resists movement and sheds water. For expert hardscape installation in East Tennessee, call (865) 316-6933 or email Info@anchoredconstructiontn.com.
Plastic Paver Base Panels: When They Make Sense—and When They Don’t
When soil is firm and access is tight, modular plastic panels can shorten project time and reduce digging. These lightweight, high-density polypropylene units interlock to spread loads and create built-in channels for drainage.
Benefits
Less excavation and faster installation are the main advantages. Panels can cut digging by roughly 40–50% in some cases. They speed work in fenced or tight-access areas where bringing in tons of stones is disruptive.
Limitations
Panels have an operational range of about -20°F to 140°F. Many systems are not rated for vehicle loads. They can make surfaces hotter in summer and hold ice longer in winter. Availability and cost vary by region.
Common mistakes
- Skipping uniform subgrade compaction; panels won’t fix soft spots.
- Failing to maintain slope—keep about 1 inch per 4 feet for runoff.
- Using plastic sheeting under the system instead of geotextile, or omitting edge restraints.
Anchored Construction & Restoration advises whether panels or traditional methods best suit your site and climates. For guidance in Knoxville and East Tennessee, call (865) 316-6933 or email Info@anchoredconstructiontn.com.

Conclusion
A dependable finish starts with decisions made long before the top layer goes down. This short guide sums the key steps for any outdoor project and helps you plan wisely.
Choose quality materials and build a strong paver base and gravel base with compacted stone in 3-inch lifts and a true 1-inch bedding for a stable foundation. Good checks on slope and edge restraints prevent water issues and gaps.
Use the right tools. A plate compactor and a protected mat for final seating keep your surface tight. Hand tools help in tight space and around edges.
Anchored Construction & Restoration has over 25 years serving Knoxville and East Tennessee. For design, concrete work, excavation, or to start your project, call (865) 316-6933 or email Info@anchoredconstructiontn.com.