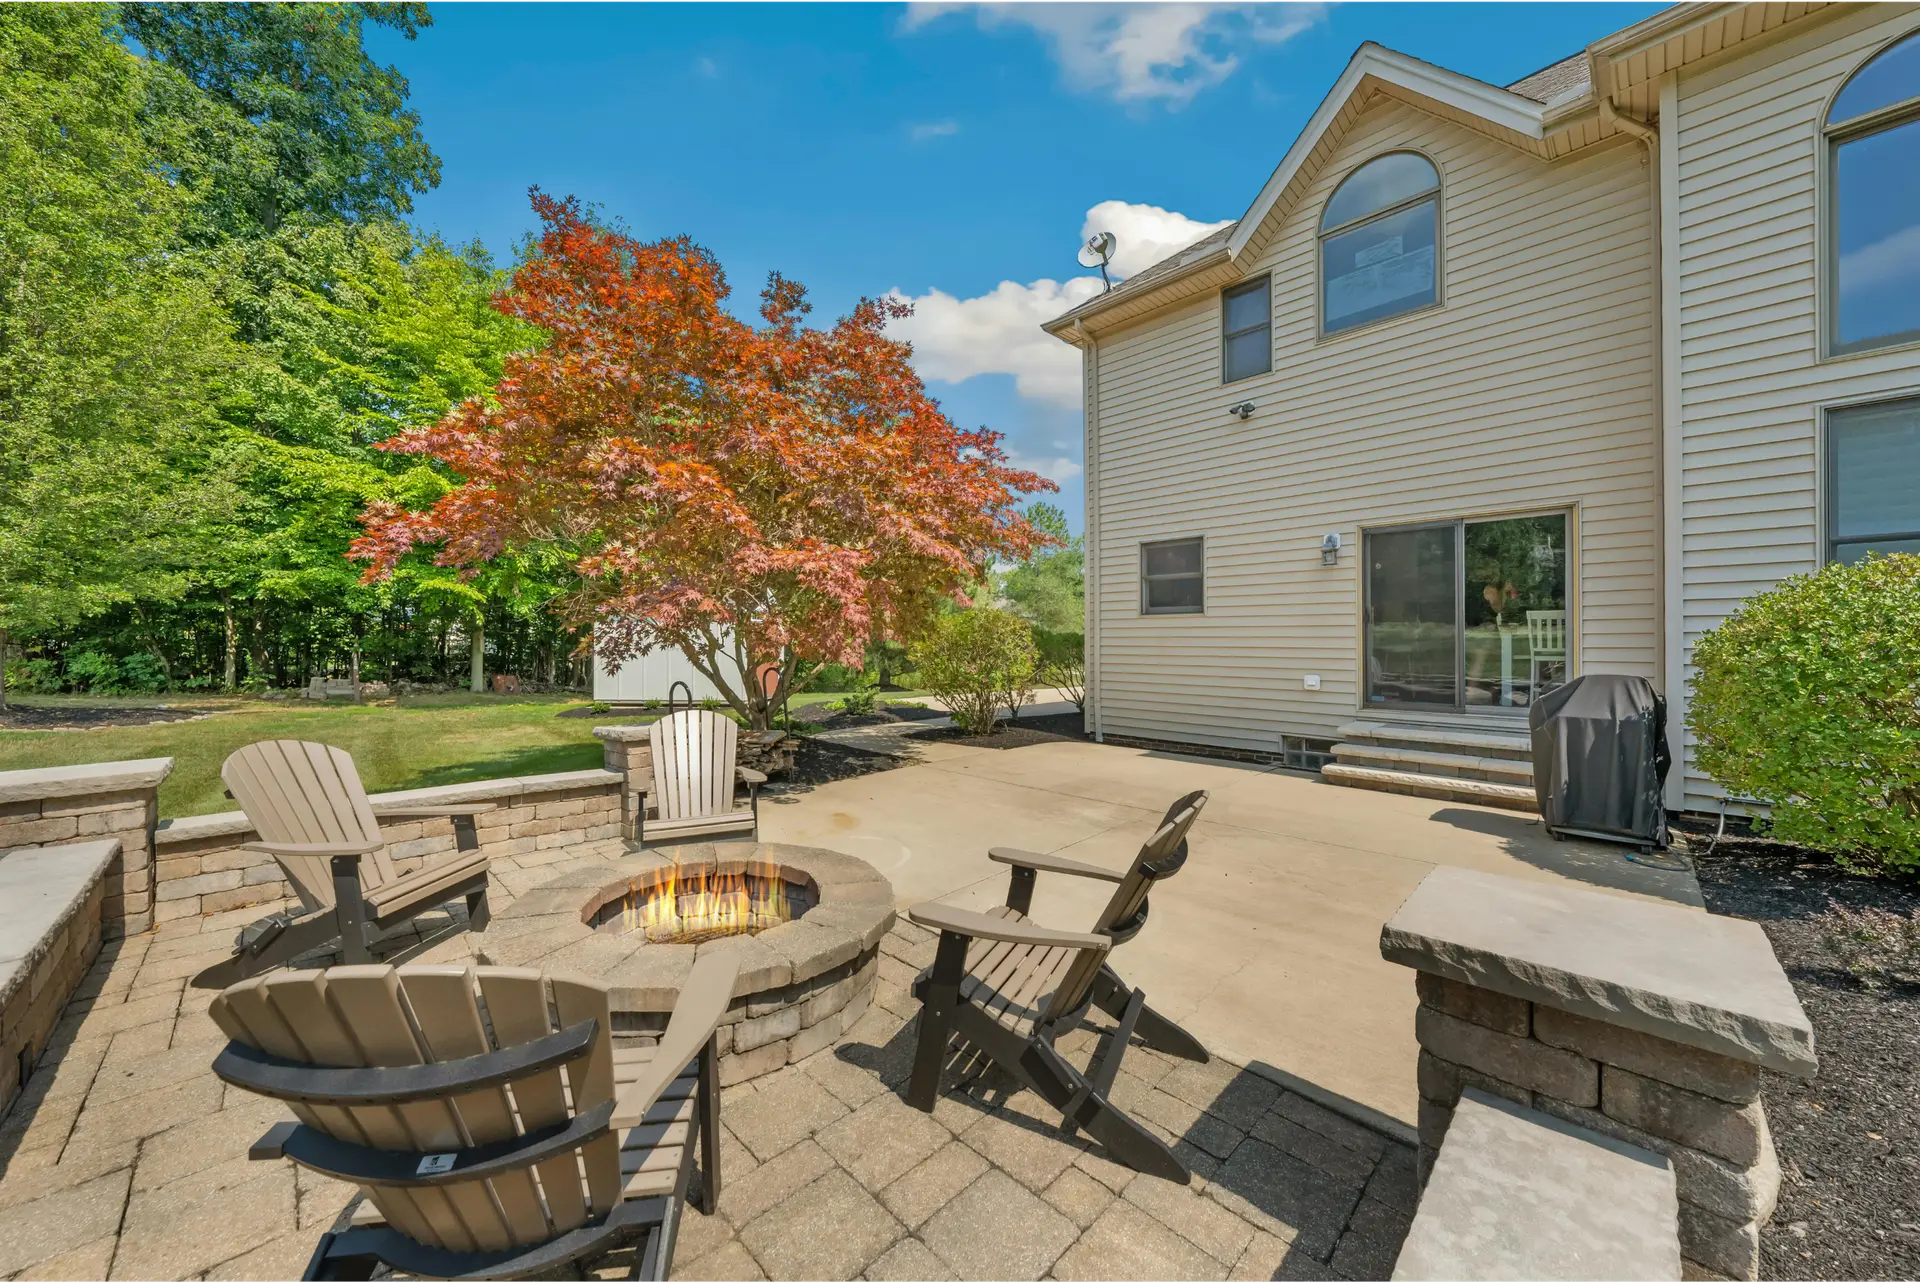
Can a small change in base depth and slope keep a patio level and drain rain away for decades?
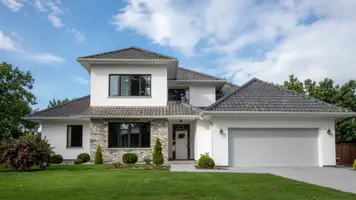
Anchored Construction & Restoration has served East Tennessee since 2000. The Knoxville team brings craftsmanship and outdoor passion to every project.
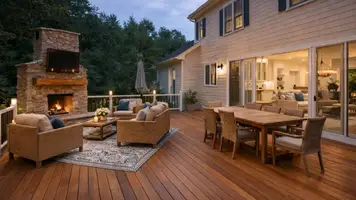
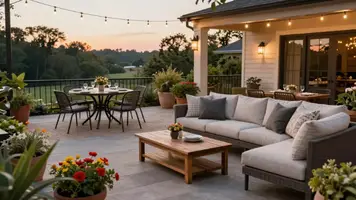
This concise guide outlines the process for a durable surface. Expect excavation of about 6–8 inches for pedestrian areas, a compacted base of 4–6 inches, and roughly 1 inch of bedding sand screeded flat before placing units.
Critical steps include correct slope (about 1 inch per 4 feet), multiple plate compactor passes, geotextile separation, and saving most cuts for last. Use a protective mat when compacting and finish by sweeping in joint or polymeric sand.
Readers will learn what tools and amounts of material to order. The emphasis is on safety, precision, and local soil and water considerations so you end with a stable, attractive outdoor area.
Key Takeaways
- Excavate 6–8 inches and compact a 4–6 inch base for long-term stability.
- Set a gentle slope (~1″ per 4′) so water moves away from structures.
- Use multiple compactor passes and a mat to protect units during compaction.
- Screed 1 inch of bedding sand, save most cutting for the end, then fill joints.
- Geotextile, proper drainage, and material planning reduce future maintenance.
- Anchored Construction & Restoration offers regional expertise for any phase.
Before You Start: What to Expect from This How-To Guide
Start with clear expectations: this guide maps each step, timing, and material need for a solid outdoor surface.
Anchored Construction & Restoration brings regional experience. The team has guided homeowners across Knoxville and East Tennessee for decades. That background shapes practical advice you can trust.

Plan materials carefully. Order 10–15% extra units for cuts and breakage. A cubic yard of base covers about 108 sq ft at 3 inches depth. Allow a 1-inch per 4-foot slope away from your house for reliable drainage.
- This guide explains each step in plain language and why each action matters before placing units.
- Expect realistic timelines so you can schedule tools, deliveries, and labor without rushing the project.
- Get a clear overview of materials and tools, including how much sand and base to order for your area.
Readers will learn where diy is sensible and where professional help avoids costly fixes. The process emphasizes base density, slope, and compaction so the finished patio performs through seasonal weather.
Plan Your Patio: Design, Pattern, Materials, and Tools
Map your layout before ordering materials so pattern choices and cuts fall into place. A clear plan saves time and reduces waste.
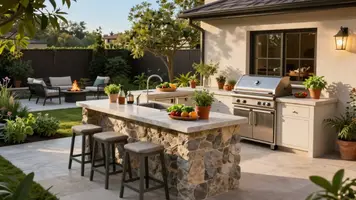
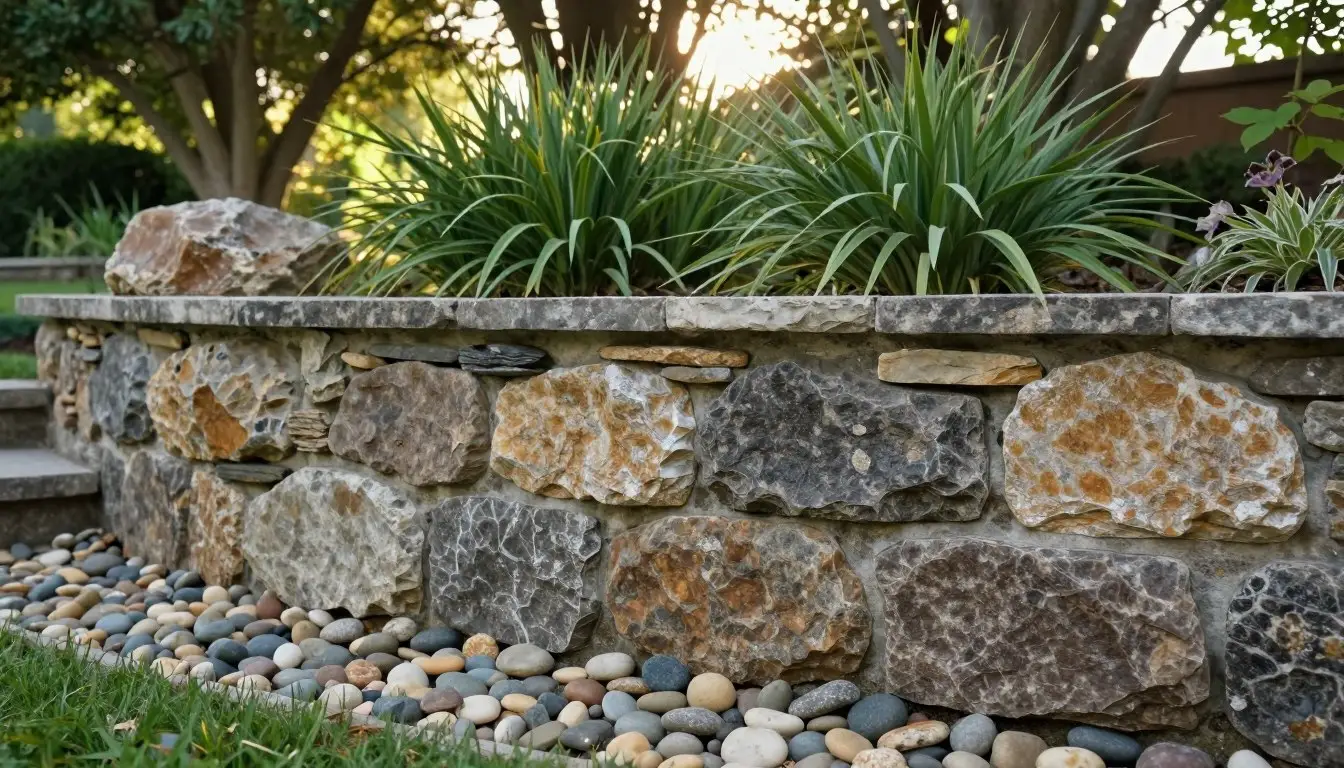
Choose your pavers: concrete, brick, or natural stone
Compare material types for appearance and freeze-thaw performance. Concrete gives strength and value. Brick offers classic color and texture. Natural stone provides unique surface variation.
Select a pattern: running bond or herringbone
Running bond minimizes cuts and speeds installation. Herringbone boosts interlock for high-traffic areas. Pick the pattern that fits use and style.
Order quantities and tools
Order 10–15% extra for edge cuts and breakage. Plan staging and mark utilities before deliveries.
- Essential tools: plate compactor, straight edge, string line, screed board, rubber mallet, level, masonry saw with proper blade.
- Safety: PPE for dust and noise; use water-feed or dust control when cutting.
- Tip: Anchored Construction & Restoration can help choose materials and patterns for East Tennessee. Call (865) 316-6933 or email Info@anchoredconstructiontn.com for local pricing and scheduling.
Site Layout and Ground Preparation for a Stable Base
A careful layout sets the stage for a stable outdoor surface and long-term performance.
Mark the work area with stakes and a tight string line. Verify the square by measuring diagonals and adjusting until they match.
Use a straight edge and level to establish elevation. Plan a 1-inch fall per 4-foot run so water moves away from structures.
Strip sod and organic soil completely. Pavers cannot be placed directly on grass; leaving sod leads to settling and deformation.
Excavate to the correct inches for base material, bedding sand, and the unit thickness. Typical patio excavation is 6–8 inches.
- Confirm area boundaries, then check diagonals and adjust the string line.
- Check ground for soft spots and remove unsuitable soil before compacting the base.
- Stockpile topsoil and sod separately for reuse and keep access paths clear.
- Plan transitions to existing walks and step heights now.
- Consider underdrains where roof discharge or high groundwater exists.
- For complex yards or tight lines, contact Anchored Construction & Restoration for precise layout and excavation across Knoxville.
Tip: Verify elevations along long runs with a level and straight edge before spreading base material. This prevents surprises when you lay pavers.

Build the Base and Bedding Sand Layers the Right Way
A well-built base is the single biggest factor that shapes long-term performance and drainage.
Begin by laying geotextile fabric over exposed soil. This separation stops base material from mixing with the subgrade and improves drainage.
Spread crushed gravel in lifts. For pedestrian space, target 4–6 inches of base. Compact each layer with a plate compactor and overlap passes for uniform density.
Lightly mist water during compaction where needed. Moisture helps fines bind and yields a denser base that resists settlement. Keep the designed slope of 1 inch per 4 feet as you work.
- Use consistent layers: build the base in even lifts and check thickness frequently.
- Screed the bedding: set rails and screed about one inch of concrete sand for a flat surface.
- Protect the grade: remove rails, refill gaps with sand, and avoid walking on finished bedding.
Consider mechanical edging first. A thin concrete haunch can follow if a permanent curb is desired. For larger projects, Anchored Construction’s bobcat and excavation services streamline prep and ensure consistent compaction across the entire area.
how to lay pavers patio: Step-by-Step Laying and Cutting
Set your first course from a verified 90-degree corner and work outward for consistent lines. Begin from a true straight edge so the pattern tracks without creeping across the surface.
Work off laid units. Place each paver gently on the screeded sand and seat it with a rubber mallet. Stay off the bedding by stepping on already laid pieces.
- Keep joints tight and uniform so the field locks together and sanding is quicker.
- Check alignment often with a string and straight edge and correct small deviations early.
- Inspect flatness with a long straight edge; lift a piece and add or remove sand to fix low spots.
Make cuts only as needed. Mark lines carefully and use a masonry saw for clean edges. Template curves with cardboard for repeatable shapes and neat fits.
Save most cuts for last. Setting full-size pieces first reduces handling and speeds work. Clear debris, confirm edge restraints, and compact the field with a protective mat before sweeping sand into joints.
Anchored Construction & Restoration’s hardscape installers can assist with precision cutting and pattern alignment if you prefer a hybrid approach.
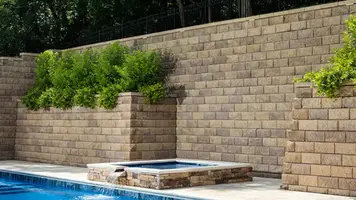
Edge Restraints, Compaction, and Joint Sand for Long-Term Stability
A secure perimeter keeps the surface flat and stops units from drifting over time.
Install the edge using plastic or metal edging staked tightly, or form concrete curbing for a permanent border. Anchored Construction & Restoration installs durable edging solutions matched to design and budget in East Tennessee.
Run the compactor with a rubber mat or protective pad. Multiple passes seat the field without scuffing. Check for any rocking paver and correct low spots before final compaction.
- Install restraints tight against the edge to prevent lateral movement.
- Choose edging for flexibility, profile, or permanence based on use and style.
- Sweep dry sand into joints first, then consider polymeric sand for added lock-up and weed resistance.
- Follow manufacturer directions for polymeric sand; use a hose to mist lightly and avoid excess water that can wash out fines.
- Keep the place clean of excess sand and dust before activating binders.
Confine the base material with secure edging. That keeps the base and bedding locked in and preserves a solid walking surface for years.
Sealing, Drainage, and Seasonal Maintenance Tips
Protecting the finish and managing runoff are small steps that avoid big repairs later.
Evaluate sealer benefits like stain resistance and joint stabilization against the trade-offs. Sealers slow sand loss and preserve color in stone and light units. They can, however, reduce traction when wet and need re-application over time.
Confirm the slope remains effective. A 1 inch per 4 foot run moves water away without a noticeable tilt underfoot.
- Keep the surface clean with regular sweeping and occasional hose rinsing to remove fines that erode joints.
- Replenish joint sand after storms; sealing also helps retain sand but inspect after heavy rain.
- Choose UV-protective sealers for stone and light-colored pavers exposed to strong sun.
In winter, avoid harsh chemical de-icers. Use sand for traction so the surface and joints stay intact.
Anchored Construction & Restoration can clean and seal pavers seasonally and advise on products suited for East Tennessee sun and weather. Routine care early on also helps extend the life and look of your outdoor space.
Troubleshooting and Pro Advice for a Flawless Finish
A few targeted checks reveal whether the surface needs simple patching or deeper work. Inspect low spots, joint loss, and edge spread early. Small fixes are faster and cheaper than full rebuilds.
Fix settling and soft spots: Lift affected paver units, inspect the ground beneath, add or re-grade base material in proper lifts, then re-compact with a plate compactor before resetting units. For minor high edges, adjust the bedding sand and seat the paver with a mallet, then re-fill joints.
- Reduce weeds by switching to polymeric sand and by keeping surface drainage clear so sand isn’t washed from joints.
- Treat efflorescence with a dedicated cleaner. Let the surface dry fully before re-sanding or resealing.
- If standing water persists, you may need an underdrain with perforated pipe beneath the base to carry water away.
In clay-heavy soil, thicker base layers and geotextile separation improve performance. Anchored Construction & Restoration can diagnose subsurface causes and correct them across Knoxville so repairs address root problems, not just symptoms.
DIY vs Hiring a Professional in East Tennessee
Deciding whether to tackle this project yourself comes down to available time, tools, and confidence with heavy equipment.
Consider DIY if you have spare weekends and can rent a compactor and saw. Small areas and simple patterns often fit a homeowner schedule.
Hire a pro when you need precise base material depths, correct inch-per-4-foot slope, or fast, reliable compaction. Professionals deliver quicker timelines and handle tight access with bobcat and excavation services.
- Weigh tool rental costs and the learning curve against labor that brings equipment and experience.
- Pros calculate gravel gradations, base volumes, and ensure durable transitions with concrete or edging.
- Anchored Construction coordinates design, permits, materials, and scheduling so the work moves efficiently.
- For complex patterns, multiple elevations, or tricky soils, a crew saves time and reduces rework risk.
- DIY remains viable for smaller jobs; plan extra time for staging, cutting, and safe handling of units.
After 25+ years, Anchored Construction & Restoration brings crews, compaction equipment, and site prep for patios, hardscapes, and concrete. For estimates and scheduling, call (865) 316-6933 or email Info@anchoredconstructiontn.com.

Conclusion
A thoughtful closeout keeps the surface working and looking its best.
Follow the clear sequence: layout and excavation, geotextile, compacted base and base material, screeded sand, careful placement, precise cuts, and edge restraints. Compact with a protective mat, fill joints, and consider sealing for long life.
Check every line with a straight edge. Make gentle hose mists if activating polymeric products. Store spare stone pieces and a little extra sand for future touch-ups.
For complex sites or tight schedules, Anchored Construction & Restoration, led by Knoxville native Travis Bullington, also helps bring your vision to life across East Tennessee. Call (865) 316-6933 or email Info@anchoredconstructiontn.com when you are ready to start the project.