Can a simple layout choice prevent years of costly repairs and keep a yard safe and beautiful?
Anchored Construction brings over 25 years of experience to every outdoor improvement. Founded in 2000 and led by Knoxville native Travis Bullington, the team blends local knowledge with trusted craftsmanship.
Start smart: measure carefully, set a tight mason line, and prepare a compacted 3/4″ crushed gravel base. This foundation supports the first course and protects the structure from shifting.
Drainage planning prevents hydrostatic pressure, the leading cause of failure. Good layout and level work save time during actual block placement.
For larger or complex projects, Anchored Construction can provide expert installation and guidance. Call (865) 316-6933 or email Info@anchoredconstructiontn.com to discuss your project.
Key Takeaways
- Most work happens in layout and foundation, not stacking.
- A compacted 3/4″ crushed gravel base adds lasting stability.
- Plan drainage early to avoid pressure and damage.
- Select materials and set a straight reference line for alignment.
- Call Anchored Construction for expert help on complex designs.
Before You Start: Safety, Codes, and Planning for a Strong Retaining Wall
Before breaking ground, a clear plan and respect for local codes protect your property and your budget.
Decide early whether to DIY or hire a pro. If the height will exceed 36 inches, or the project retains a slope or needs tiers, permits and engineering are likely required. Anchored Construction serves Knoxville and East Tennessee with expert planning for complex sites.
DIY vs. Hiring a Pro
Simple, low walls on flat yards may suit a confident homeowner. Large scopes, tight access, or uncertain soil call for a contractor. For review and permitting help, call Anchored Construction at (865) 316-6933 or email Info@anchoredconstructiontn.com.
Site Planning Essentials
- Dial 811 before any excavation so utilities are marked and the area is safe.
- Evaluate soil and moisture: clay increases lateral pressure; sandy soil drains faster.
- Plan drainage to relieve water and avoid hydrostatic pressure, the main failure cause.
Set a string line early. Walk the line and note access, storage, and staging areas. Budget time for inspections and approvals so steps stay on schedule.

Tools, Materials, and Block Types You’ll Need for Building Retaining Walls
Selecting the right tools and materials sets the stage for a long-lasting outdoor wall. A clear parts list saves time and prevents costly runs mid‑project.
Core supplies: Stock matched blocks and cap blocks for a uniform finish. Use clean 3/4″ crushed gravel for the leveling pad and backfill. Add landscape fabric to keep soil fines out of the base. Install a perforated drainage pipe with a sleeve to move water away from the structure.
- Keep extra material for cuts and waste so work stays efficient.
- Use high-quality masonry adhesive and a caulking gun for the cap course.
- Do not use pea gravel for the base — it won’t compact properly.
Essential tools: A shovel, stakes and a line level, a torpedo or laser level, a rubber mallet, and a hand tamper or plate compactor make accurate placement easy.
Connection systems: Know your block type. Lipped units key into the course below; many pros remove the lip on the first course for easier leveling. Pin systems use fiberglass or molded pins and avoid adhesive in many installations.
Anchored Construction can source and stage materials, provide bobcat and excavation services, and install complete hardscapes, including retaining wall construction and repair. Call (865) 316-6933 or email Info@anchoredconstructiontn.com.
Layout and Excavation: Mark the Line and Dig a Proper Trench
Start by defining the exact line and trench before any excavation equipment moves. A clear reference saves time and prevents mistakes during base work. Run a tight mason string between stakes and verify it with a line level or laser.

Excavate for a stable base: dig a trench deep enough for a compacted 6 inches of 3/4″ crushed gravel. Make the trench at least the block width plus about 12 inches for working room and backfill.
On sloped ground, step the trench and create level pads. Always begin at the lowest elevation and work uphill. Remove roots and any organic matter. Do not reuse that material in the system.
- Place stakes no more than 8 feet apart so the string stays taut.
- Keep cuts vertical to protect stable ground beside the excavation.
- Moisten dry subgrade slightly before compacting the base.
Anchored Construction can assist with layout, machine excavation, and disposal to protect adjacent landscape features and speed this phase.
Base Course, Leveling Pad, and Drainage Behind the Wall
The first course sets the tone for a stable structure. Install a uniform 6-inch pad of clean 3/4″ crushed gravel in the trench. Compact that base thoroughly with a hand tamper or plate compactor until firm and even.
Create the leveling pad
Spread gravel evenly. Check depth and correct highs or lows with a straightedge. A true level base lowers future adjustments and keeps the height consistent along the line.
Set the first course
Place the first course partially below final grade for added stability. Verify each unit is level front-to-back and side-to-side. For lipped units, remove the lip on this course so each piece seats flat on the compacted base.
Install the drainage pipe
Lay a perforated drainage pipe directly behind the base course and pitch it toward an outlet. Sleeve the pipe and keep the surrounding gravel clean of fines. Backfill in lifts and compact as you build so water moves freely behind the wall.
- Spread and compact 6″ of 3/4″ crushed gravel in the trench.
- Use a level and rubber mallet for precise front-to-back and side fit.
- Route the drainage pipe to daylight or a planned drainage inlet.
Anchored Construction crews build reliable foundations with proper compaction and drainage to extend service life. Call (865) 316-6933 or email Info@anchoredconstructiontn.com for expert installation and guidance.
How to build retaining wall with blocks
Set each course carefully; a steady routine now keeps the top line straight and durable.
As you add each course, offset vertical joints for a running bond. This strengthens faces and prevents weak stacked seams.
When grade rises, step units in small runs but keep every course level. Do not tip a unit to follow slope; step the layout so lines stay true.
Backfill and compaction
Place clean 3/4″ crushed gravel behind the wall in roughly 6-inch lifts. Compact each layer before adding the next layer. This limits settlement and supports drainage.
If the block has hollow cores, fill specified cores with gravel as you go. For pin systems, insert pins before backfilling so channels stay clear.
Capping the top course
Brush or hose dust from the final course so adhesive bonds well. Apply a continuous bead of masonry adhesive and press cap pieces firmly. Make sure the cap sits level and sheds water away from the face and back.
- Start each course offset for a true running bond.
- Verify level at every course; small corrections now save rework later.
- Cut units neat at tight curves to maintain face alignment.
Anchored Construction’s hardscape team delivers clean lines and tight jointwork so your outdoor space looks finished and performs well.
Pro Tips, Common Mistakes, and Time-Saving Checks
Tight lines, clean gravel, and correct drainage are simple steps that pay off over time. These small practices protect the face and extend service life for any retaining wall.
Avoid common setup errors
Avoid pea gravel in the base; it will not compact like angular 3/4″ crushed gravel. Keep the string line taut and check it often so the wall stays straight.
Control water
Sleeve the perforated drainage pipe and slope it to an outlet. Keep the surrounding gravel clean and free of fines. Periodically clear outlets so water can escape and pressures do not build up behind the face.
Curves, corners, and connections
Remove the lip on the first course of lipped units for better contact with the base. Align pins carefully on pin systems and verify engagement before backfill hides the connection.
- Compact backfill in thin lifts; poor compaction causes settlement.
- Do not run heavy ride-on compactors within about 3 feet of the wall; use a plate compactor or hand tamper instead.
- Dry-fit and cut units for tight curves; clean cuts improve appearance and performance.
- Brush stone dust off the top course before applying masonry adhesive for caps.
- Budget frequent checks—straightness, level, and bond pattern—small steps that save time and rework.
Anchored Construction emphasizes precision and tidy work areas. Follow these checks and maintenance cues to protect your concrete investments and enjoy durable, attractive walls.
Design Add-Ons and When to Call Anchored Construction in East Tennessee
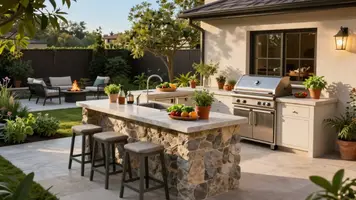
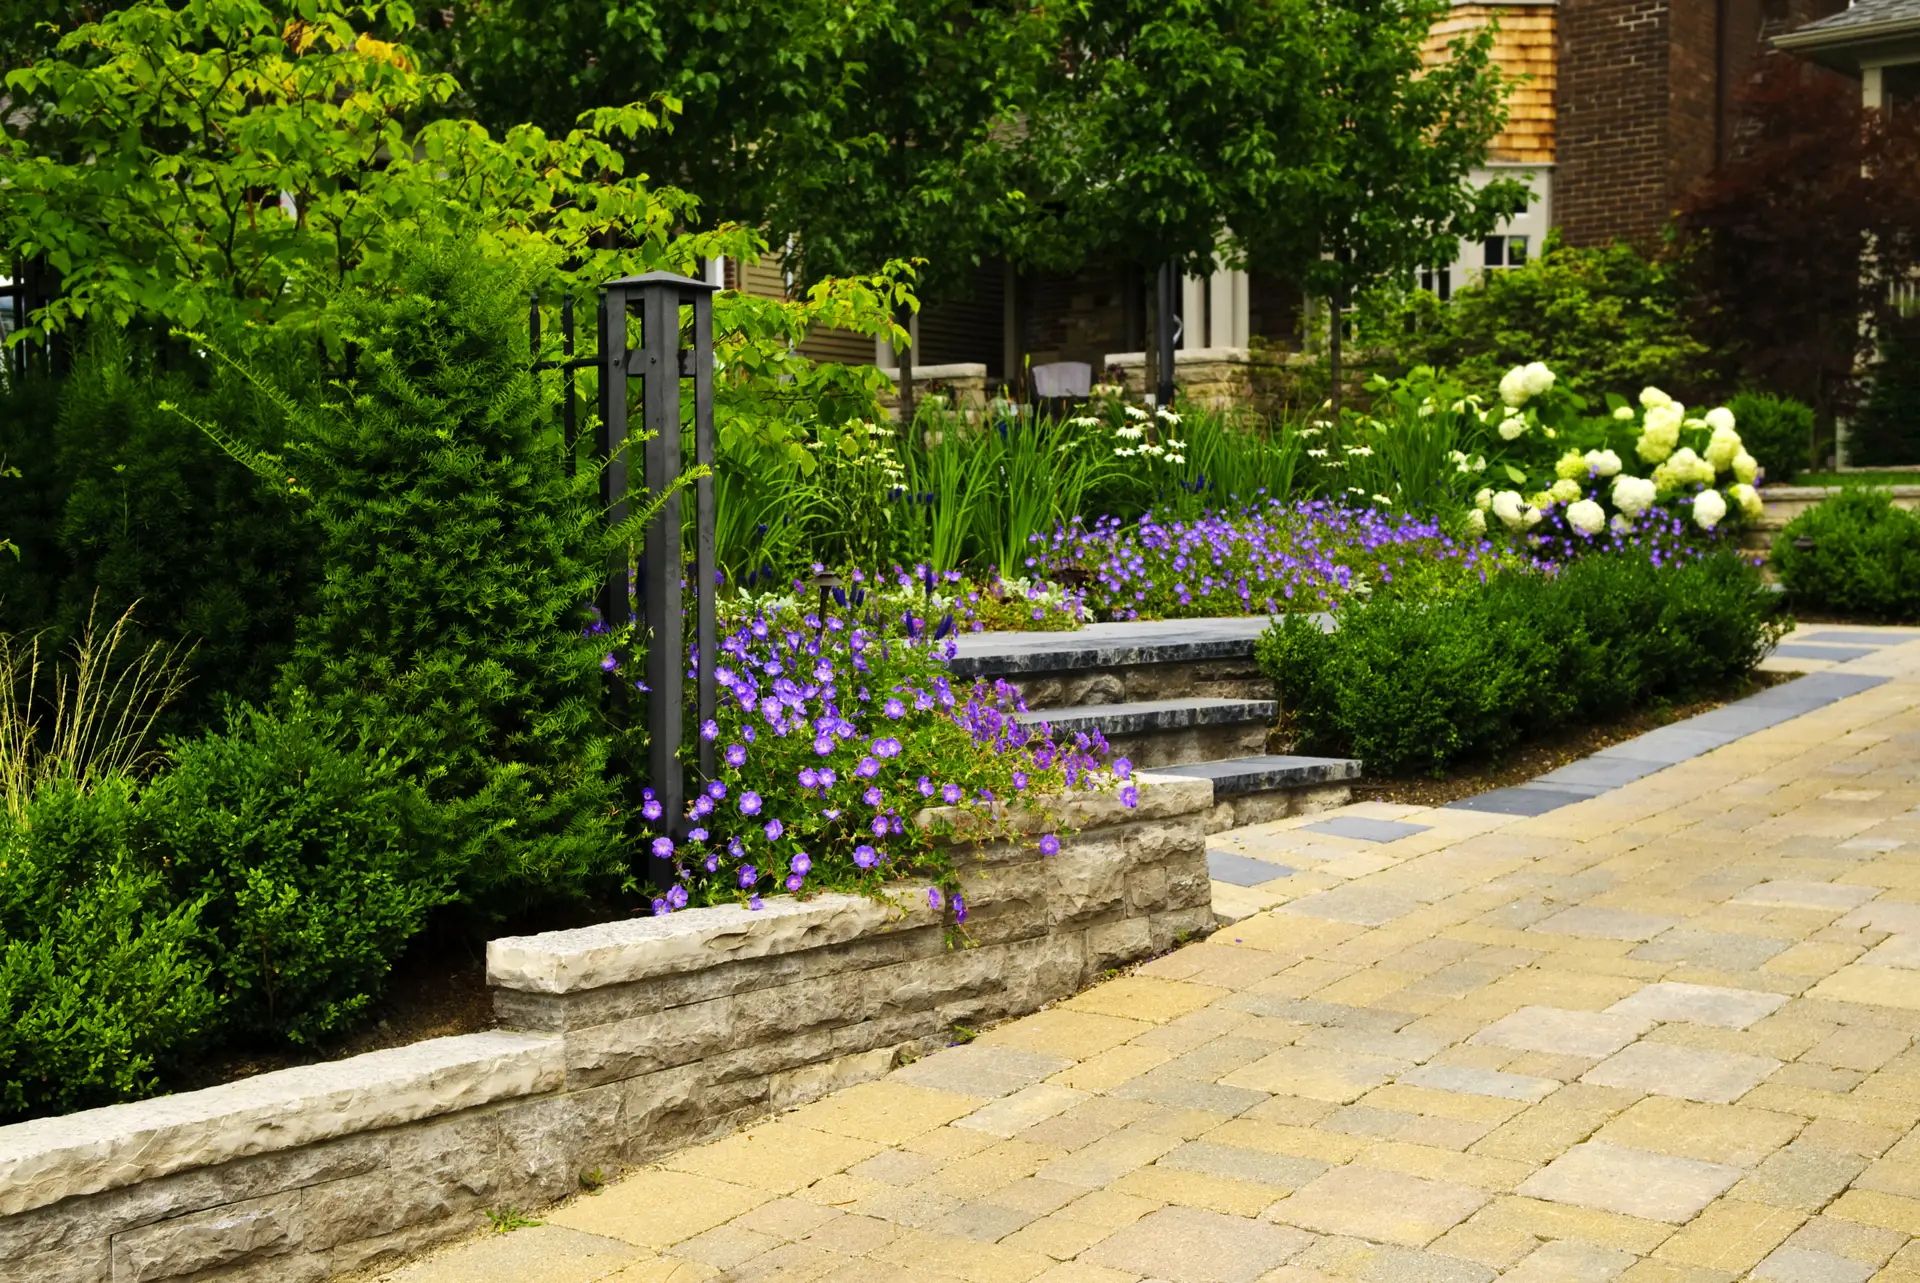
Integrating hardscape elements creates a cohesive and lasting exterior living space.
Anchored Construction helps align a retaining feature with patios, outdoor kitchens, decks, and planting beds. This keeps the landscape functional and attractive.
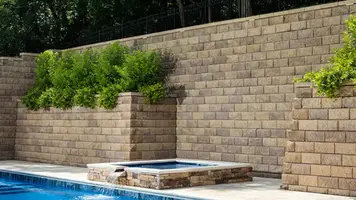
Integrate hardscapes
Align the course and cap profile with adjacent concrete flatwork and seating areas. Choose a block face and cap that complements your home’s style.
Repair vs. rebuild
Small issues often stem from drainage or base problems and can be repaired quickly. Walls over 36 inches in height usually need permits and engineered designs.
Tiered configurations demand extra attention to leveling pads, connection type, and drainage. In many cases, a rebuilt solution with engineered specs offers long-term value.
Talk to the local experts
- Plan lighting, seating, and planting early so the project supports daily use.
- Coordinate concrete, deck, and drainage work in one construction phase to save time and cost.
- Make sure stormwater outlets are sized for East Tennessee rain events.
- Anchored Construction manages design, permitting, excavation, installation, and finish details.
After more than 25 years serving Knoxville and East Tennessee, Anchored Construction brings local knowledge and reliable workmanship. Call (865) 316-6933 or email Info@anchoredconstructiontn.com to review your project, site, and timeline.

Conclusion
A thoughtful finish ties the project together and safeguards against water and soil movement.
Start with a true string, a level trench, and a compacted 6‑inch 3/4″ crushed gravel base. Set the first course level front‑to‑back and side‑to‑side. Small errors now grow with each course and step in grade.
Manage water with a sleeved perforated drainage pipe and clean backfill in 6‑inch lifts. Stagger joints, trim blocks neatly, and bond clean caps with masonry adhesive for a tight top that sheds water.
Walls above 36 inches often need permits and engineered designs. For residential or commercial work, Anchored Construction and Restoration in Knoxville is ready to help. Call (865) 316-6933 or email Info@anchoredconstructiontn.com for a site visit and estimate.