Can a backyard space become a lasting outdoor living area without costly callbacks?
Anchored Construction & Restoration has served East Tennessee for over 25 years. The team brings field-tested steps that make a clear difference in long-term performance.
This short introduction outlines the proven process. It highlights depth, slope, and compaction as a single project sequence that prevents settling and rework years later.
Readers will see why a proper base—typically 6–10 inches of excavation with 4–6 inches of gravel plus bedding sand—and a gentle slope per foot are critical. Compaction in lifts and a screeded bedding create a true surface for placing pavers.
Founded in 2000 and led by Knoxville native Travis Bullington, Anchored Construction explains planning, excavation, drainage choices, and simple checks with a straightedge and line. For help with project planning or hardscape work, call (865) 316-6933 or email Info@anchoredconstructiontn.com.
Key Takeaways
- Depth, slope, and compaction form one coordinated process for durability.
- A typical build needs a stable base, bedding sand, and correct paver thickness.
- Use gravel for drainage; choose sand or clean chip stone based on design and budget.
- Check plane with a straightedge and line to maintain consistent grade per foot.
- Compaction takes time but prevents settling and saves time later.
- Anchored Construction brings 25+ years of local experience for reliable results.
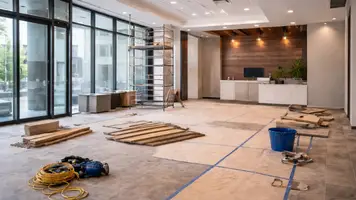
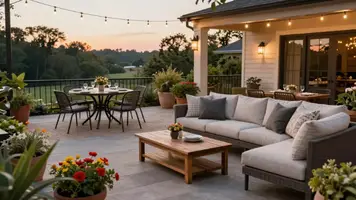
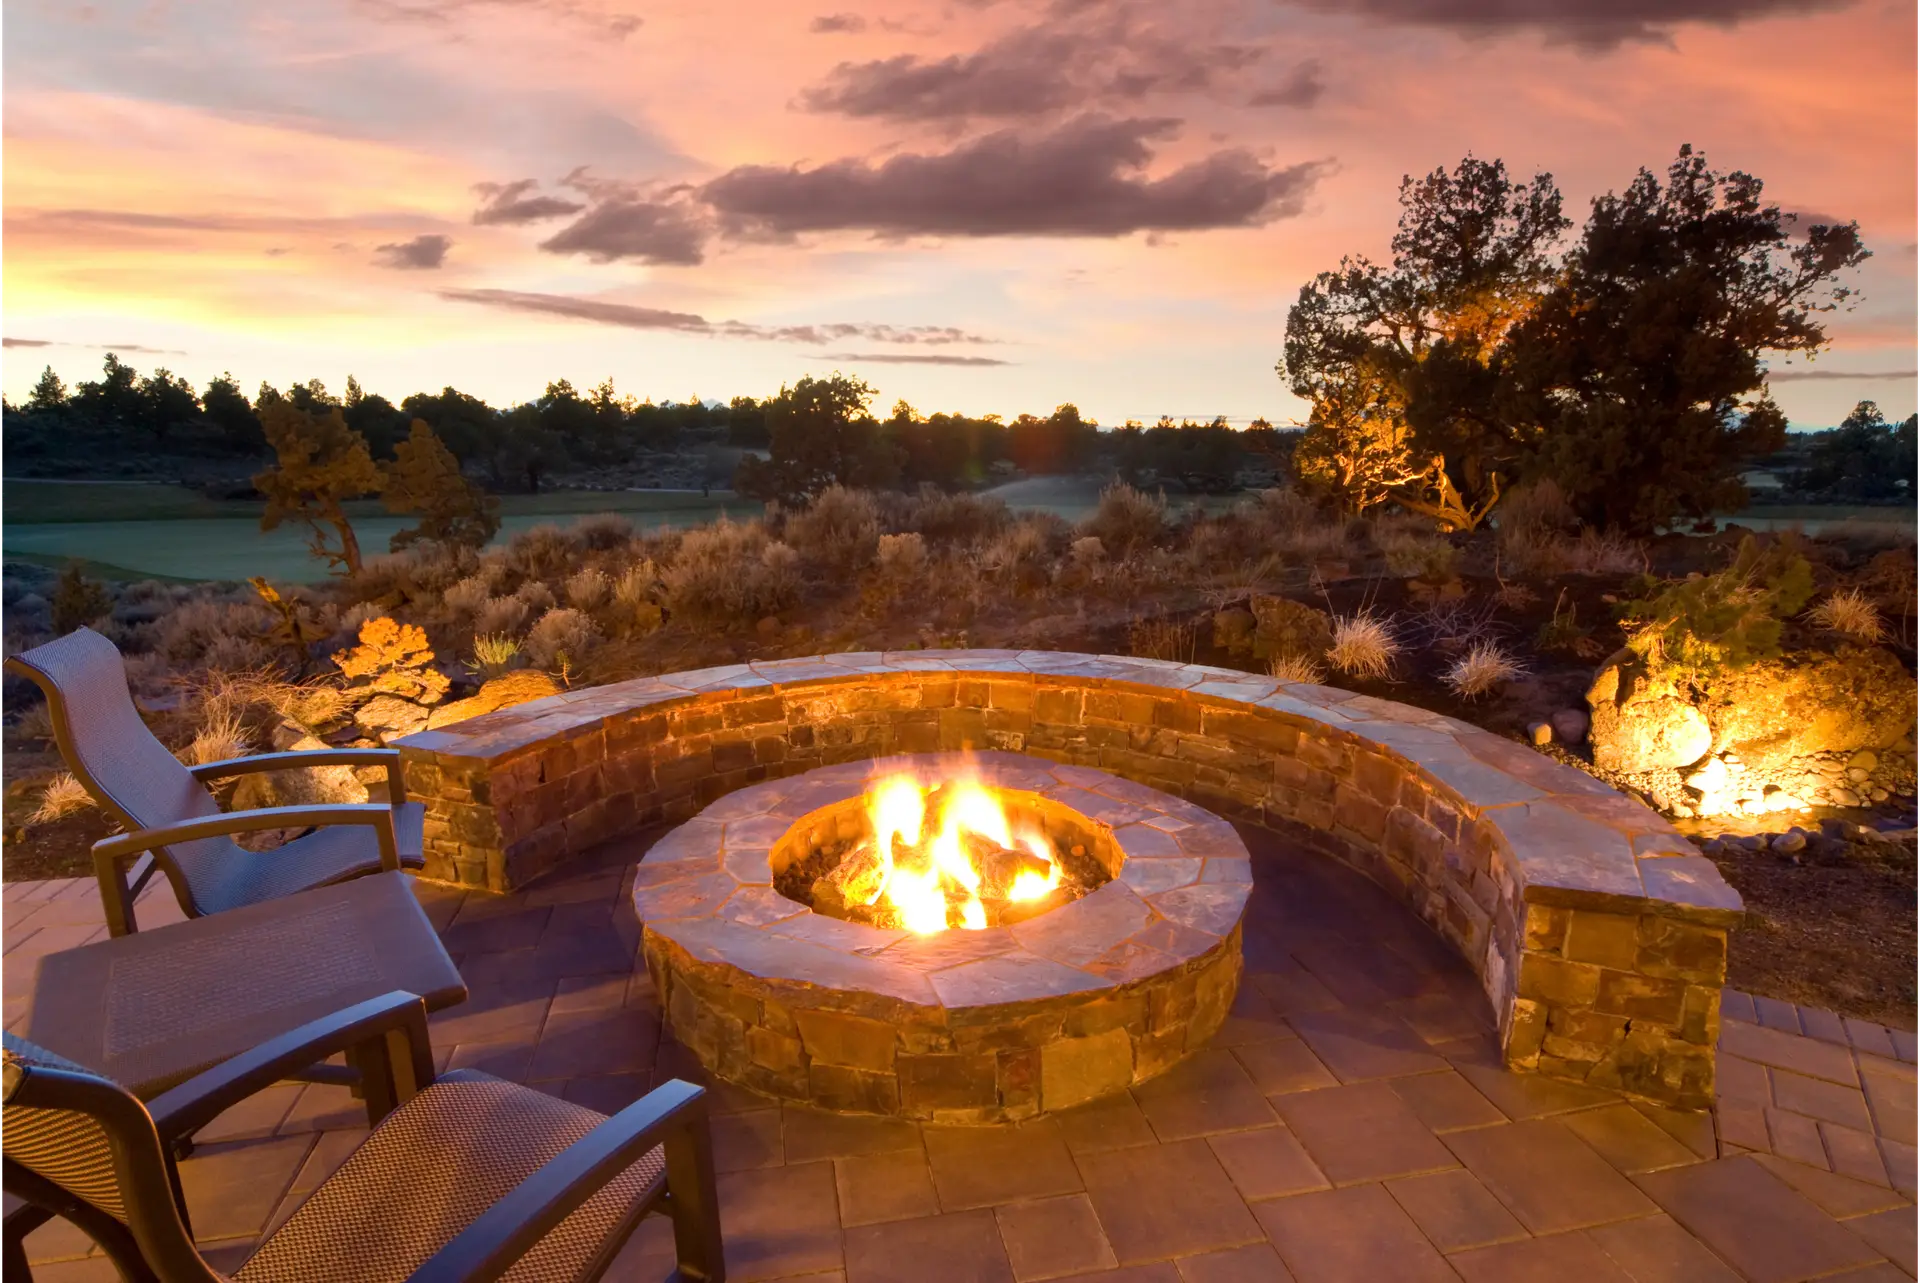
Plan Your Outdoor Living Space and Project Scope
Clarify the function and size of the new outdoor living area early in planning.
Name the primary purpose first. Dining, grilling, a fire feature, or a quiet space each needs different clearances. Size the area so furniture fits and walkways remain comfortable.
Establish finished elevation at the threshold and set the grade to pitch away from the house. Typical guidance ranges from 1/8 inch per foot to 1 inch per 4 feet. Record the slope drop at each stake as a step-by-step control for excavation.
- Pull string lines tight between stakes for straight edges and square corners.
- Measure the longest run to confirm slope in inches per foot.
- Account for edge restraints, border patterns, and excavation depth (often 6–8 inches for pedestrian areas).
Order materials with a buffer. Add 10%–15% extra pavers for cuts and breakage, and include sand, base material, and spikes. Mark utilities before digging and plan pallet staging in the yard to reduce handling time.
Anchored Construction helps Knoxville homeowners match size, function, and budget for long-term value. Call (865) 316-6933 or email Info@anchoredconstructiontn.com for design-build planning.

Materials, Base Material, and Tools You’ll Need
Select quality materials early; the right choices save effort and money later.
Choose pavers that match traffic and style. Concrete gives strength and value. Natural stone and brick offer unique texture and color.
For the base, use 3/4″ clean gravel beneath the bedding layer. Select bedding sand or clean chip stone (1/4″–3/8″) based on drainage needs and slope. Consider polymeric sand for stabilized joints.
- Core tools: plate compactor, long screed board, level, string line, rubber mallet, shovel, rake, and a masonry blade.
- Edges and anchors: edge restraints and spikes to hold layout tight during the compaction process.
- Separation and safety: geotextile fabric keeps base material from mixing with native soil; use hearing and eye protection and dust control.
- Time-saving option: paver base panels replace heavy aggregate in tight access areas and cut labor without compromising performance.
Order 10%–15% extra pavers for cuts and waste. Anchored Construction supplies pro-grade material and tool rental guidance. For staging, delivery, or questions, call (865) 316-6933 or email Info@anchoredconstructiontn.com.
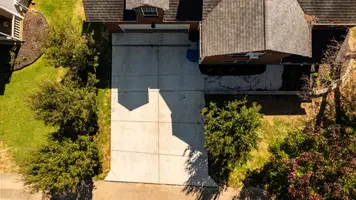
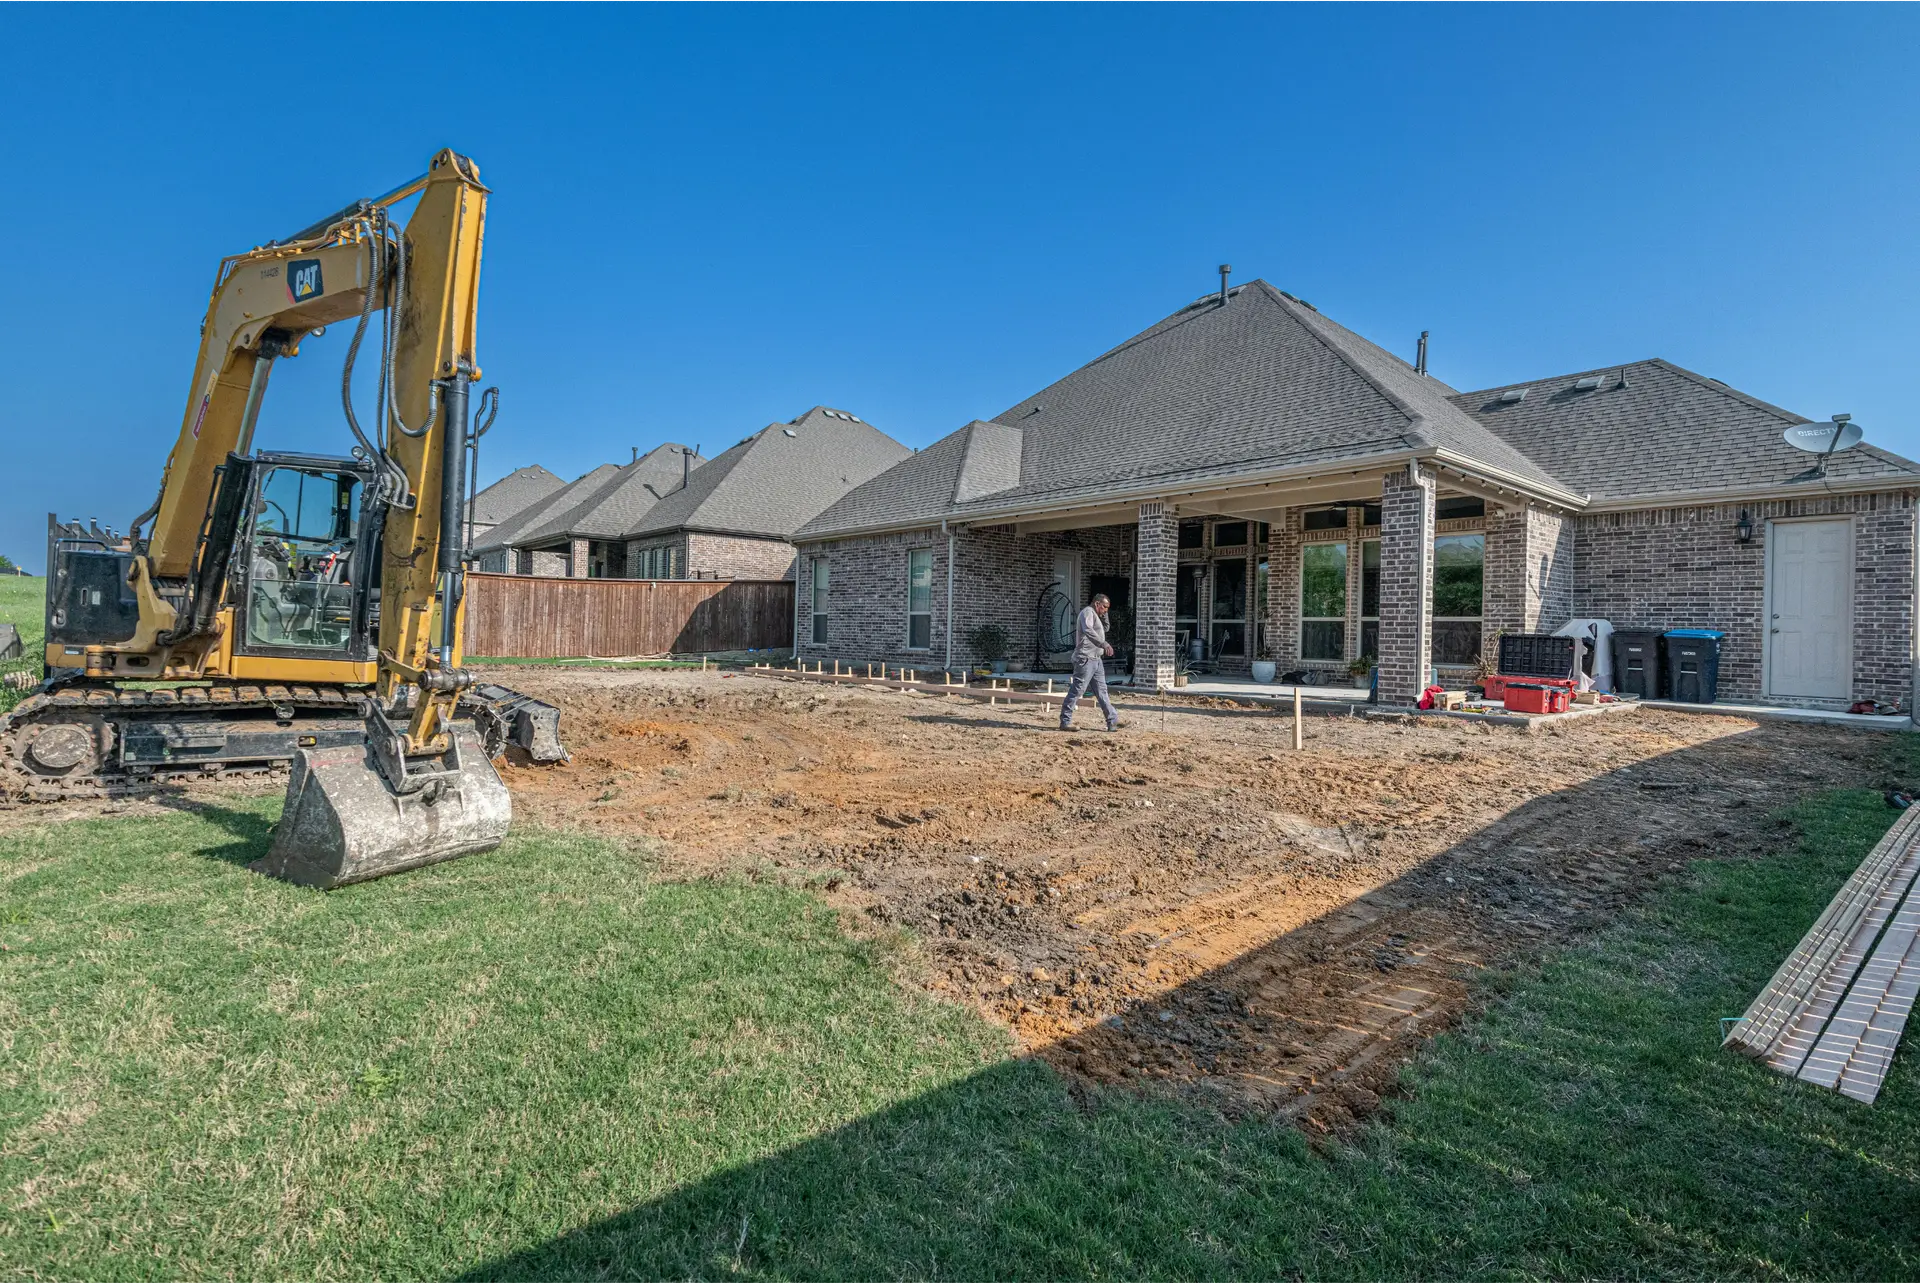
Site Preparation: Excavation, Drainage, and Soil Considerations
Good site prep starts with precise excavation and a consistent reference line. Excavate a consistent depth of 6–10 inches that accounts for the base, bedding, and paver height in inches. Keep the ground plane parallel to your control line so the patio builds evenly.
Set string lines at the planned elevation and slope. Maintain a slope of roughly 1/8 inch per foot to 1 inch per 4 feet away house. That pitch moves water away from the house and protects thresholds.
- Compact the subgrade with a compactor for a firm platform under the base.
- Lay geotextile over clay or loose sand to stabilize the yard and stop fines from rising.
- Install a perforated drain under the base in low spots so water exits the area safely.
Anchored Construction & Restoration offers excavation and bobcat services across Knoxville and East Tennessee to streamline site prep. Measure depths often and stage spoils for neat backfill after edge restraints are set.
Build a Stable Foundation: Gravel Base and Bedding Layer
A properly formed base gives pavers a stable platform for decades.
Install a 4–6 inches layer of compacted base for pedestrian patio areas. Use 3/4″ clean gravel for drainage. Place commercial-grade landscape fabric first when soils need separation.
Compact the base in 2–3 inch lifts. Run a plate compactor after each lift until the surface resists settlement. Check the level and slope as you go so the base follows your control plane.
- Target 4–6 inches of crushed stone and compact in multiple passes.
- Keep the bedding at about 1 inch of concrete sand or 1/4″-3/8″ clean chip stone, screeded smooth.
- Brush loose fines off the base and verify the perimeter remains square after compaction.
Anchored Construction & Restoration builds bases to spec. This step protects your investment and delivers a surface ready for the first course of paver units without rocking.
Screeding and Leveling: Get the Surface True and Even
A true, even surface starts with correctly placed rails and a steady screeding step.
Set two parallel screed rails at the target elevation using 3/4″ pipes or 1/2″ rebar. Pull a straightedge over the bedding sand to form a uniform 1-inch layer. Avoid walking on the fresh plane so the final surface stays true.
Use pipes, a straightedge, and a level for grade control
Confirm the finished slope of about 1/8 inch per foot with a level and a tight line. Check elevation in inches at corners and midpoints. If a section shows a high or low, reset the rails and re-pull the sand.
String line checks keep the base plane consistent
- Set rails: place two parallel rails and pull the straightedge across the sand.
- Verify slope: keep the level bubble on the control line so water drains and the surface sits flat.
- Protect the bed: step off the bedding after screeding and work from set pavers; footprints create dips.
- Finish grooves: lift rails, backfill grooves with sand, and smooth to match adjacent plane before you lay pavers.
Anchored Construction & Restoration uses long screeds and control lines to ensure flat, even planes that look right and drain right. Follow the step-by-step cadence: set rails, screed, remove rails, fill troughs, and verify line before laying.

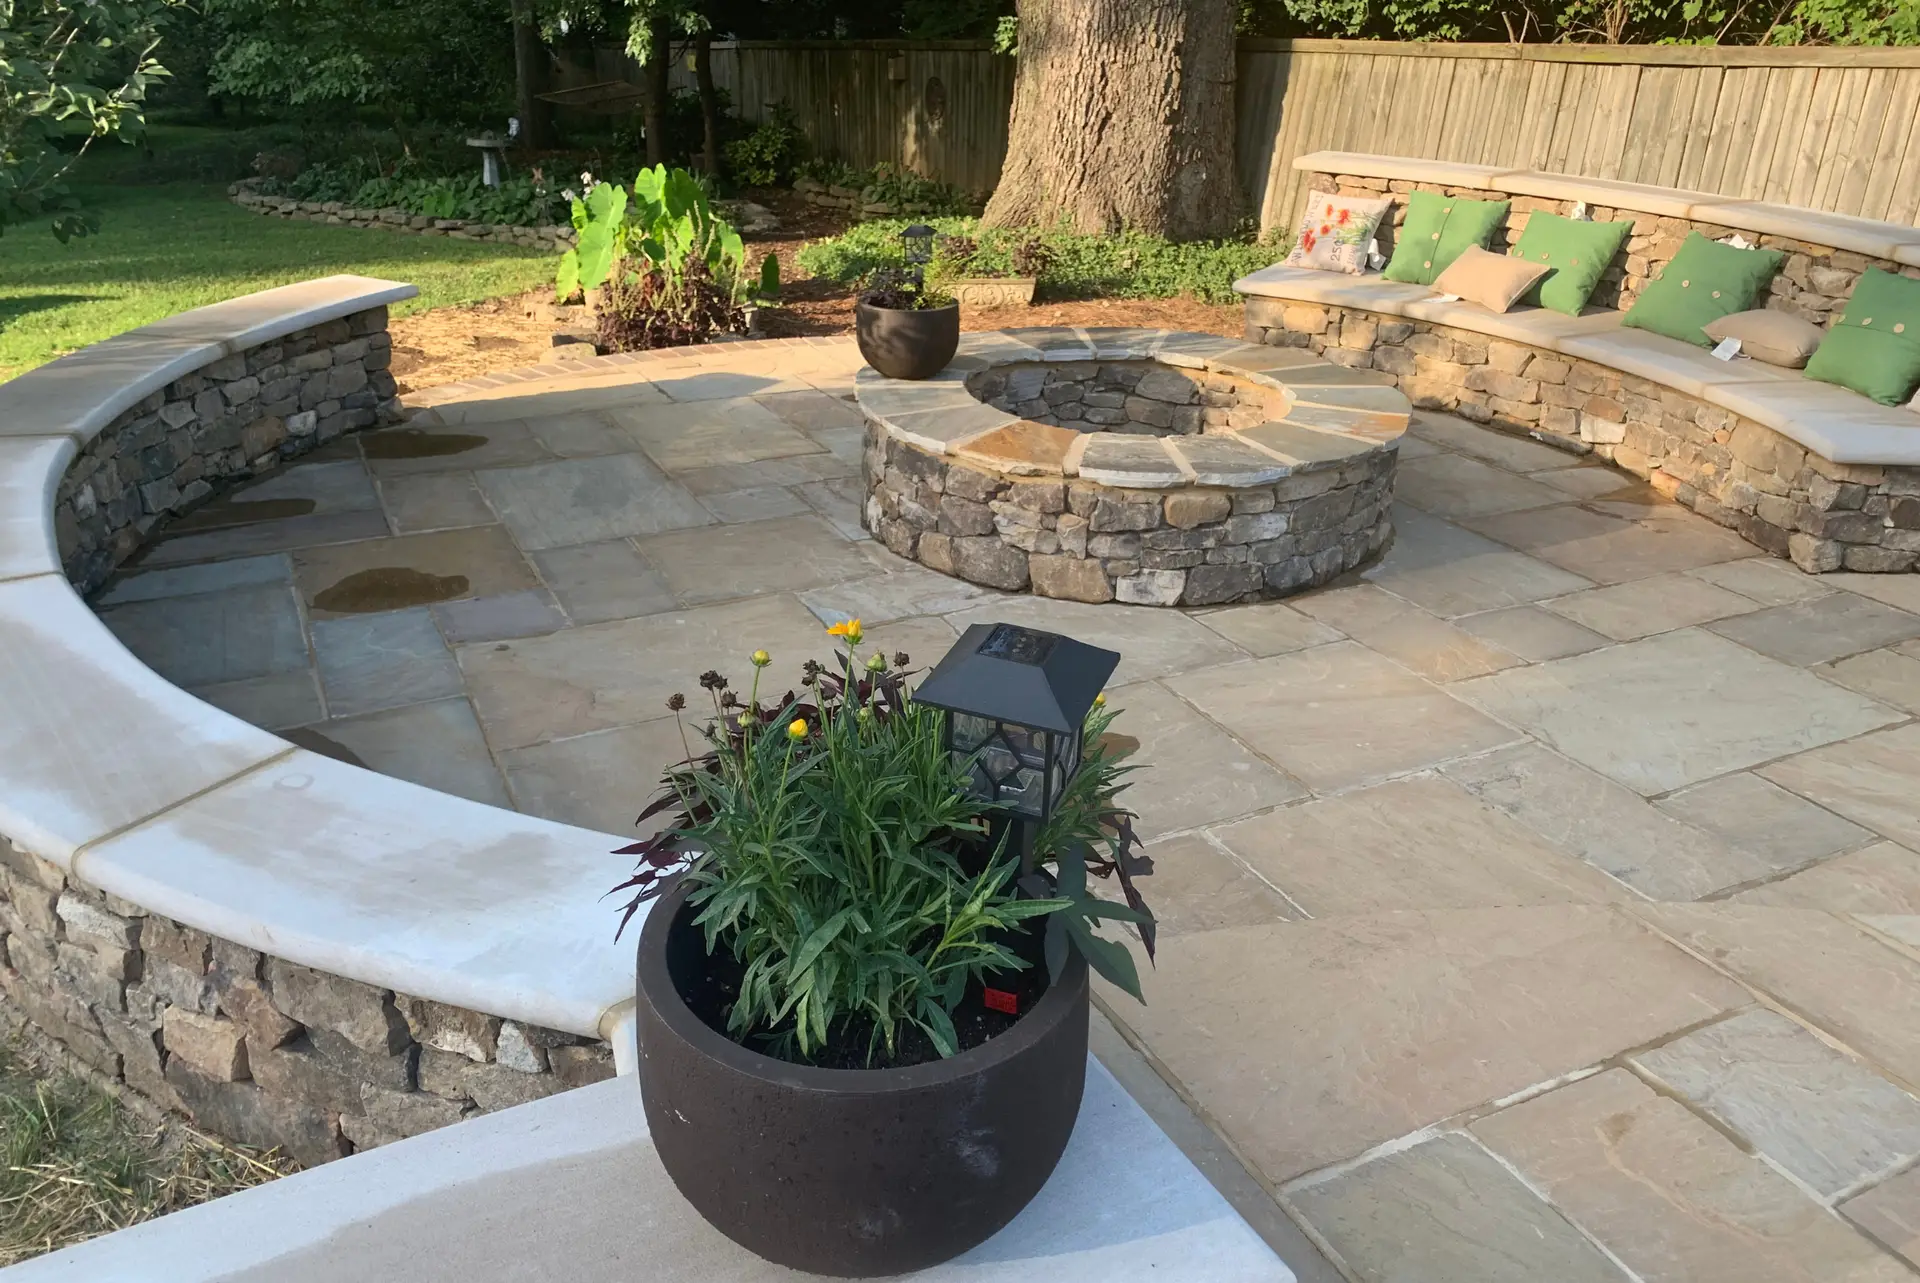
how to build paver patio: Laying Patterns, Alignment, and Edges
Select a laying pattern that matches your space, traffic needs, and budget before placing the first unit.
Running bond moves quickly and cuts waste. Herringbone and basket weave add strength and classic texture. Choose a pattern that balances looks with the number of cuts you can afford.
Start each run along a snapped reference line. Keep joints tight and use a rubber mallet to seat each unit without disturbing the bedding. Check the level often by bridging a straightedge across several pavers.
- Match pattern and budget: running bond for speed; herringbone for load distribution.
- Reference line: snap a line and start straight so the whole field stays true.
- Tight joints: place units snugly and adjust with small taps for consistent spacing.
- Edge restraint: plastic for curves, metal for crisp lines, or concrete curbing for permanence.
- Anchor edges: drive spikes through the edge into the compacted base at regular intervals.
Anchored Construction & Restoration can install complex borders and transitions cleanly for a premium finish. Make sure the first course is perfect. Small corrections early prevent visible errors at the border and across the patio.
Cutting Pavers, Curves, and Corners the Right Way
Clean, accurate cuts and smooth curves make the finished edge read like professional work.
Anchored Construction & Restoration executes precise cuts and finishes borders with durable details that hold up around the house.
Scoring, cutting, and blade care
Mark the cut line with a pencil and verify measurements twice. Score lightly, then deepen passes to avoid chipping.
Use a wet saw or a circular saw with a diamond blade. Supply water to keep the blade cool and cut dust low.
Scribing arcs, corners, and final fit
For arcs, set a center point and tie a string at the desired radius to scribe a smooth curve. Follow the line when cutting.
Make sure cuts do not undercut the bedding. Keep full support under each unit to avoid rocking or cracked corners.
- Dry fit cut units along the edge before final placement and soldier courses.
- Use two opposing 45-degree cuts for neat mitered corners that frame the field.
- Keep a visible reference line when returning cuts near the house so the finished edge stays parallel and square.
- Rinse cut dust from pieces before setting so joint sand and polymeric products bond properly.
Lock It In: Compaction, Polymeric Sand, and Final Passes
The final compaction and joint work lock performance into the finished area. This step turns careful placement into a durable surface that resists movement and weeds.
Run a plate compactor with a protective pad or rubber mat across the field. This sets pavers without scratching faces or edges. Compact in overlapping passes for even pressure.
Sweep polymeric sand across the joints so it fills from top down. Compact again. Vibrations pull the sand deep and settle the field.
- Use a low-angle leaf blower to clear dust before activation.
- Mist with water in stages so the binder activates without washout.
- Check joints after the first wetting and top off where needed.
- Keep foot traffic off during manufacturer cure times.
Common mistakes include overwatering, residual haze, and uneven joints. Plan this step when no rain is forecast. Anchored Construction & Restoration follows this process and makes sure edges stay clean and the surface looks right.
Seal, Maintain, and Troubleshoot for Years of Performance
A seasonal maintenance rhythm extends surface life and keeps joints stable. Simple steps protect appearance and solve common issues before they grow.
Pros and cons of sealing: Sealers enrich color and guard concrete and stone from stains. They also stabilize polymeric sand in joints. However, some sealers can reduce traction when wet and require reapplication every few years. Balance visual benefits with ongoing maintenance for the best outcome.
Fix settling, weeds, and efflorescence
For uneven areas, lift the affected pavers, correct the base and sand, then reset units so the surface returns to plane. Refill joints with polymeric sand where washout or weeds appear. Treat efflorescence with a dedicated cleaner and let the area dry fully before sealing.
Seasonal care tips
- Rinse dirt with clean water and use paver-safe cleaners for stains.
- In winter, use sand for traction rather than de-icing salts that harm concrete and nearby landscaping.
- In summer, consider a UV-protective sealer where color fading is a concern.
Inspect twice a year for shifting, open joints, or drainage changes. Keep edges clear so water sheds the right way and does not undermine the perimeter. Anchored Construction & Restoration offers maintenance, cleaning, and sealing consultations tailored to East Tennessee conditions.
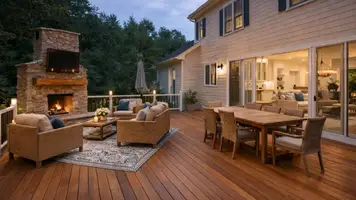
From DIY to Done: Call Anchored Construction for Expert Help
Professional crews smooth the path from concept sketches to a finished outdoor living space. When plans expand or the yard reveals hidden conditions, bringing in experts saves time and money.
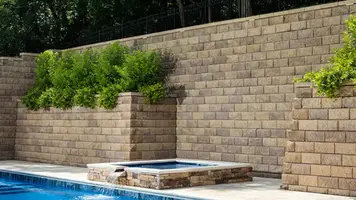
Anchored Construction & Restoration offers design-build support, hardscape installation, retaining walls, and excavation. Founded in 2000 and led by Knoxville native Travis Bullington, the firm has more than 25 years of local experience.
- Skilled crews use skid steers and bobcats to speed excavation and compact bases in lifts.
- They handle pattern selection, edge restraint, joint stabilization, and final compaction so the work performs for years.
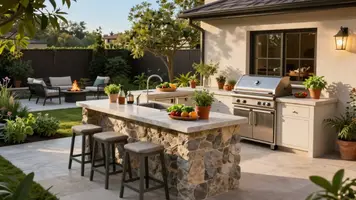
- The team expands projects with decks, outdoor kitchens, landscape services, and retaining walls for a complete yard upgrade.
- Clear schedules and daily communication keep you informed about progress and finish time.
If your DIY plan grows, call (865) 316-6933 or email Info@anchoredconstructiontn.com to schedule a site visit and estimate. Anchored adapts the scope—whether a single repair or a full turnkey paver patio solution—so the space complements your house and the way you live.

Conclusion
A measured process and the right materials protect your investment and the yard.
Follow the clear sequence: excavation to depth, compacted base, screeded bedding, laying pavers, edging, compaction, joint work, and maintenance planning. Each step matters for slope, drainage, and clean cuts that keep the surface true.
Keep a tight control line and string during layout. Choose base material and sand that suit your ground and climate. When laying pavers, blend units from different bundles for even color and avoid bands across the space.
For diy projects, plan weather windows and allow polymeric sand cure time. If the project grows or you want a pro finish, Anchored Construction & Restoration can move the plan from design through completion. Call (865) 316-6933 or email Info@anchoredconstructiontn.com.