Can a simple backyard feature change the safety and value of your property? This guide answers that question with clear, code-minded guidance homeowners can use today.
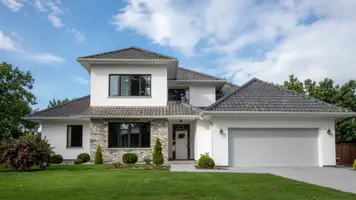
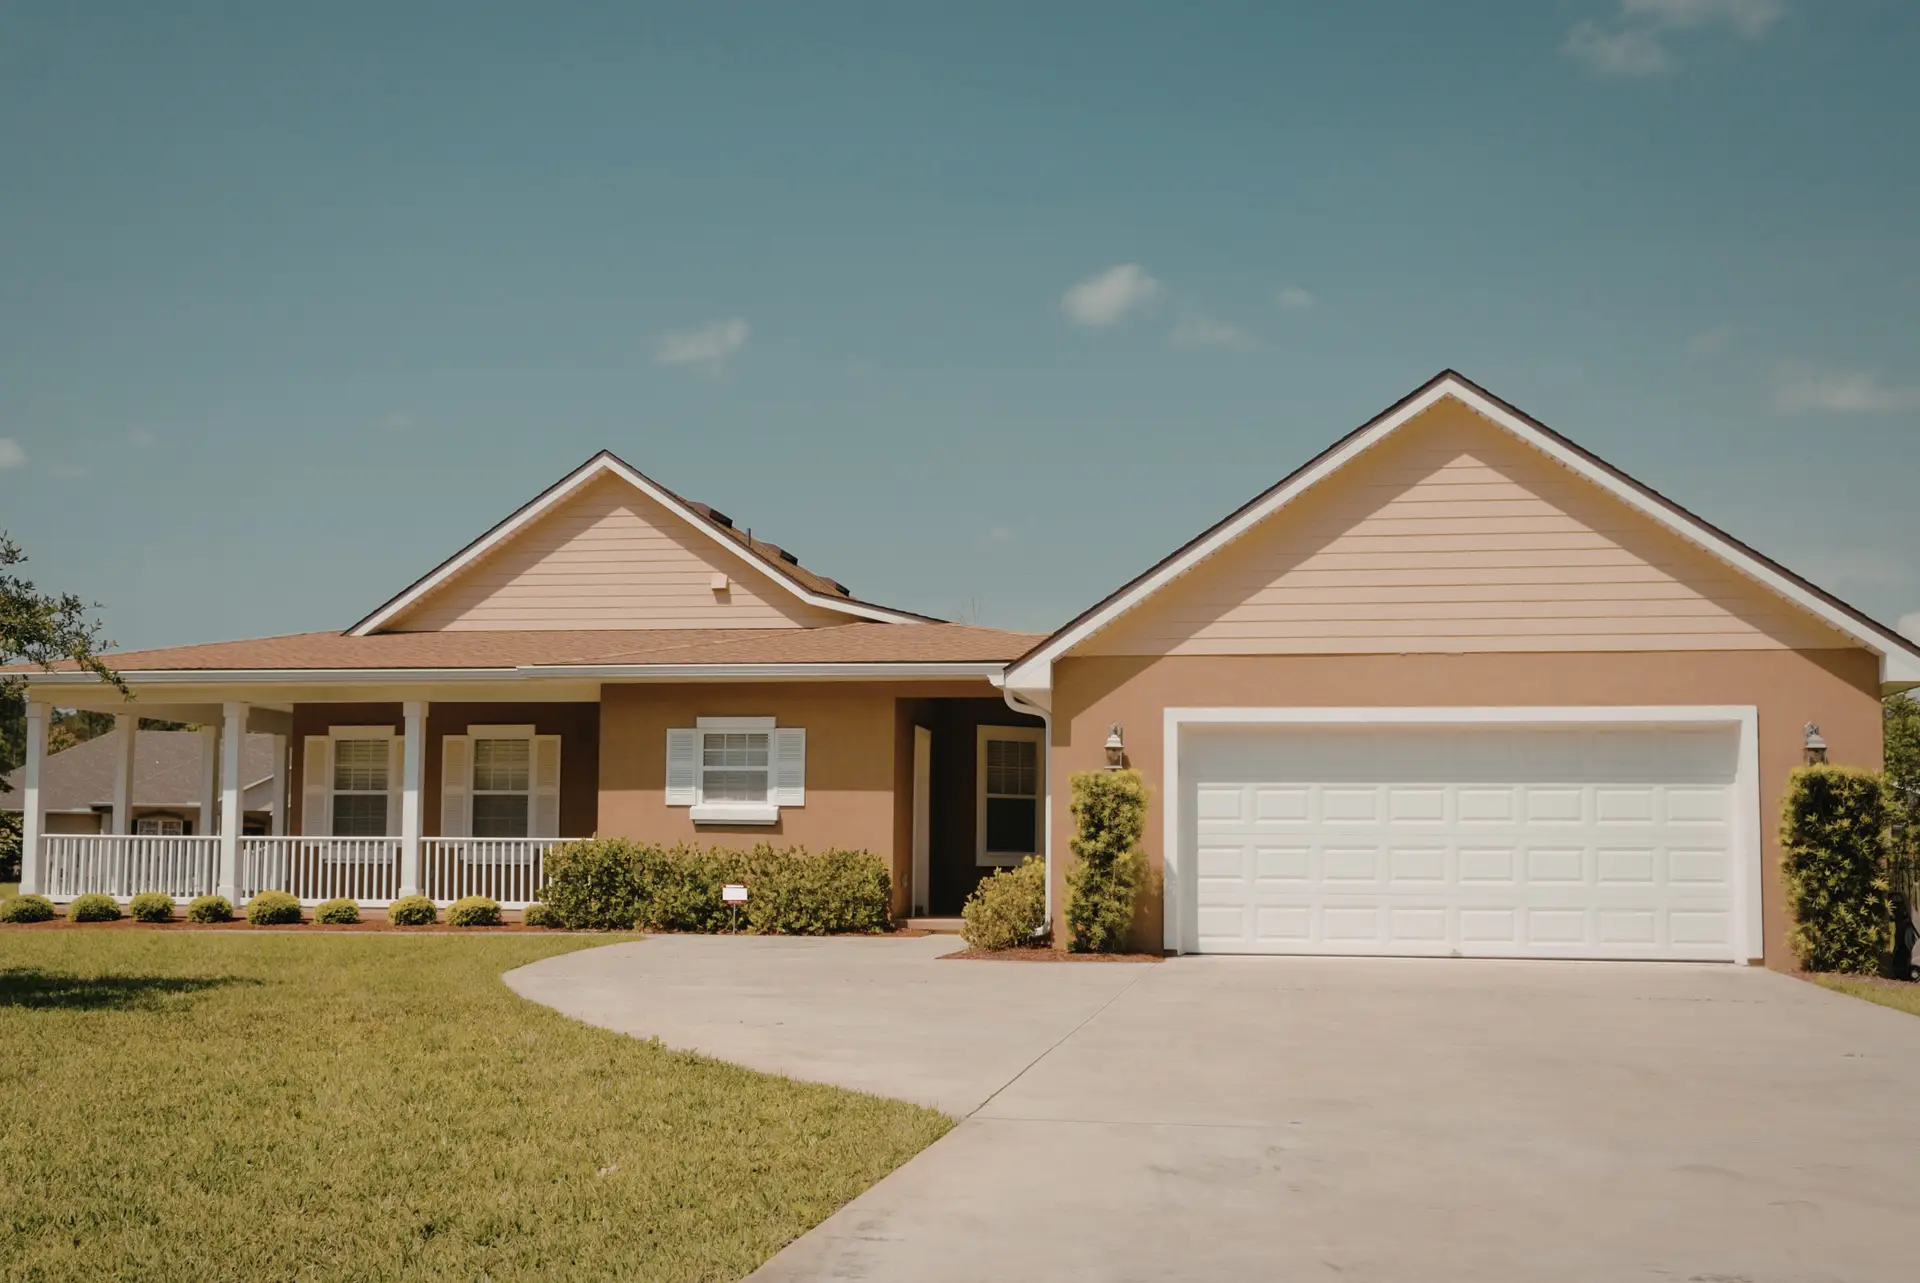
Anchored Construction & Restoration brings more than 25 years of East Tennessee expertise to site selection and hardscape work. Their team helps set safe placement, build proper pads, and integrate landscape elements so outdoor features look great and meet practical rules.
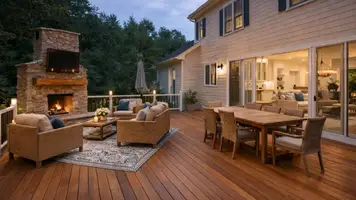
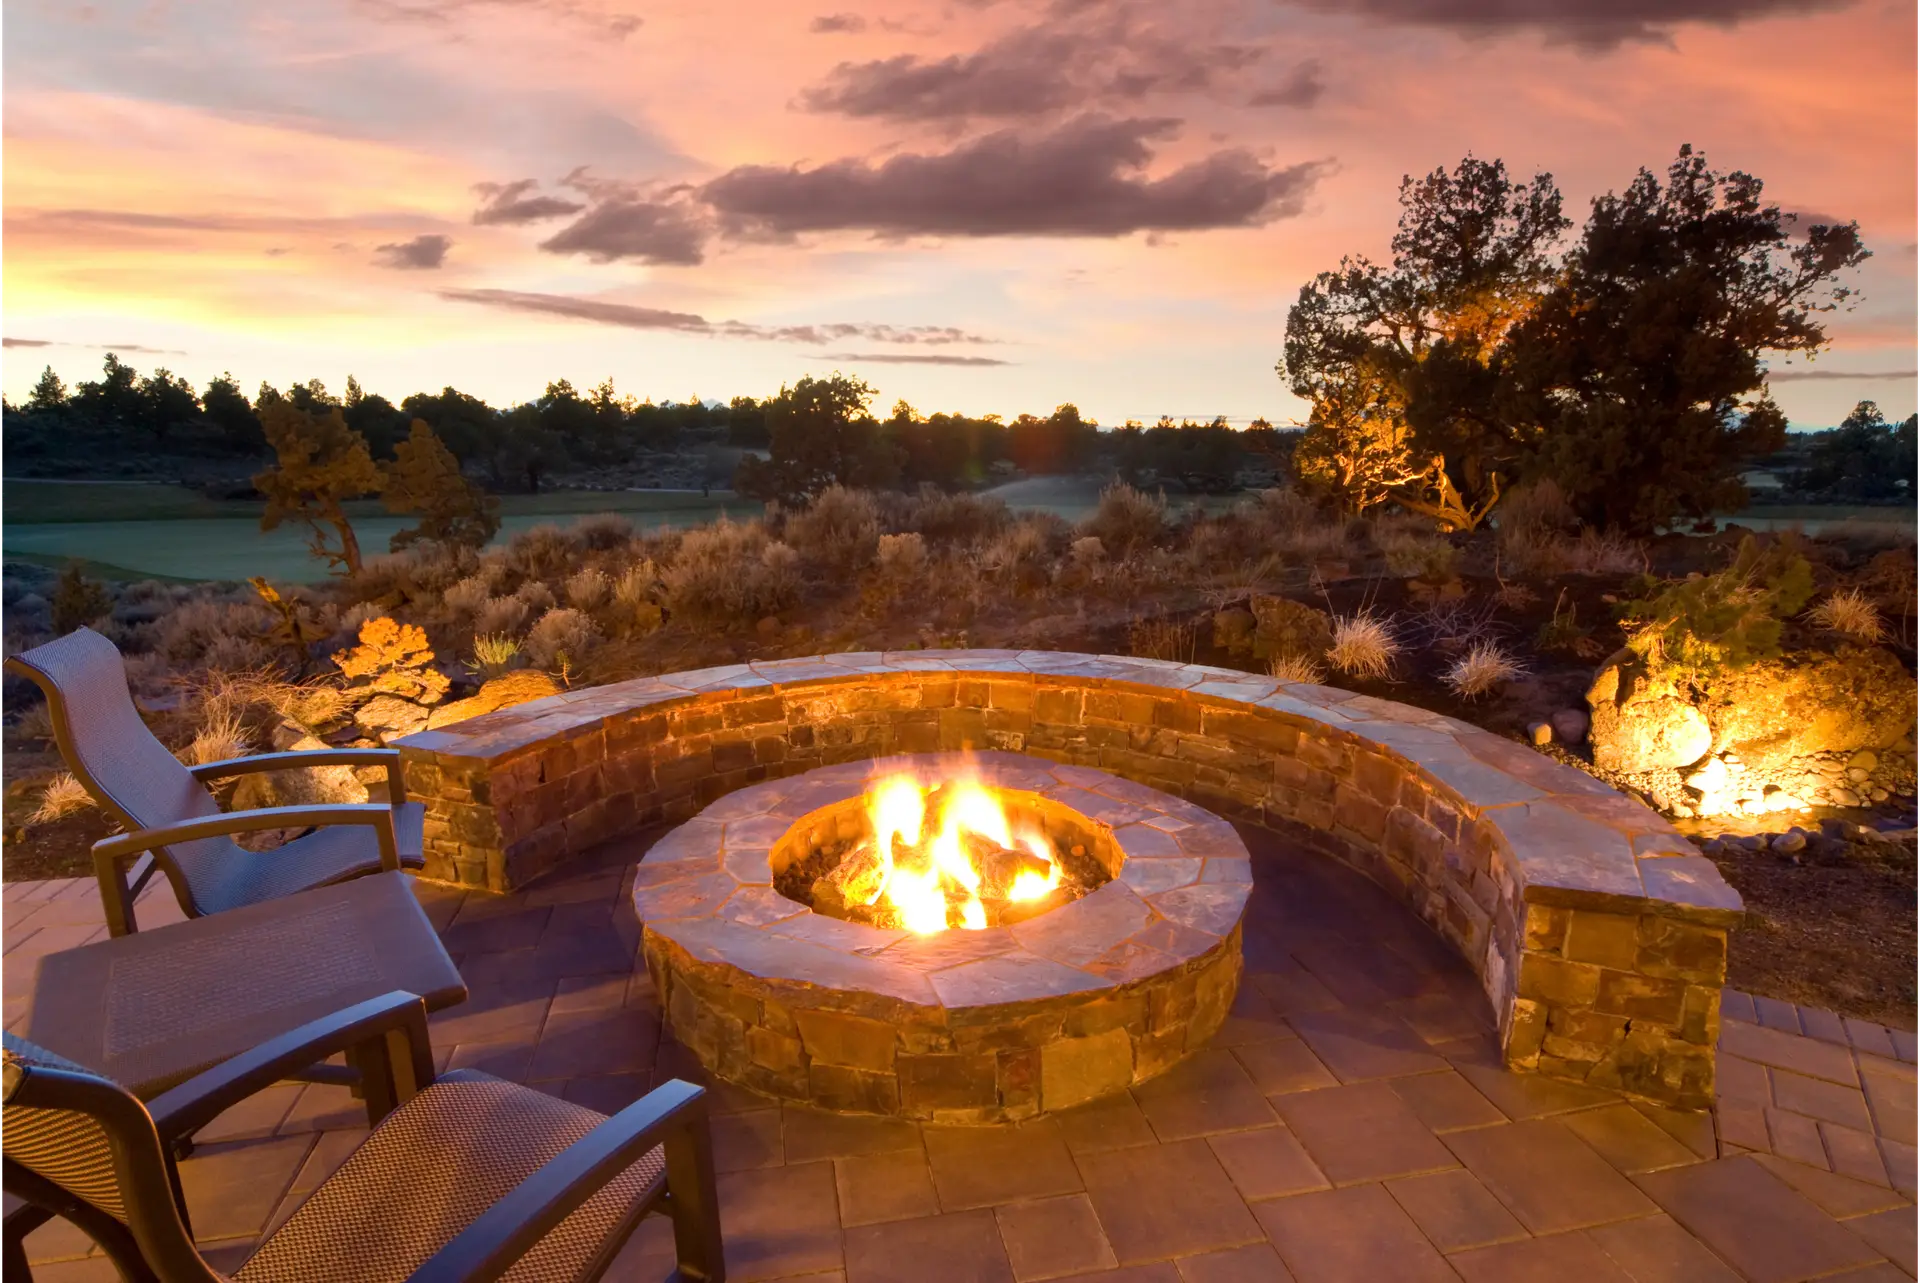
Follow straightforward rules: place a minimum of 10 feet away, aim for 20–25 feet when possible, keep flames under three feet, and use stone, concrete, pavers, or gravel underneath. Keep a spark-free zone of at least five feet and pause use on gusty days above 10–15 mph.
Confirm local permits and insurance impacts before you build. These steps protect property, guests, and your investment while keeping gatherings enjoyable and compliant.
Key Takeaways
- Safe baseline: Minimum 10 feet; 20–25 feet preferred for extra protection.
- Use noncombustible surfaces and keep flames under three feet tall.
- Maintain a five-foot spark-free zone and monitor wind above 10–15 mph.
- Check permits, burn bans, and insurance coverage ahead of installation.
- Anchored Construction & Restoration offers local design-build support in East Tennessee.
Understand the Search Intent: A Practical How-To on Safe Fire Pit Placement
Safe placement starts with a simple plan and a tape measure. Homeowners want clear, usable guidance that fits real yards. This section turns general rules into practical steps you can use on site.

What “safe distance” means in real backyards
Define safe distance as a minimum of 10 feet from buildings, with 20–25 feet preferred where space allows. Vertical clearance of about 21 feet helps avoid heat transfer to branches or overhead covers.
Balancing cozy ambiance with code-compliant safety
Pick a location first, then add finishes and seating. Use noncombustible bases and keep a five-foot spark-free zone around the unit.
- Measure and mark your planned spot before moving a bowl or built-in unit.
- Consider wind, slope, and nearby plantings when choosing the final site.
- Supervise every use; keep flames low and fuel controlled for repeatable safety.
Anchored Construction & Restoration helps homeowners balance ambiance and compliance with professional layout and hardscape design. Next, the guide will give step-by-step placement and setup instructions you can follow on site.
How Far Should Fire Pit Be From House?
A practical placement plan begins with measuring clearances and marking the intended footprint. Start with a simple rule: place the unit at least ten feet away, and move it to 20–25 feet when the yard allows. This baseline reduces radiant heat risks to nearby structures.
The baseline rule: at least 10 feet, ideally 20-25 feet away
Establish the starting point: place the fire pit least ten feet from the house; twenty to twenty-five feet gives extra margin. Use a tape measure and mark the safety ring so the bowl or built-in unit never drifts closer over time.
Side clearances from sheds, fences, and property lines
Apply the same spacing to sheds and fences to prevent radiant heat and reduce spread risk. Confirm county minimums for property lines before installing. During burn bans, local setbacks may become stricter.
Vertical clearance: keep 21 feet of overhead space clear
Maintain roughly 21 feet of overhead clearance to protect branches, awnings, and patio covers. Keep flames under three feet and place the unit on level, stable ground to prevent tipping.
- Combine side, rear, and overhead spacing with a five-foot debris-free perimeter.
- If space is tight, consider a smaller model to meet clearance goals.
- Anchored Construction & Restoration can assess your site and set proper clearances when building pads, patios, or integrated outdoor living spaces in Knoxville and nearby communities.
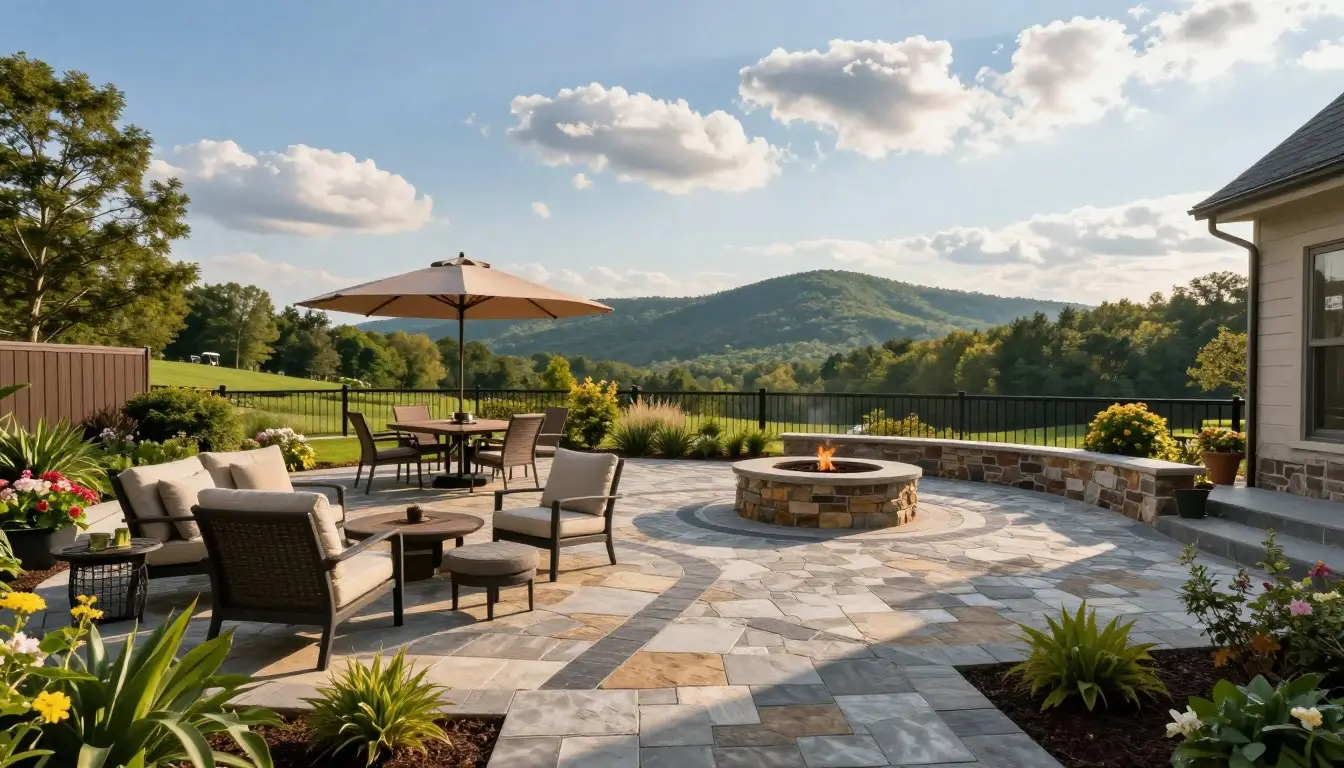
Choosing the Right Spot: Ground, Space, and Overhead Guidelines
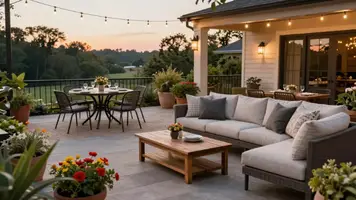
Pick a flat, open spot that gives clear breathing room and steady footing for any backyard fire feature. Level ground prevents tipping and helps steady airflow for clean combustion.
Keep generous space so chairs and tables never crowd the unit. Avoid placing units under branches, awnings, or covered patios to reduce overhead ignition risk.
Level ground and open space
Select firm, even soil or a noncombustible pad. Concrete, stone, pavers, or gravel work best as base materials and cut heat transfer into decking or turf.
Stay clear of trees and covers
Do not site the unit beneath low limbs or patio roofs. Maintain overhead clearance and route seating so smoke and embers drift away from people and greenery.
Create a 5-foot spark-free zone
Rake and clear a five-foot ring free of leaves, mulch, and furniture. Mark a visible “do not cross” line on patios to keep spacing intact.
Wind-aware placement
Orient seating upwind and use walls or plant buffers as natural shields. Confirm drainage so water does not collect near the bowl or gas components.
- Select level ground to prevent tipping and ensure steady combustion.
- Use noncombustible materials under and around the unit for long-term performance.
- Work with Anchored Construction & Restoration to build pads, buffers, and circulation that meet code and look great.
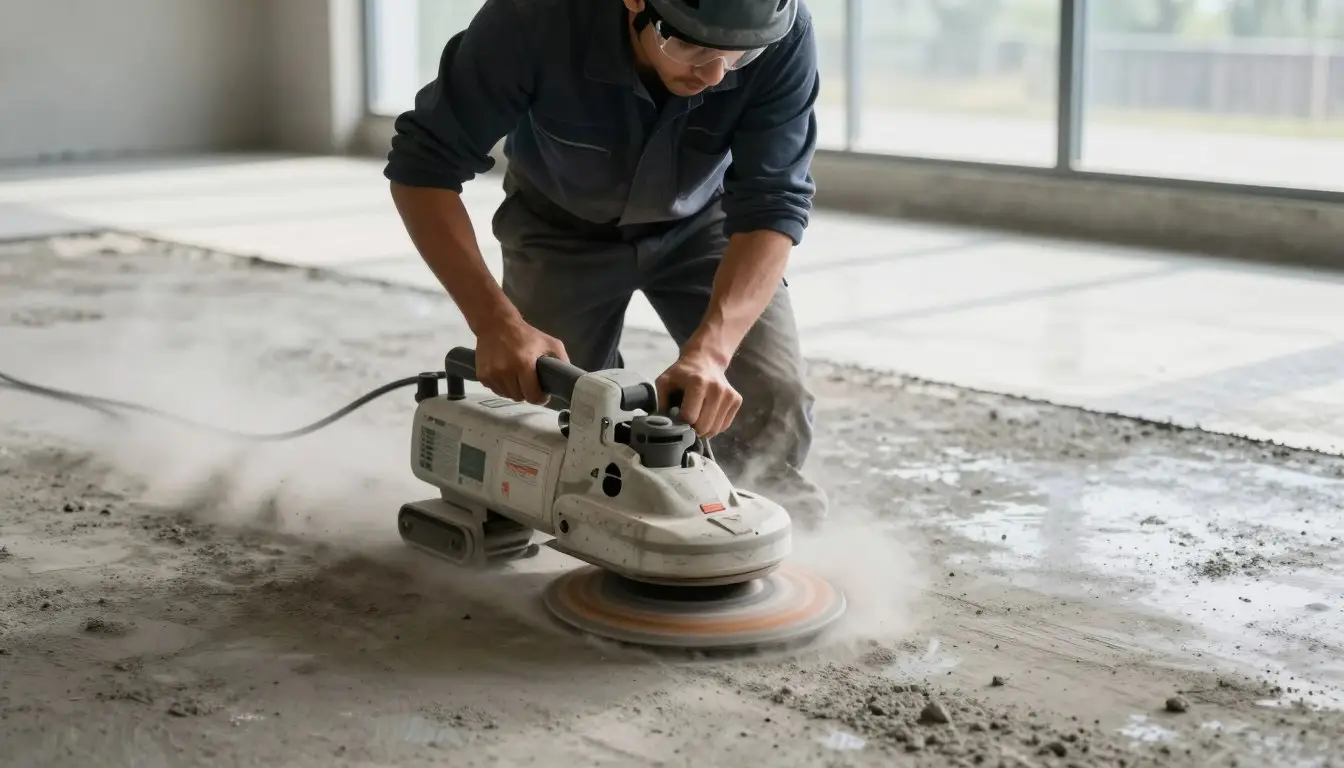
Surface Matters: Safe Materials Under and Around Fire Pits
A stable, noncombustible base is the first line of defense for any outdoor fire installation.
Choose durable materials such as concrete, stone, pavers, or compacted gravel. These bases cut heat transfer and stop stray embers from igniting nearby finishes.
Best base options and deck guidance
Use a sand layer under some bowls for added insulation. On wood decks, install a rated heat pad and a vertical shield to protect joists and finishes.
Placement, upkeep, and runoff
Keep a debris-free ring around the unit and verify the surface is flat so the bowl sits steady. Provide airflow beneath metal units to reduce heat imprinting on materials.
- Choose noncombustible bases—concrete, stone, pavers, gravel, or sand—to manage sparks and heat.
- On decks or other combustible structures, use a certified pad and shield to protect wood.
- Make sure water runoff will not carry embers to mulch or lawn; add edging or a gravel ring.
- Inspect pads regularly for scorching or warping and replace when damaged.
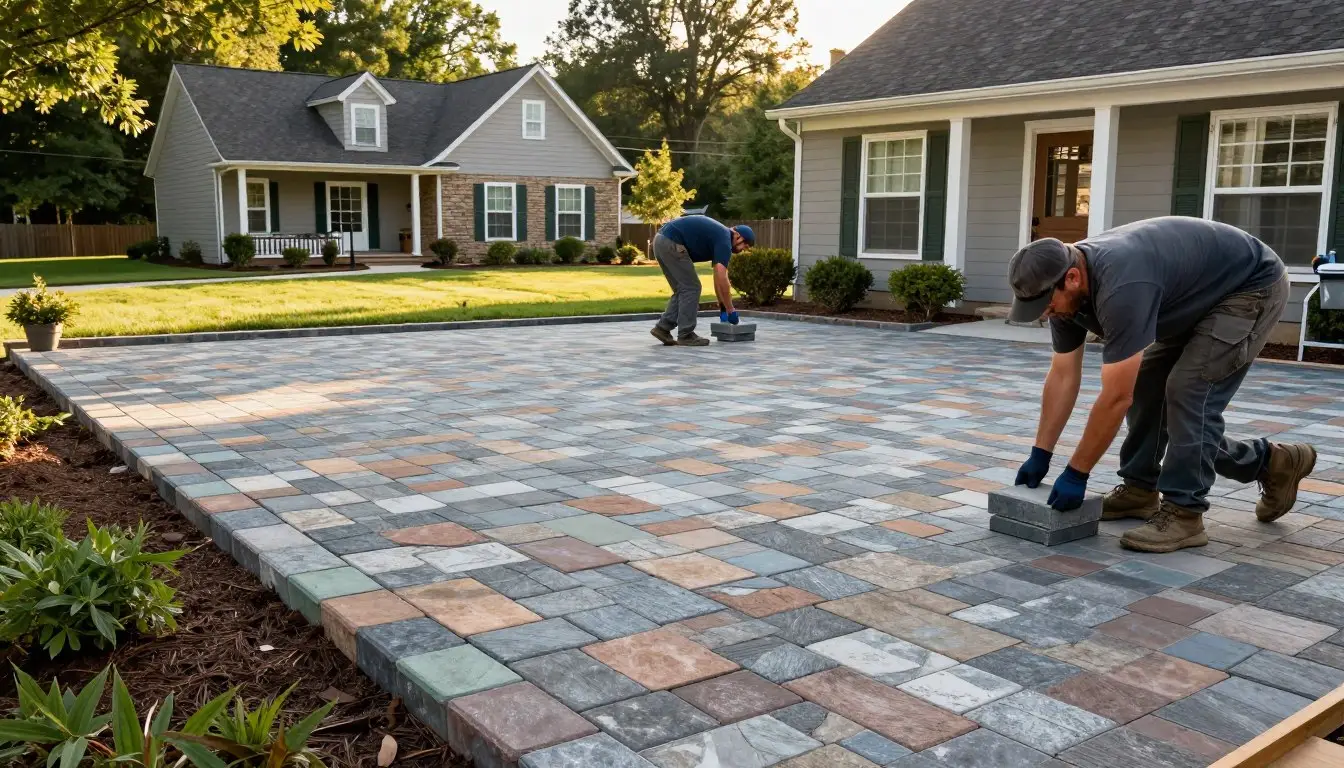
- Anchored Construction & Restoration builds concrete pads, paver patios, and integrated borders that match existing space and improve long-term performance.

Fuel Types and Safety: Wood-Burning vs. Gas Fire Pits
Choosing the right fuel changes performance, cleanup, and safety needs for any backyard hearth. This short guide compares wood, gas, gel, and electric options so you can pick a type that fits your yard and routine.
Wood-burning models
Use dry, seasoned hardwoods like oak or hickory. These burn hotter and cleaner than softwoods.
Keep logs shorter than three-quarters of the bowl diameter to prevent roll-out. Limit flame height to under three feet and add an ember screen to contain sparks and pop.
Propane and natural gas units
Gas offers instant ignition and steady flames with less smoke. Maintain clear vents and test ignition controls before each season.
Inspect the gas line and connections regularly. Store propane cylinders upright, outdoors, away from direct sun. Always confirm shutoff valve access so you can stop the flame quickly.
Gel, ethanol, and electric options
These produce less heat and minimal smoke. Follow manufacturer clearance tables for placement and treat them as a different type in layout plans.
- Choose fuel to fit usage: wood for ambiance; gas for clean control.
- Burn seasoned hardwood to reduce smoke and creosote.
- Use ember screens on wood models to manage sparks.
- Inspect fuel lines and replace worn hoses or gaskets promptly.
- Keep propane tanks shaded, upright, and accessible for shutoff.
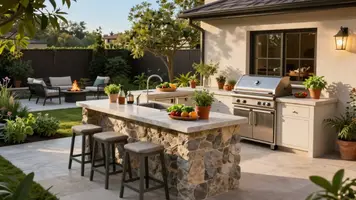
Anchored Construction & Restoration designs and installs outdoor kitchens and hardscapes, coordinating utility routing and ventilation so gas connections, lines, and vents meet code and operate safely.
Weather, Wind, and Smoke Control Around Fire
Small shifts in wind can move smoke and embers well past a safety ring, so anticipate airflow.
Skip burns on blustery days. Avoid use when winds top 10–15 mph. Gusts send embers unpredictably and raise the risk of accidents.
Seat guests upwind. Arrange chairs so smoke drifts away from people. Keep a clear path to exits and extinguishing tools.
- Skip use on days with winds over 10–15 mph to limit ember travel and larger incidents.
- Use a spark screen and keep flames modest to control smoke behavior and reduce nuisance to neighbors.
- Keep a charged hose, a bucket of sand, and adult supervision ready at all times.
- Clear lightweight items that could blow into the bowl and ignite.
- Plan low hedges or masonry screens as wind breaks without creating clearance problems.
Anchored Construction & Restoration helps homeowners plan wind-aware layouts and screening that protect guests while keeping views intact. If smoke starts drifting toward nearby structures or neighbors, pause use and relight under calmer conditions.
Step-by-Step: Placing and Using a Fire Pit Safely
Start by laying out a clear safety ring so every step of placement and use stays predictable.
Measure at least 10 feet to nearby structures and mark a visible safety line. Add a five-foot debris-free perimeter so embers cannot reach mulch or furniture. Confirm level ground and a noncombustible base made of concrete, stone, pavers, or compacted gravel.
Ignition and flame height
Use approved starters, long lighters, or electric ignitors. Never use accelerants. Keep flames under three feet for steady, controlled burns. A spark screen helps contain sparks on wood models.
Managing fuel load
Size logs to no more than three-quarters of the bowl diameter to avoid roll-out. Add small amounts of wood or fuel gradually to control heat. Keep tongs, a poker, and a spark screen within reach.
- Ready tools: keep water on spray and a bucket of sand nearby.
- Supervision: assign one adult to tend the unit and watch embers.
- Shutdown: stir, smother, or soak ashes and confirm the bed is cool before leaving.
Anchored Construction & Restoration can embed markers and heat-safe borders into new patios to make ongoing safe use simple for homeowners and guests.
Safety Equipment, Kids and Pets, and Emergency Readiness
Keep lifesaving tools within arm’s reach when flames are lit and guests arrive. Stage a dry-chemical extinguisher rated for Class B/C close to the unit and verify pressure before use.
Memorize PASS: Pull, Aim, Squeeze, Sweep. Keep a hose set to spray or a bucket of sand ready to smother small flare-ups. Store tools—poker, shovel, heat-resistant gloves—where they are easy to grab.
Boundaries and supervision
Create a visible no-go zone at least three feet for children and pets. Use stones, low fencing, or painted markers to mark the line. Position seating 2–4 feet from the rim and orient chairs upwind when possible.
Emergency steps and end-of-night checks
- Stage a Class B/C extinguisher and check gauges before gatherings.
- Review PASS with any adult who may assist in an emergency.
- Keep water on spray or a bucket of sand nearby to cool embers.
- Confirm screens and lids are undamaged to reduce ember escape.
- After use, make sure ashes are cold and secure the area from curious hands or paws.
Anchored Construction & Restoration emphasizes family-focused boundaries and clear procedures so children and pets remain protected during gatherings. Plan an emergency route and ensure house numbers are visible if responders are needed.
Local Rules, Insurance, and When to Call Anchored Construction
Before you light up, confirm county restrictions and talk to your agent about liability and coverage. Many jurisdictions enforce burn bans and require permits during drought or poor air quality. Check local sites or call authorities for current rules.
Insurance carriers often treat open flames differently. Document distance to nearby structures, base materials, and extinguishers to support conversations with your agent. Review liability limits if guests are present.
Permits and burn bans
Follow county timelines and permit steps before any use. Size limits and supervision rules vary. Pause use during active burn restrictions.
Insurance and liability
Document safety measures such as noncombustible pads and five-foot debris-free zones. Agents may suggest endorsements for open-flame features or changes to premiums.
Design-build support
Anchored Construction & Restoration offers site assessments, pad design, and utility coordination for propane or gas fire pits. The team routes lines, plans shutoff access, and integrates hardscapes so installations meet local codes.
- Call (865) 316-6933 or email Info@anchoredconstructiontn.com to schedule a site assessment.
- Founded in 2000, the team brings 25+ years of local expertise to Knoxville-area projects.
- Build once, build right: protect property and boost outdoor living value.

Conclusion
Wrap up plans by setting simple limits that keep gatherings safe and predictable.
Place a minimum of 10 feet to nearby structures and aim for 20–25 feet when space allows. Maintain about 21 feet of overhead clearance. Use a noncombustible base and keep flames under three feet. Pause use when winds top 10–15 mph and always supervise activity.
Keep water or a bucket of sand nearby and follow local rules and insurance requirements. Control fuel and avoid accelerants to reduce risk. These steps help you use a fire pit safely in the backyard and enjoy evenings with confidence.
Anchored Construction & Restoration stands ready to plan, place, and build durable outdoor features. Call (865) 316-6933 or email Info@anchoredconstructiontn.com to start.