Can a small planning step today save years of repair and expense tomorrow? This guide gives a clear sequence for a durable retaining structure. It focuses on smart design and field-tested installation practices used across Knoxville and East Tennessee.
Anchored Construction & Restoration brings over 25 years of experience. Led by Knoxville native Travis Bullington, the team blends craftsmanship with practical design. Their work spans landscape, hardscape, decks, concrete, and excavation.
This introduction highlights must-do steps. Begin with a compacted 6-inch leveling pad of clean 3/4″ crushed gravel. Install a perforated drainage pipe behind the first course and backfill 12 inches with clean aggregate in 6-inch lifts. Start at the lowest elevation and keep the base course level front-to-back and side-to-side. These details protect strength and long-term performance.
Key Takeaways
- Plan first: a good layout prevents costly fixes later.
- Base matters: 6″ of compacted 3/4″ crushed gravel is nonnegotiable.
- Drainage wins: a perforated pipe behind the first course stops hydrostatic pressure.
- Level base: front-to-back and side-to-side leveling keeps courses true.
- Backfill properly: 3/4″ crushed gravel in 6″ lifts avoids settlement.
- Local expertise: Anchored Construction’s East Tennessee experience guides code-aware planning.
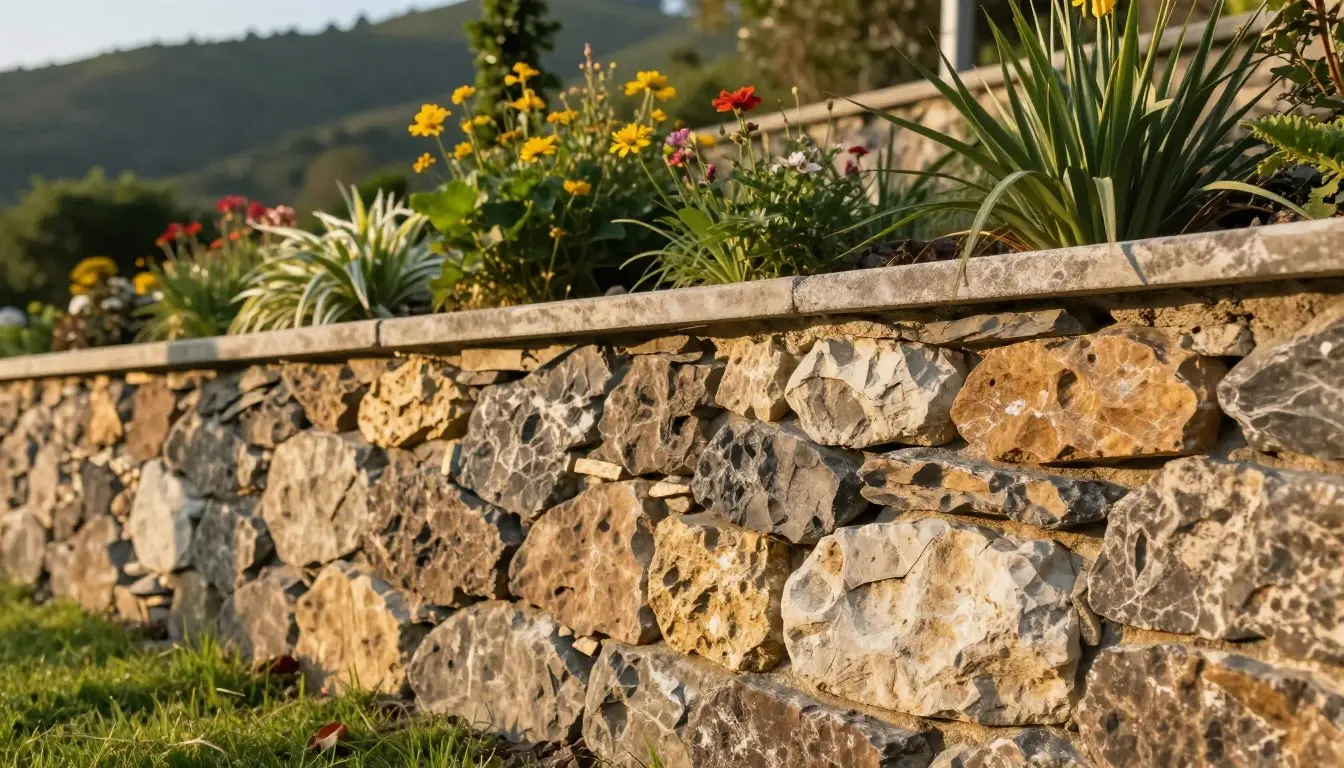
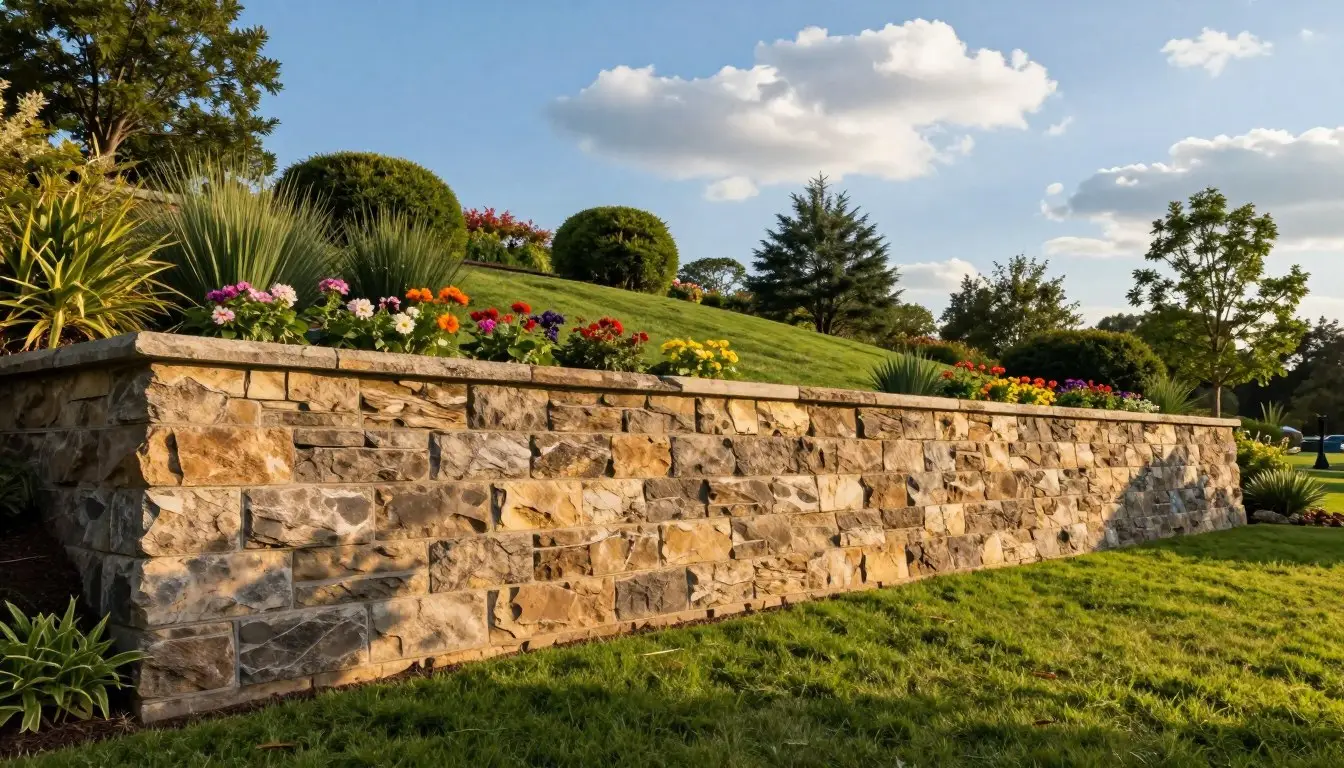
Why Retaining Walls Matter in East Tennessee Landscapes
East Tennessee’s steep hills and spring storms make solid retaining solutions essential for any landscape. Local soils, slope angles, and heavy seasonal rain change the loads a wall carries.

Anchored Construction brings 25+ years of local experience. Led by Travis Bullington, the team evaluates soil type, slope, and expected loads. They recommend a system that fits the yard and meets code when height or buried courses trigger engineering.
Pressure, water, and the role of drainage
Lateral earth pressure pushes on walls every day. When soils saturate, hydrostatic pressure rises and becomes the leading cause of failures.
The most reliable way forward is a perforated pipe set behind the base course with a clear outlet. Proper backfill, filter fabric, and routing keep water away and protect long-term strength.
- Local terrain and rain patterns dictate design choices.
- Drainage and backfill details prevent movement and frost heave.
- Early professional input avoids costly rework and extends service life.
For site-specific guidance, call (865) 316-6933 or email Info@anchoredconstructiontn.com.
Plan First: Design, Codes, and Site Readiness
Begin planning the project by confirming local permits, height limits, and engineering needs. Many jurisdictions require permits for walls at 36 inches, and walls between 36 and 48 inches often need an engineer. Include any buried course when you calculate total height.
Check permits, engineers, and measurements
Call 811 before digging. Locate utilities before excavation. Confirm the planned line with stakes and a tight string so the layout and curve radii are final.
Trench, base, and drainage basics
- Trench width = block width plus 12 inches; depth = one block height plus 6 inches for the base.
- Use clean 3/4″ crushed gravel for base and backfill to support drainage and compaction.
- Decide setback and cap early so each course steps consistently and looks finished.
Choose materials and coordinate the build
Select block type, face texture, and cap style that match the design. Anchored Construction can scope, permit, and coordinate engineering to streamline your build retaining wall project. Call (865) 316-6933 or email Info@anchoredconstructiontn.com.
Tools and Materials You’ll Need for a Strong Wall
Gathering the right tools and material makes the build faster and the finish more reliable. Plan supplies before excavation so the crew keeps momentum on site.
Core materials
Use clean 3/4″ crushed gravel for the 6-inch leveling pad and for backfill. Do not use pea gravel. Choose a block type that matches your desired connection system.
Drainage and backfill
Include a perforated drainage pipe with a fabric sleeve placed behind the base course. Compact backfill in 6-inch lifts so the gravel zone moves water away and stabilizes the structure.
Layout, compaction, and bonding
- Stakes, a taut string line, and a line or laser level for straight, true courses.
- Shovel, hand tamper or plate compactor, rubber mallet, and brick chisel for fine fit.
- Masonry or construction adhesive and a caulking gun for caps and finish bonding.
- Allow extra space in the trench for base material, block, and the drainage zone.
Anchored Construction supplies quality wall blocks, caps, and excavation equipment, including a bobcat for efficient site prep. For expert sourcing and material selection, call (865) 316-6933 or email Info@anchoredconstructiontn.com.

How to Lay Retaining Wall Blocks: Layout, Trench, and Leveling Pad
Set stakes at the ends and key bends, and tie a taut string at the finished elevation. This string line defines the top course and keeps the alignment straight during work.
Verify the string with a line level or laser. Small errors grow over distance. A level line saves time and reduces rework.
Excavate the trench and prepare the subgrade
Excavate a trench at least the block width plus 12 inches. Dig down one block height plus 6 inches so the first row can sit partially buried for stability.
Compact the trench subgrade firmly. A stable subgrade cuts the risk of settlement under the base.
Build a 6-inch compacted leveling pad
Place 6 inches of clean 3/4″ crushed gravel, rake it flat, and compact thoroughly to form the base. Do not use pea gravel; rounded material shifts and makes accurate leveling difficult.
- Start at the lowest elevation and step the pad upward where grade rises.
- Dry-fit a few blocks on the pad to confirm trench width and clearance for drainage.
- Call Anchored Construction for layout or excavation help: (865) 316-6933.
Set the Base Course: First Row, Alignment, and Level
A precise first row locks a wall into place and saves hours of correction later. Start at the lowest elevation and place each unit on the compacted base so faces follow the layout line. Bury the base course below final grade to anchor the structure and reduce movement.
Bury, remove lips, and seat the units
Place the first course on the clean gravel and seat each block flat. If units have a rear lip, remove it on the first row so the pieces settle evenly.
Level front-to-back and side-to-side
Check level on every unit front-to-back and side-to-side. Small errors stack up quickly. Use a tight line at the back or pin holes as a straight reference and tap units with a rubber mallet for exact alignment.
Step the base on slopes
Where grade changes, step the base course in full increments, always starting at the lowest point. Keep top surfaces even so subsequent rows sit without rocking.
- Set the first course directly on the compacted base along the layout line.
- Confirm joint tightness and consistent spacing before moving up.
- Verify corners and curves are true before building higher.
Anchored Construction & Restoration crews focus on meticulous base-course setup. For professional installation call (865) 316-6933 or email Info@anchoredconstructiontn.com.
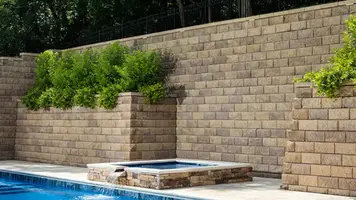
Drainage, Backfill, and Building Additional Courses
A reliable pipe run behind the base protects the structure from pressure and freeze issues. After the base course, place a perforated drainage pipe with a fabric sleeve. Slope the drainage pipe continuously to a clear outlet so water has a defined way out.
Surround the pipe with clean 3/4″ crushed gravel and keep a 12-inch gravel zone behind wall. Install landscape fabric between the gravel and native soil to limit fines migration and preserve flow.
Build and compact in controlled lifts
Backfill in 6-inch lifts and compact each lift with a plate compactor or hand tamper. Do not operate heavy ride-on equipment within 3 feet of the wall. Alternate placing the next course with backfill and compaction so the structure rises uniformly.
- Stagger vertical joints in a running bond for better interlock.
- Use the block’s pin, lip, or adhesive connection as specified for each course.
- Keep checking level and face alignment; small tweaks now save time later.
Anchored Construction & Restoration installs reliable drainage and compaction to protect your investment. For help routing water and troubleshooting outlets on complex sites, call (865) 316-6933.
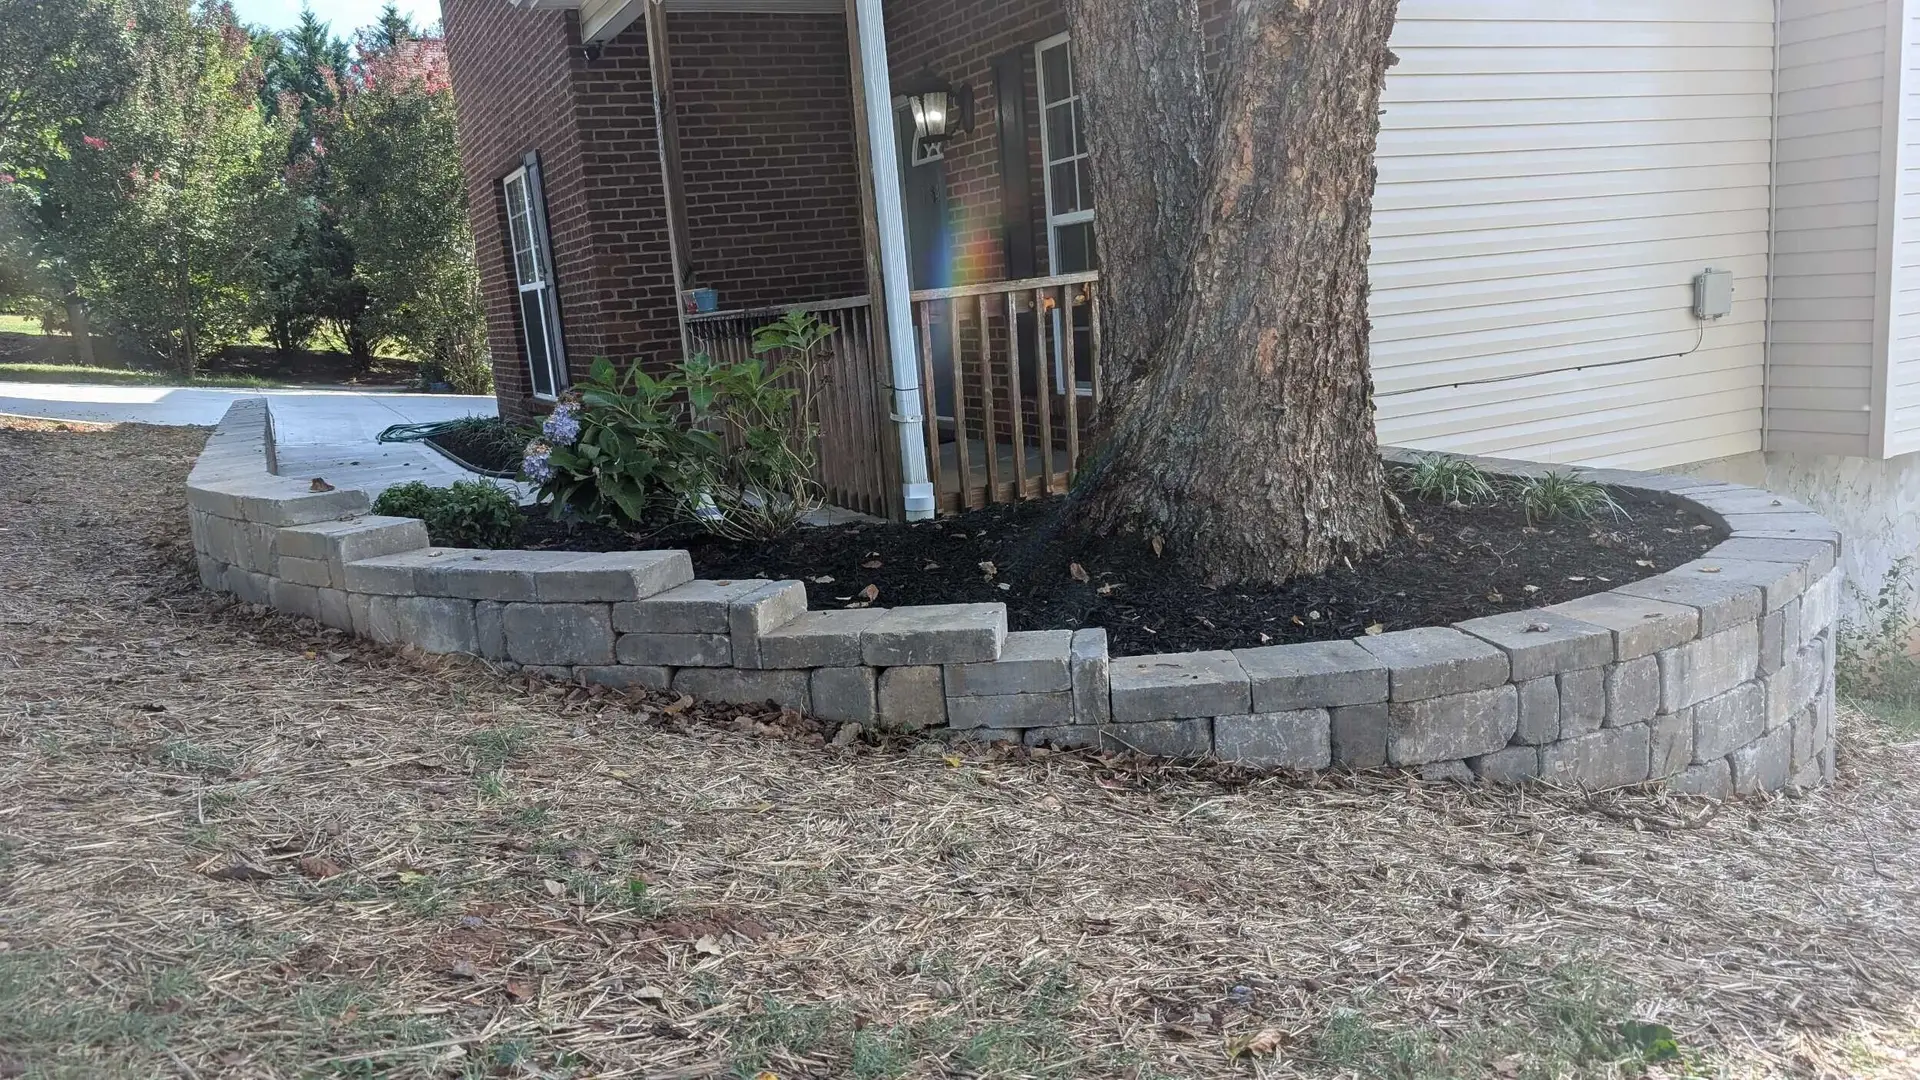
Top It Right: Caps, Adhesive, and Finishing Touches
Final caps protect the wall and define the yard’s finished look. A tidy top course and correct bonding make the cap line durable and attractive.
Clean, bond, and position caps
Brush or hose off the top course and let it dry. Clean surfaces help adhesive form a strong bond.
Run a continuous bead of construction adhesive where each cap will sit. Set caps flush for a sleek line or with a slight overhang for a shadow step. Align any lipped pieces carefully so the finished top stays consistent.
Final grading, backfill, and planting prep
Keep the gravel drainage zone intact up to the design elevation. Lay landscape fabric between aggregate and soil when needed to keep fines out of the gravel.
- Place and compact backfill to subgrade, then add quality topsoil for planting.
- Check the cap line for level and tight joints before adhesive cures.
- Respect manufacturer cure times before seating furniture or loads on the top.
Anchored Construction & Restoration finishes caps cleanly and preps beds, sod, or hardscape edges for a complete outdoor space. Call (865) 316-6933 or email Info@anchoredconstructiontn.com.
Pro Tips, Common Mistakes, and When to Call Anchored Construction
A few proven tips will save time and extend the life of your project. Follow basic checks during installation and you avoid repairs down the road.
Make sure you never substitute pea gravel. Rounded stones shift and lower bearing capacity. Use clean 3/4″ crushed gravel for the base and backfill.
Make sure compaction happens in 6-inch lifts and keep heavy ride-on compactors at least 3 feet away. Insert pins before backfilling if the system uses them so holes don’t clog.
Avoid these common errors
- Insufficient trench width or depth.
- Skipping fabric between soil and aggregate.
- Stack bond; stagger joints for a running bond.
- Clogged drains—sleeve the perforated pipe, slope it, and route to a clear outlet.
When to call a pro
For taller walls, steep slopes, tiered designs, or warehouse-grade loads, engineering and pro installation reduce risk and speed work.
Anchored Construction & Restoration handles design, excavation, concrete, decking, hardscapes, and warehouse repairs. Call (865) 316-6933 or email Info@anchoredconstructiontn.com for a site visit and a reliable schedule.

Conclusion
A reliable finish starts where layout, drainage, and base meet—with measured steps and steady work.
Follow the proven sequence: set a taut string line, dig the trench with space for the base, place 6 inches of 3/4″ crushed gravel, and seat a level base course. Install a perforated pipe behind the base and keep a gravel zone for clear water movement.
Stack row blocks in a running bond, remove the lip on the first course when needed, and step up grade one course at a time. Compact backfill in 6‑inch lifts and keep heavy equipment off the side near the face.
For a turnkey solution, Anchored Construction & Restoration stands behind every project with East Tennessee pride and decades of know‑how. Ready to get started? Call (865) 316-6933 or email Info@anchoredconstructiontn.com.