What if a simple plan could turn a dark yard into a welcoming outdoor room that you use every night?
Anchored Construction & Restoration brings 25 years of craft to East Tennessee homes. The team blends construction with thoughtful lighting to extend your living space and boost curb appeal.
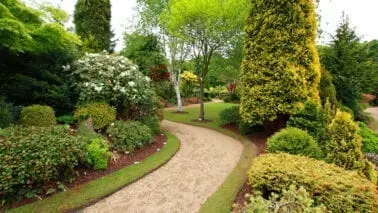
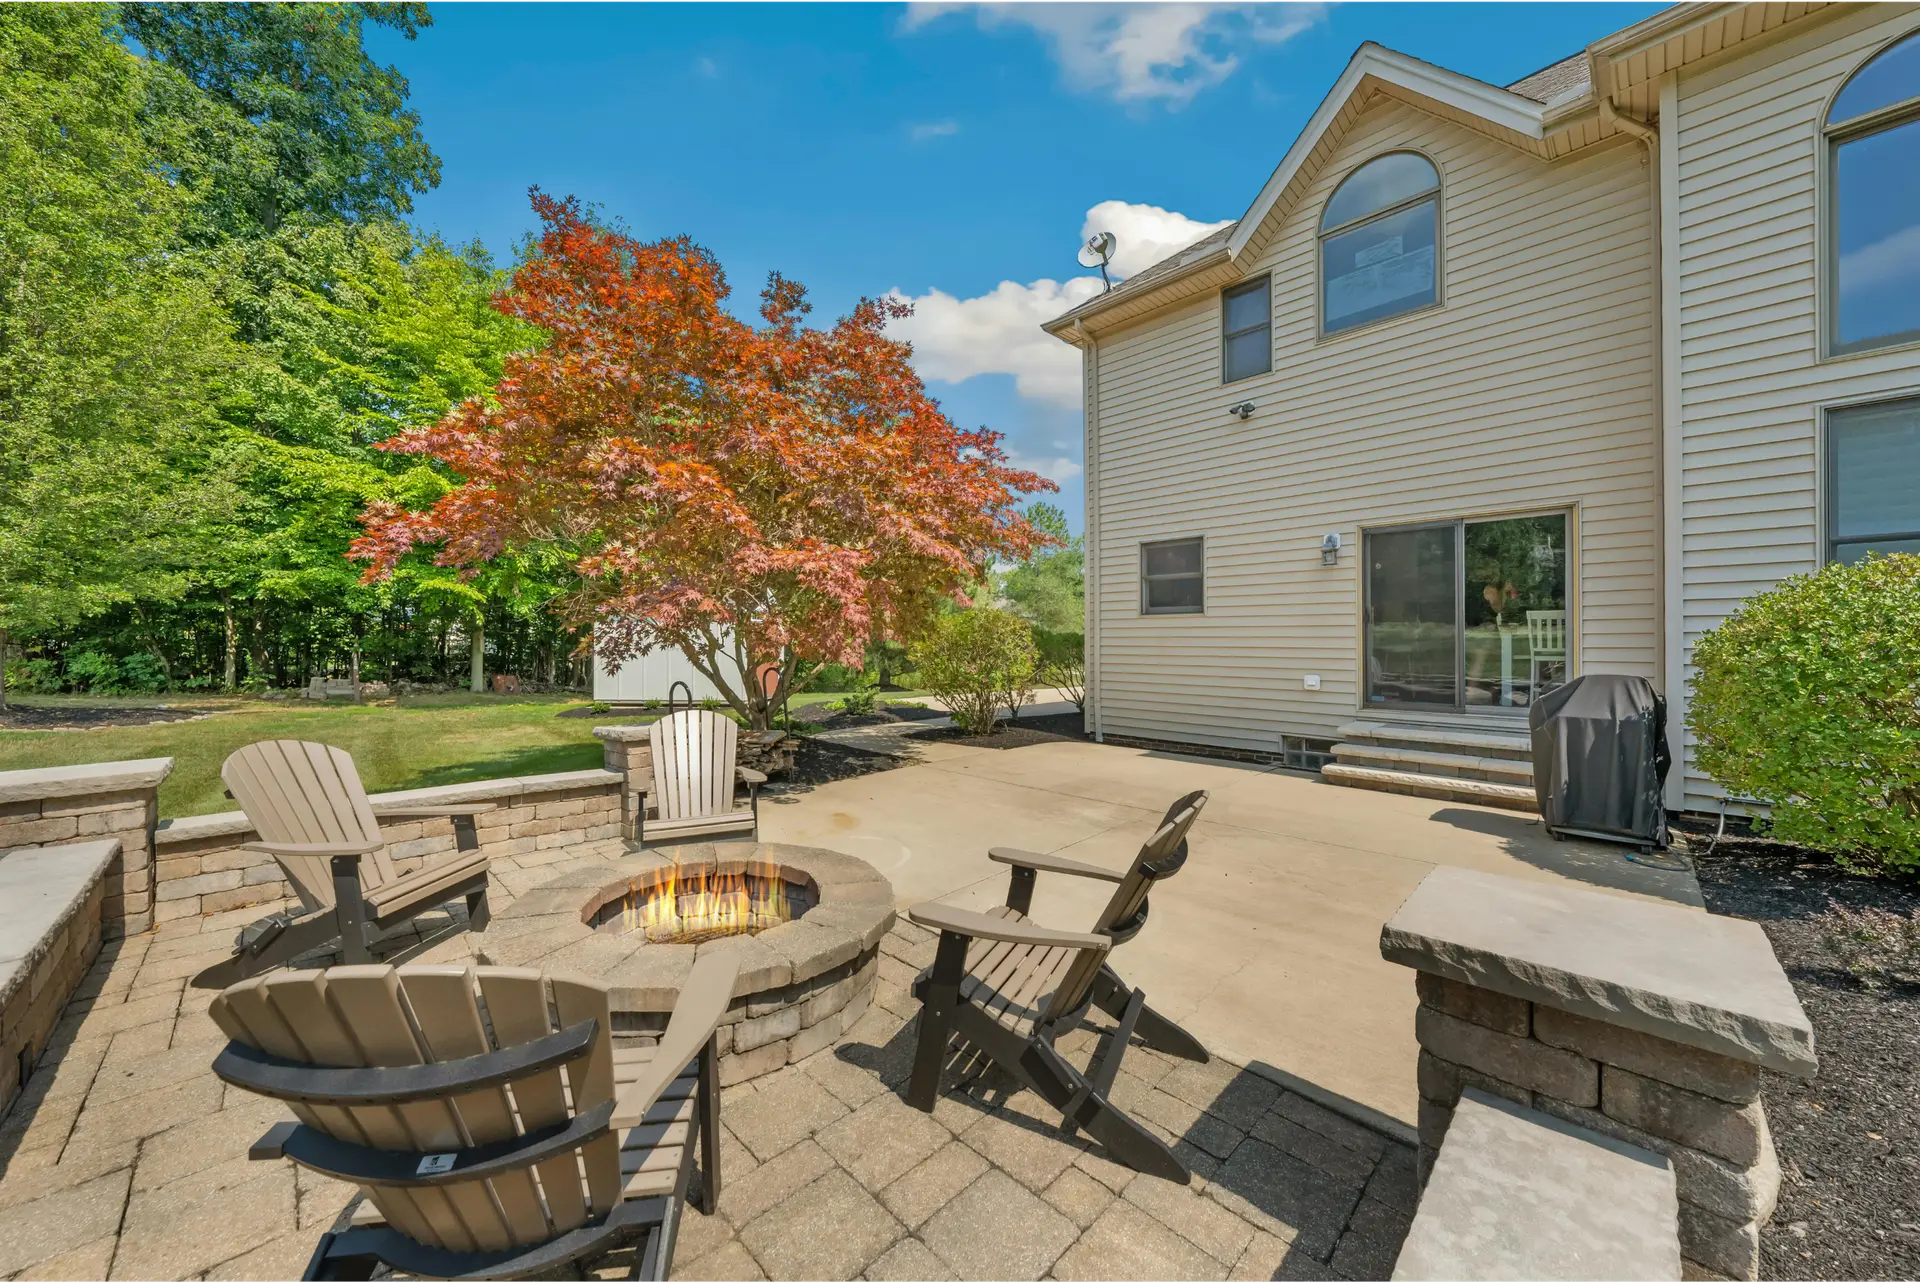
Start with a clear map and goals. A balanced approach uses pools of light to guide movement, spotlights for focal features, and soft washes to reveal materials without glare.
Modern low-voltage systems offer safety, efficiency, and easy expansion. Durable fixtures and LED sources deliver warm tones and long service life suitable for local weather and your house style.
Expect safer paths, highlighted features, and cozy gathering areas. Anchored Construction manages each phase to stay on budget while protecting existing plantings. Call (865) 316-6933 or email Info@anchoredconstructiontn.com to discuss ideas and get practical tips tailored to your yard.
Key Takeaways
- Thoughtful plans turn dark yards into usable, inviting outdoor rooms.
- Anchored Construction combines construction and lighting services for cohesive results.
- Low-voltage LED systems are efficient, flexible, and weather-ready.
- Layered light guides movement, highlights features, and reduces glare.
- Projects start with a map, clear goals, and phased execution to protect the property.
Plan First: Map Your Property and Define Nighttime Goals
A clear, scaled map is the first step to making your yard work at night. Start by drawing the home, drive, walkways, planting beds, grade changes, utilities, and prominent features. Note existing outlets that have GFCI protection and possible transformer locations.

Create a scaled site plan
Mark highlight targets such as specimen plants, textured masonry, and water features. Assign fixture types that will achieve the intended effect. Plan conduit routes before paving or planting so wiring is hidden and protected.
Set clear goals for use and safety
List priorities like curb appeal from the street, safety at entry points, and extending an outdoor living space for evening use. For paths, keep mind spacing around 6–8 feet for an even guide without a runway feel. Adjust to 5–15 feet based on output and beam spread.
- Create a scaled plan showing proposed fixture locations.
- Mark power locations to streamline installation.
- Budget for controls and future expansion.
- Sequence work with hardscapes to avoid rework.
Anchored Construction & Restoration can help prioritize goals, align scope with budget, and finalize locations before installation. Call (865) 316-6933 for planning support from a Knoxville-based team that knows local codes.
Landscape Lighting Fundamentals: Power, Brightness, and Color
Power choices set the foundation for steady, attractive nighttime scenes around your home. Residential setups typically use 12V low-voltage systems stepped down from 120V with a transformer for safety and flexibility.
Why 12-volt systems work best
Low-voltage (12V) is safer to work with, easier to expand, and energy efficient. Anchored Construction & Restoration specifies reliable components sized for the project so you can add more fixtures later without surprises.
Transformer sizing and wiring tips
Size the transformer to the total fixture wattage, then multiply by 1.25 for growth. Use a hub method: run 10-gauge cable to a weatherproof junction, then equal-length 12-gauge branches under 50 feet to limit voltage drop. Document each run on the plan to keep power balanced.
Brightness, color, and fixture choices
- Match lumens to use: path 100–200, accents 50–300, floods 700–1300 for broad illumination.
- Choose 2700–3000K for warm, welcoming tones; 4000K+ for crisp, moonlit effects.
- LEDs outlast halogen, use less power, and run cool—protecting plants and reducing maintenance.
Fixture Types and Effects to Shape Your Look
Selecting the right fixtures changes how you move through and enjoy your yard after dark. Each type serves a clear purpose. Mixing them creates depth and safe routes.
Path and garden lights for guiding movement with pools of light
Garden and path fixtures on 18–24 inch risers make soft pools that lead the eye. Use them to mark routes without bright, continuous strips. This creates a rhythmic sequence that feels natural and safe.
Wash and flood lights for broad, even illumination on walls and facades
Wash fixtures spread diffuse illumination across walls and fences. Choose beam widths that cover masonry without hot spots. Floods work for larger facades when you need higher brightness.

Bullet and accent lights to sculpt architectural details and trees
Bullet fixtures with narrow beams model corners and trunks. They create depth and shadow for features. Aim carefully at night to refine the effect and avoid glare.
- Well and in-ground lights hide hardware while uplighting canopies or grazing textured stone.
- Downlighting and moonlighting from trees or structures casts soft, natural patterns on patios and paths.
- Specialty techniques like uplighting, grazing, shadowing, and silhouetting pair with targets: trees, walls, low walls, and focal features.
Anchored Construction selects durable brass and composite fixture families that match your aesthetic and stand up to East Tennessee weather. They set precise aiming at night and add shields or louvers to control glare.
How to Install a Low-Voltage Landscape Lighting System
Begin installation by locating a GFCI outlet and positioning the transformer for service access. Mount the transformer near that protected outlet at a serviceable height. This keeps circuit protection clear for future work.
Prep and layout
Mark cable routes on the ground and place a waterproof hub where runs meet. Note fixture locations, path spacing, and any nearby wall outlets or hardscapes.
Cabling basics
Run a main 10-gauge feed to the hub, then equal-length 12-gauge branches under 50 feet to limit voltage drop. Bury low-voltage cable at least six inches and leave service loops at each fixture.
Connections and controls
Use manufacturer-approved connectors for each fixture. Add a timer, photocell, or smart controller to automate the system. Document transformer tap use and run loads for future expansion.
Testing, aiming, and spacing
- Test at dusk: power the system before final burial to verify beam spread and output.
- Aim fixtures to avoid glare and to keep a path from reading like a runway; 6–8 feet spacing is a common starting point.
- Finalize aims, cover runs, and confirm all weatherproof connections.
Anchored Construction & Restoration manages full installation, coordinates with hardscape crews, and will refine transformer placement and final aims. Call (865) 316-6933 or email Info@anchoredconstructiontn.com to schedule.
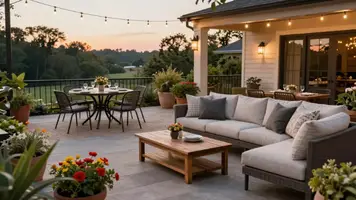
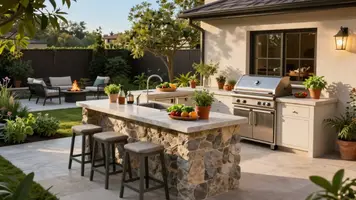
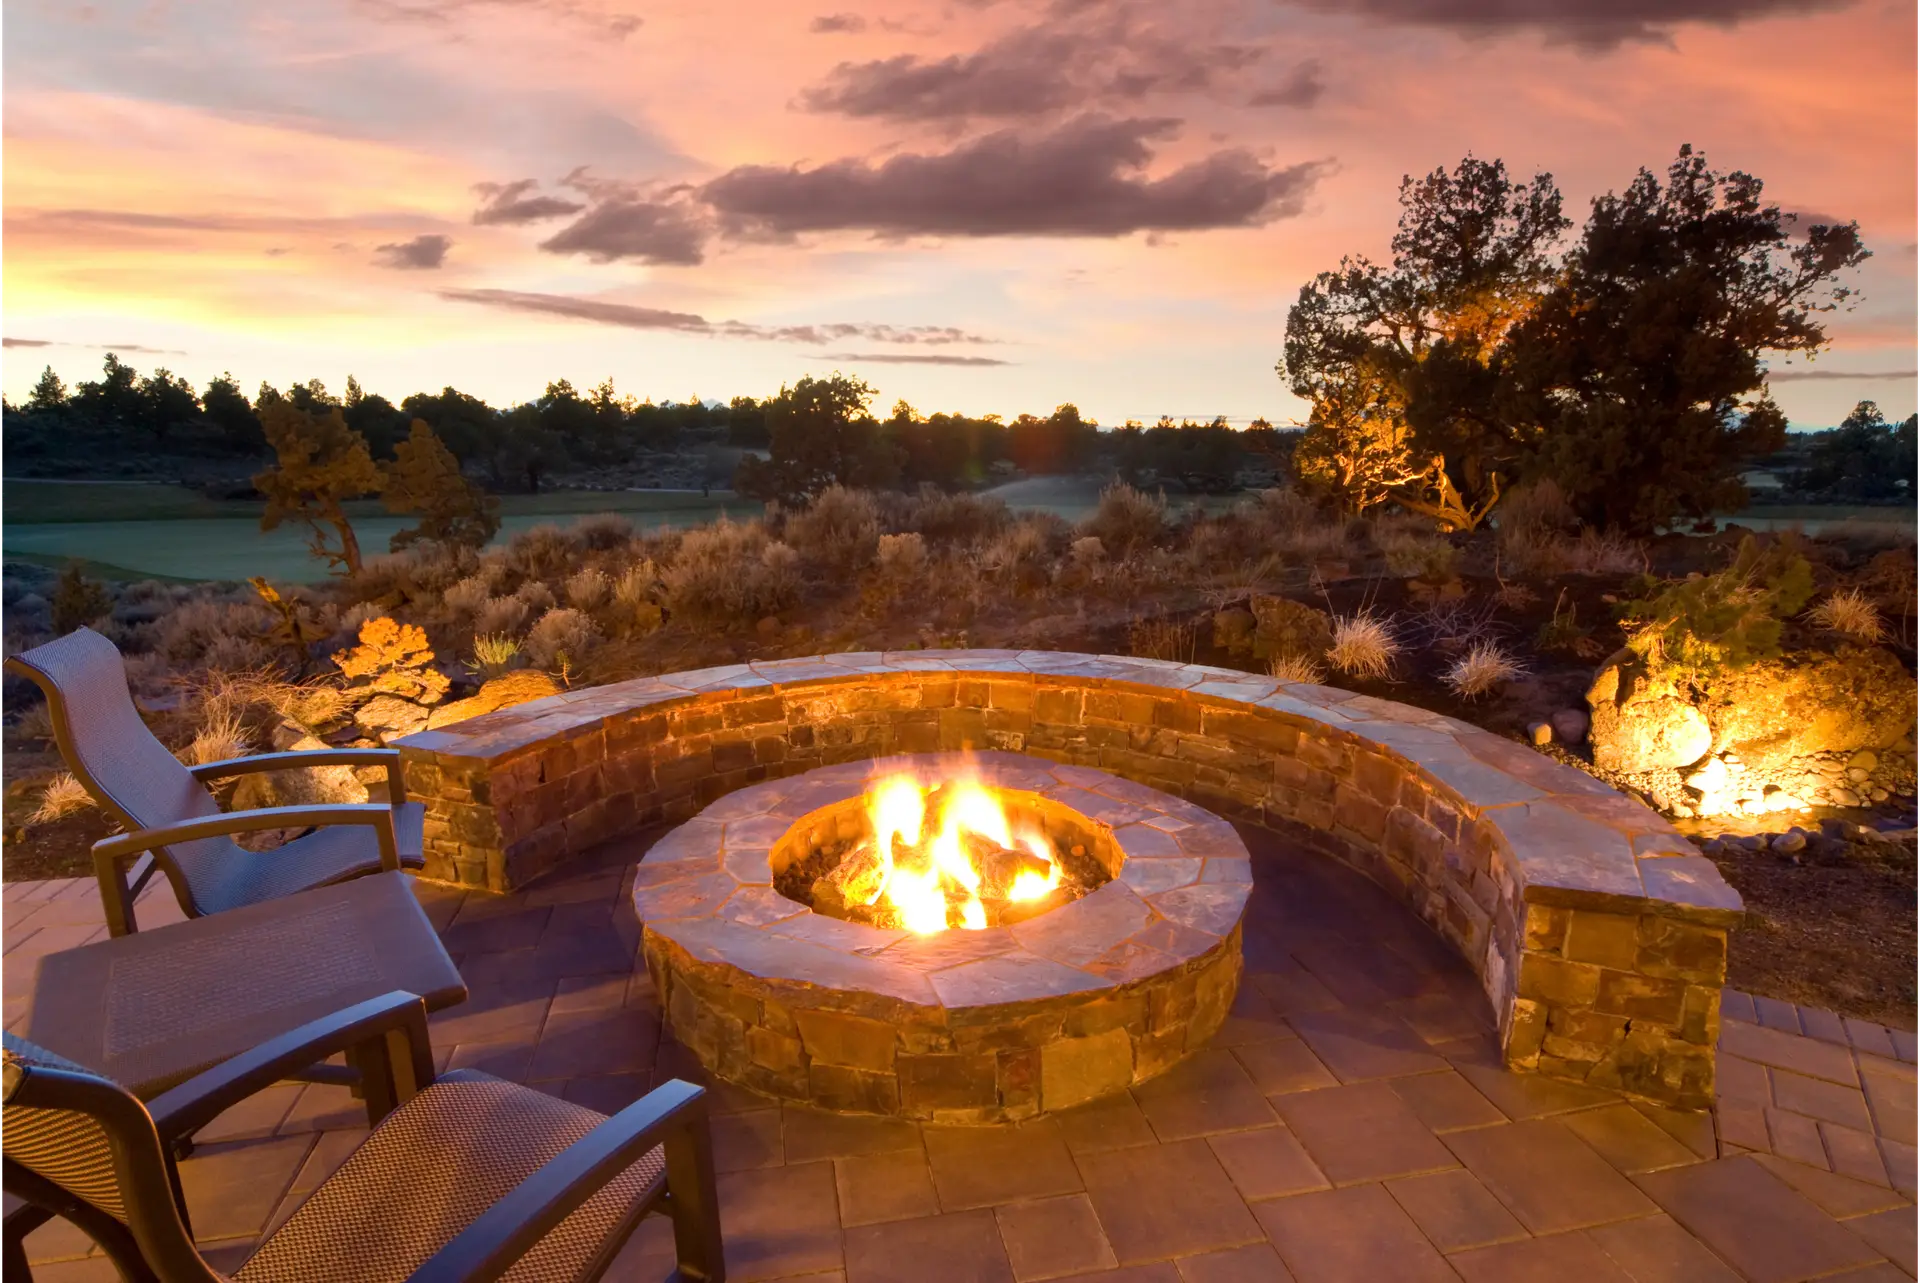
Design Tips to Elevate Outdoor Living, Safety, and Curb Appeal
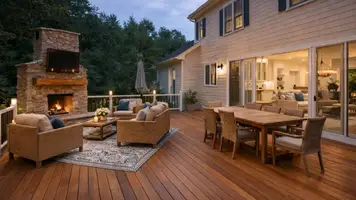
Layering different lights creates zones that match how your family uses patios and decks. This approach makes the yard feel like useful living space after dark.
Prioritize glare control on paths and driveways. Use shielded fixtures and stagger placement so guests see where to step without looking into the light.
Safe, welcoming paths and driveways
Mix downlighting from trees with low-level path lights to avoid a runway feel while keeping safety high. Many pros place fixtures about 20 feet apart to form pools of light across planting beds.
Zones and scenes for patios, decks, and feature trees
- Create control zones for cooking, dining, and relaxing. Scene control lets you set brighter areas for tasks and dimmer areas for lounging.
- Balance wall washes with a few focused accents to add depth without over-brightness.
- Select fixture finishes that match hardscapes so the whole composition reads as one cohesive house area.
Small choices in spacing and brightness pay big dividends. Lower output for circulation, higher output at steps and cooking areas, and warm tones for comfort boost curb appeal and safety.
Maintenance and Troubleshooting for Long-Term Performance
A short maintenance routine will keep fixtures bright and dependable all year. Regular care preserves output and avoids surprise repairs.
Routine care includes cleaning lenses, trimming growth that blocks beams, and re-aiming fixtures as plants mature. Inspect housings for corrosion and replace seals when gaskets fail. Anchored Construction & Restoration offers ongoing care and adjustments to keep your system performing through seasons.
Common problems and quick fixes
- Check connectors and transformer taps when lights flicker; loose crimps often cause intermittent power.
- Diagnose dim zones by reviewing cable lengths and gauge; long runs can cause voltage drop.
- After storms, inspect for shifted fixtures, exposed cable, or disturbed soil that stresses wiring.
- Use gel-filled connectors and intact gaskets to prevent water intrusion and corrosion at joints.
- Replace compromised parts promptly and choose corrosion-resistant hardware in harsh conditions.
Seasonal checks mean verifying timers and smart schedules as daylight changes and confirming LED indicators for health. Call (865) 316-6933 to schedule maintenance or troubleshooting with the local team.

Conclusion
Good planning makes your outdoor areas feel safe, warm, and ready after dusk. A clear plan, the right 12-volt layout, correct transformer sizing, and balanced wiring deliver steady results for years.
Layering matters. Warm color temps and proper lumen levels along a path, soft washes on walls, and selective uplights on trees shape space without excess glare.
Anchored Construction & Restoration, founded by Knoxville native Travis Bullington in 2000, brings 25+ years to every project. They handle landscape services, hardscapes, decks, and full landscape lighting system installs with professional maintenance to protect wiring and fixtures.
Ready to start? Call (865) 316-6933 or email Info@anchoredconstructiontn.com for a consultation, plan, and estimate tailored to your house and yard.