Can a properly planned walk extend the life and value of your home while saving future repair costs?
Anchored Construction & Restoration has served East Tennessee since 2000. Led by Knoxville native Travis Bullington, the team brings 25+ years of hands-on experience to local projects.
This guide outlines how Anchored Construction prepares the base, sets accurate forms, and pours a slab with the right thickness to achieve lasting strength. Call 811 before digging. Stakes and string lines mark the layout, and control joints help manage cracking.
You will read clear timelines for curing and safe use. Walk-on readiness is usually 24–48 hours. Full strength comes near 28 days, and heavier loads should wait about seven days.
Key Takeaways
- Anchored Construction delivers local craftsmanship and practical planning.
- Proper base, slope, and thickness are essential for long-term strength.
- Forms and layout are set with stakes and string for straight results.
- Curing and joint spacing protect the surface and edges.
- Expect clear timelines and a responsive Knoxville team you can call.
Why Choose Anchored Construction for a Knoxville Concrete sidewalk.
With more than 25 years on East Tennessee sites, Anchored Construction delivers reliable results homeowners trust. Anchored Construction & Restoration began in 2000 under Knoxville native Travis Bullington. The team focuses on clear communication and proven methods.
Quality work starts with practical planning. Forms use 2×4 or 2×6 lumber with stakes every 2 to 3 feet. Typical thickness is 4 inches for a standard path and 6 inches near driveways.
- Local crews adapt methods to East Tennessee conditions and site needs.
- On-site leadership ensures proper use of finishing tools and safety.
- Prep includes a 2–4 inch compacted gravel base to improve drainage and slab performance.
- Keeping the concrete moist at least three days aids curing; full design strength arrives near 28 days.
Contact and scheduling: Call (865) 316-6933 or email Info@anchoredconstructiontn.com for estimates and timeframes. The team explains layout options, expected timelines, and maintenance tips so you know when to safely use the new pathway.

Planning Your Sidewalk: Codes, Permits, and Layout Basics
Starting with a permit check and a marked layout prevents costly rework later. Before excavation, confirm municipal codes and right-of-way rules. Call 811 well in advance to have underground utilities located and protected.
Check local regulations and call 811 before you dig
Anchored Construction & Restoration helps homeowners navigate permitting and inspections from the first site visit through final sign-off. Marking utilities keeps the crew safe and the project on schedule.
Marking width and length with stakes and string lines
Stake and string the path, confirming a typical width of 3–4 feet. Use gentle turns and align the end points with entries and gates. A line level sets elevations and keeps the grade consistent.
Designing proper slope: 1/4 inch per foot away from structures
Plan a slope of about 1/4 inch per foot to direct water away from buildings. Set excavation depth to fit a compacted 2–4 inch gravel base plus a 4 inch slab, or 6 inches near driveways.
- Mark transitions and curb tie-ins to meet code and provide smooth access.
- Match the plan to existing conditions like trees, utilities, and drainage.
- Decide early on control joint spacing, reinforcement, and mix choice.
Contact Anchored Construction at (865) 316-6933 for guidance through permits, layout, and scheduling with weather in mind.
Essential Tools and Materials for a Durable Concrete Sidewalk
A durable path begins with the right set of tools and materials on site.
Anchored Construction & Restoration supplies professional-grade gear to keep projects clean and efficient. Use 2×4 or 2×6 forming board with stakes every 2-3 feet and apply a form release for easy removal.
Hand tools and finishing gear
A standard tool kit includes a screed board, magnesium float, and a hand float. Add an edger and a groover to protect edges and place control paths.
Base, mixes, and optional reinforcement
Build a compacted 2–4 inch gravel base to improve drainage and support. Dampen the subgrade before placing concrete. Choose a sidewalk mix that fits work time and strength needs. Many walks do fine without steel, but fiber or wire mesh helps on weak soils and in freeze-thaw zones.
- Assemble cutting, measuring, and finishing gear to stay organized.
- Set straight forms and firm stakes so layout stays true.
- Keep cleaning supplies and form release handy to speed removal.
Questions about specs? Call Anchored Construction at (865) 316-6933.
Site Preparation: Excavation, Base, and Drainage
A stable subgrade sets the stage for a long-lasting walkway. Anchored Construction prepares the subgrade to meet local standards and performance goals. Proper prep reduces cracking and callbacks.
Excavate 6–8 inches to fit a compacted 2–4 inch gravel base plus a 4 inch slab. Remove sod, roots, and topsoil so the slab sits on firm ground. Do not pour directly on dirt.
Place gravel in lifts and compact each layer with a plate compactor or hand tamper. Check depth and confirm uniform density across the area.
- Dig to planned depth so the gravel and slab do not raise the finished grade.
- Strip organic material to prevent settlement under the slab.
- Compact gravel in lifts to build a stable base that aids drainage.
- Increase base depth or add geotextile where soils are soft and wet.
- Review whether mesh or fiber helps near downspouts, slopes, or high-traffic areas.
Re-establish layout lines after excavation so forms set to correct elevations. Contact Anchored Construction at (865) 316-6933 for a site assessment and base verification.
Building Strong, Straight Forms
A well-built form system locks in slope, square corners, and clean edges. Anchored Construction & Restoration sets forms to precise elevations to produce a straight, even pathway.
Use 2×4 or 2×6 board and drive stakes every 2–3 feet. Drive stakes on the outside and attach through predrilled holes to prevent splitting.
Use a level and string lines to set the designed pitch — about 1/4 inch per foot — and confirm elevations from end to end. Brace corners and transitions to prevent movement during placement and screeding.
- Select straight boards so edges look crisp and professional.
- Backfill and compact soil against the forms so they resist pressure from fresh concrete.
- Apply form release so boards strip cleanly without tearing the green surface.
- Recheck fasteners and stakes before the pour; this is the last chance to correct alignment.
- Plan control locations at form breaks to keep the pattern consistent.
Well-built forms shorten finishing time and improve appearance. Call (865) 316-6933 for an on-site evaluation.

Concrete Mix and Thickness: Getting the Specs Right
The right blend of materials and depth ensures a durable slab that resists cracking and settlement.
Typical depth and when to increase it
Most residential paths use a 4-inch thickness. Increase to 6 inches near driveways or where vehicles may cross.
Anchored Construction & Restoration confirms form elevations and a compacted gravel base so the specified depth stays uniform across the width.
Choosing mixes and reinforcement
Pick a mix that balances workable time and early strength. Use fiber additives to reduce surface cracking.
- Consider mesh or light steel when soils shift or freeze-thaw cycles are present.
- Dampen the subgrade before placement to improve bond and consistency.
- Document mix, thickness, and level in the plan so crews build to the same standard.
Call Anchored Construction at (865) 316-6933 to review mix options, mesh needs, and final specs.
Concrete for Sidewalk: Step-by-Step Pouring Process
Keeping a continuous placement rhythm is key to a consistent finished surface. Anchored Construction & Restoration dampens the subgrade first to reduce rapid water loss at the interface. Crews then stage tools and confirm that all forms and fasteners held during setup.
Dampen, start at one end, and distribute
Pre-wet the base so the mix bonds and does not dry out. Begin placing at the high end or a corner and move steadily toward the opposite end.
Use a rake to pull material into corners and along edges. Slightly overfill so the straight board can ride the forms and cut to elevation in one motion.
Consistency, screeding, and avoiding cold joints
Keep the flow continuous to prevent cold joints and texture changes across the panel. Screed with a straight board using a sawing motion, then float with a magnesium float to bring paste up.
- Watch mix consistency; adjust crew pace, not the water content.
- Establish control joints every 4–6 feet while the surface is workable or saw later when firm.
- Keep tools clean and a clear board route to speed production.
Anchored Construction manages placement to minimize delays and keep consistency across the slab. Call (865) 316-6933 with scheduling questions.
Screeding and Floating for a Level, Smooth Surface
A steady hand and the right technique make the slab level and ready to finish. Anchored Construction & Restoration stresses correct screeding then timely floating to achieve a durable top.
Screed with a steady sawing motion
Use a straight board in a steady sawing motion so highs are cut and lows are filled. Keep the board riding the forms to maintain level control and even elevation. Work steadily so the material stays consistent and no cold joints form.
Bring paste up with floats
Follow screeding with a magnesium float to consolidate paste and begin smoothing the surface. Switch to a hand float near edges, corners, and tight spots where the larger tool cannot reach.
- Stop floating when the tool no longer leaves lines and the surface closes.
- Avoid adding water to the top; workmanship, not dilution, creates finish quality.
- Confirm joint locations and depths remain accessible at planned spacing.
- Keep tools clean so they glide, not drag, and prevent streaks.
- The goal is a level, closed surface that sets up clean edging and jointing.
Edges, Control Joints, and Finishing Details
Clean, crisp edges and properly placed joints determine how long a path looks and performs. Anchored Construction guides finish choices so homeowners get the right balance of durability and traction.
Rounding edges with an edger
Run an edger along the forms to compact and round slab edges. This step helps prevent corner chipping and spalling along sidewalks. Keep the tool level and follow the forms to maintain straight edges.
Placing control joints
Establish control joints every 4–6 feet, or up to 6–8 feet in stable conditions. Use a groover in the plastic stage or saw cuts later. Aim for joint depth near one-quarter of the slab thickness so shrinkage follows neat lines.
Choosing the right surface texture
Decide between a broom finish for traction or a steel trowel for a tighter look. Do not finish while bleed water is present. Wait until the water evaporates, then lightly re-float if needed before texturing.
- Use the right tool at each step to keep panels consistent.
- Keep joint spacing and depth planned on the layout to retain control.
- Proper finishing and curing routines extend service life and reduce maintenance.
Reinforcement, Mesh, and When to Use Steel
Reinforcement should be chosen to solve site problems, not added by default. Anchored Construction recommends extra strength only where it improves long-term performance.
When fiber or wire mesh makes sense
Many standard 4-inch concrete slabs perform well over a compacted gravel base. Fiber-reinforced mixes or wire mesh help reduce surface cracking in shifting soils and freeze-thaw areas.
Strategic reinforcement in problem areas
Support reinforcement at mid-depth so it works with the slab, not below it. Use chairs or tied supports and stable forms to keep placement during placement.
- Evaluate soil behavior and moisture patterns to pick fiber or mesh.
- Wire mesh limits crack width where soils move or expand.
- Consider light steel only when loads or poor support demand it.
- Plan jointing to work with reinforcement and control movement.
- Weigh cost vs. benefit; reinforcement is not required on every project.
Anchored Construction will recommend the simplest reliable solution that meets project goals and protects your investment.
Curing Timeline, Strength Gain, and When to Use the Walk
Moisture management after placement sets the pace for strength and durability. Anchored Construction & Restoration recommends simple protection steps that pay dividends over years.
Keep the new concrete moist at least three days. Cover with plastic sheeting or apply a curing compound to slow water loss. This helps hydration and long-term strength.
- Plan curing from day one to preserve mix properties and reduce cracking.
- Limit foot traffic for 24–48 hours; light use after this hours window is usually safe.
- Keep vehicles, carts, and heavy equipment off the slab for about 7 days.
- Expect continued gain in strength, with most design values near 28 days.
- If mesh or fiber was placed, it assists crack control but does not replace good curing.
Protect the surface from pets, sprinklers, and runoff during early days. Inspect joints and touch up small areas by hand after curing. Good curing is the single best way to maximize long-term performance and appearance. Call Anchored Construction at (865) 316-6933 with questions about timing or post-pour care.
Weather, Timing, and Jobsite Logistics in East Tennessee
Weather windows shape how crews schedule pours and protect fresh slabs from sudden storms. Anchored Construction plans work around local conditions and short forecast windows to keep the finish consistent.
Sequence matters: excavation, base compaction, and setting forms happen before the truck arrives. Staging tools and materials reduces downtime and helps crews place mix quickly when the weather allows.
Keep curing supplies on hand to shield the surface from sun, wind, or unexpected water. Maintain the planned slope at about 1/4 inch per foot so stormwater moves away from structures.
- Pick a window that avoids heavy rain, high winds, or extreme heat.
- Stage forms and clear access so wheelbarrows or chutes move freely.
- Allow several days of limited use while the slab gains strength.
- Adjust start time to manage temperature swings that affect set and finish time.
Good logistics reduce risk. Clear communication with neighbors and backup tools on site keep the job on schedule in East Tennessee areas and protect your investment in long-term performance.
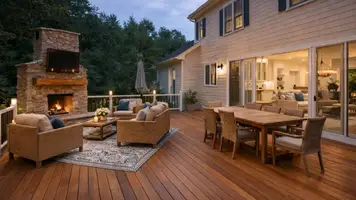
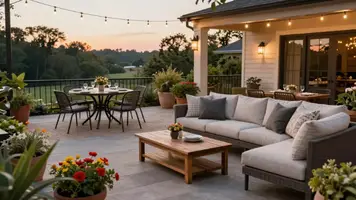
From Sidewalks to Outdoor Living: Related Services We Offer
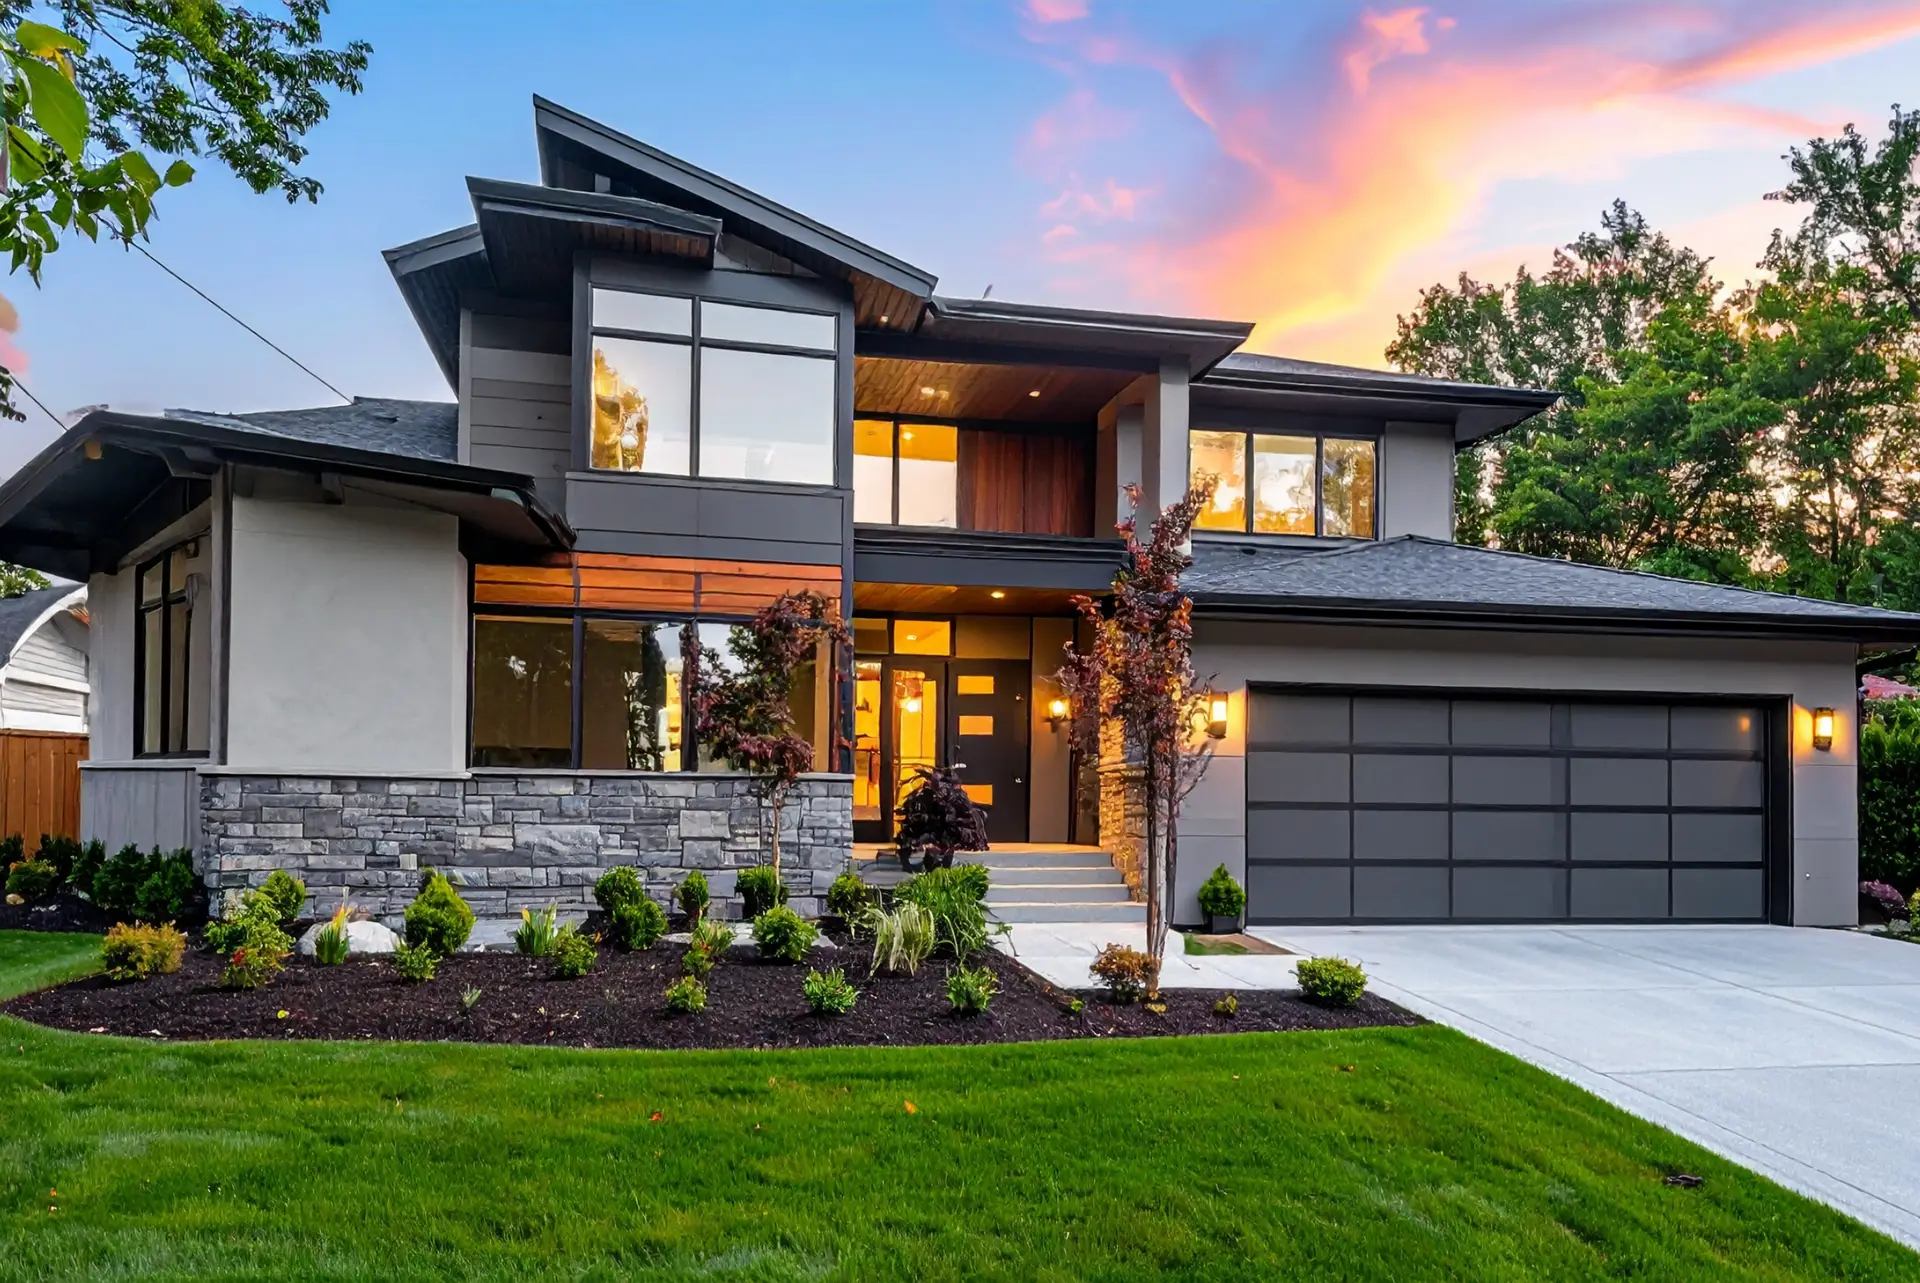
Turn a simple pathway into a coordinated outdoor plan that adds usable space and long-term value.
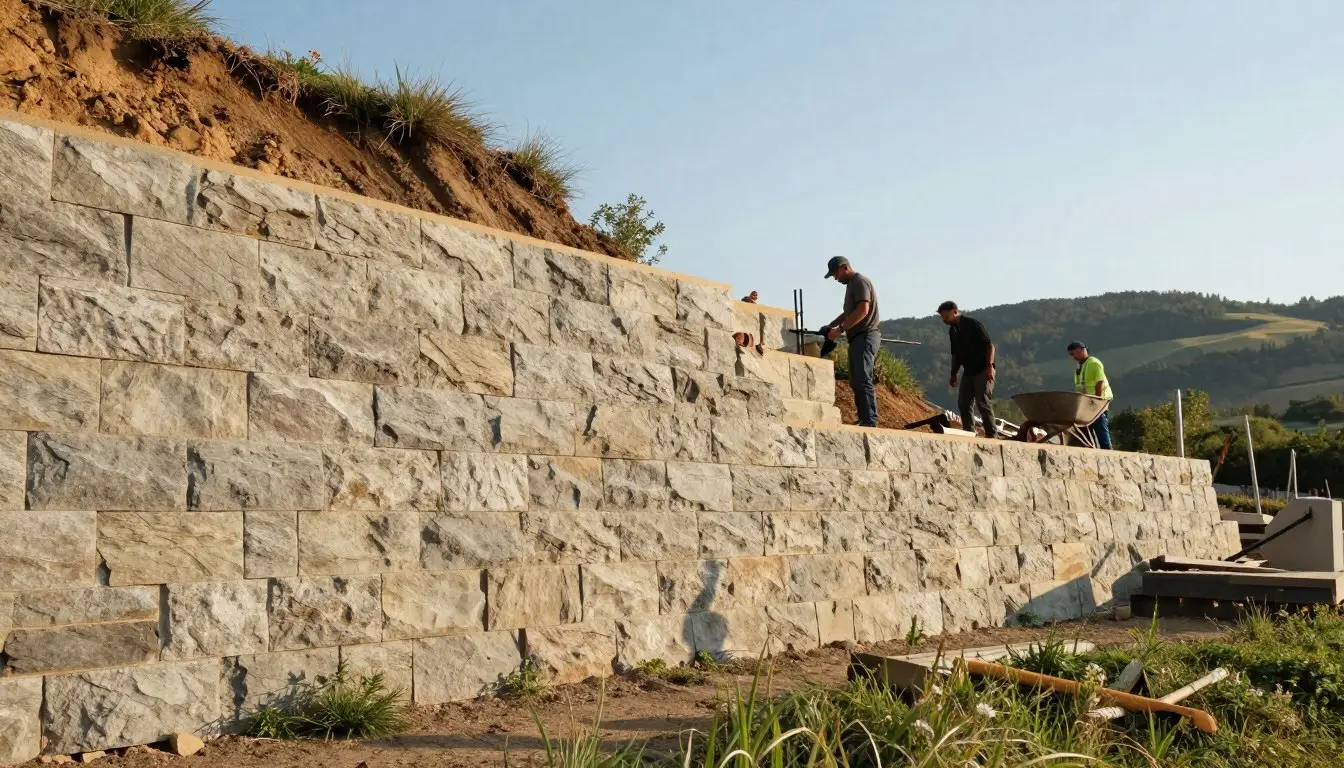
Anchored Construction & Restoration handles deck building, hardscapes, retaining walls, and landscape services with the same care used on a concrete sidewalk.
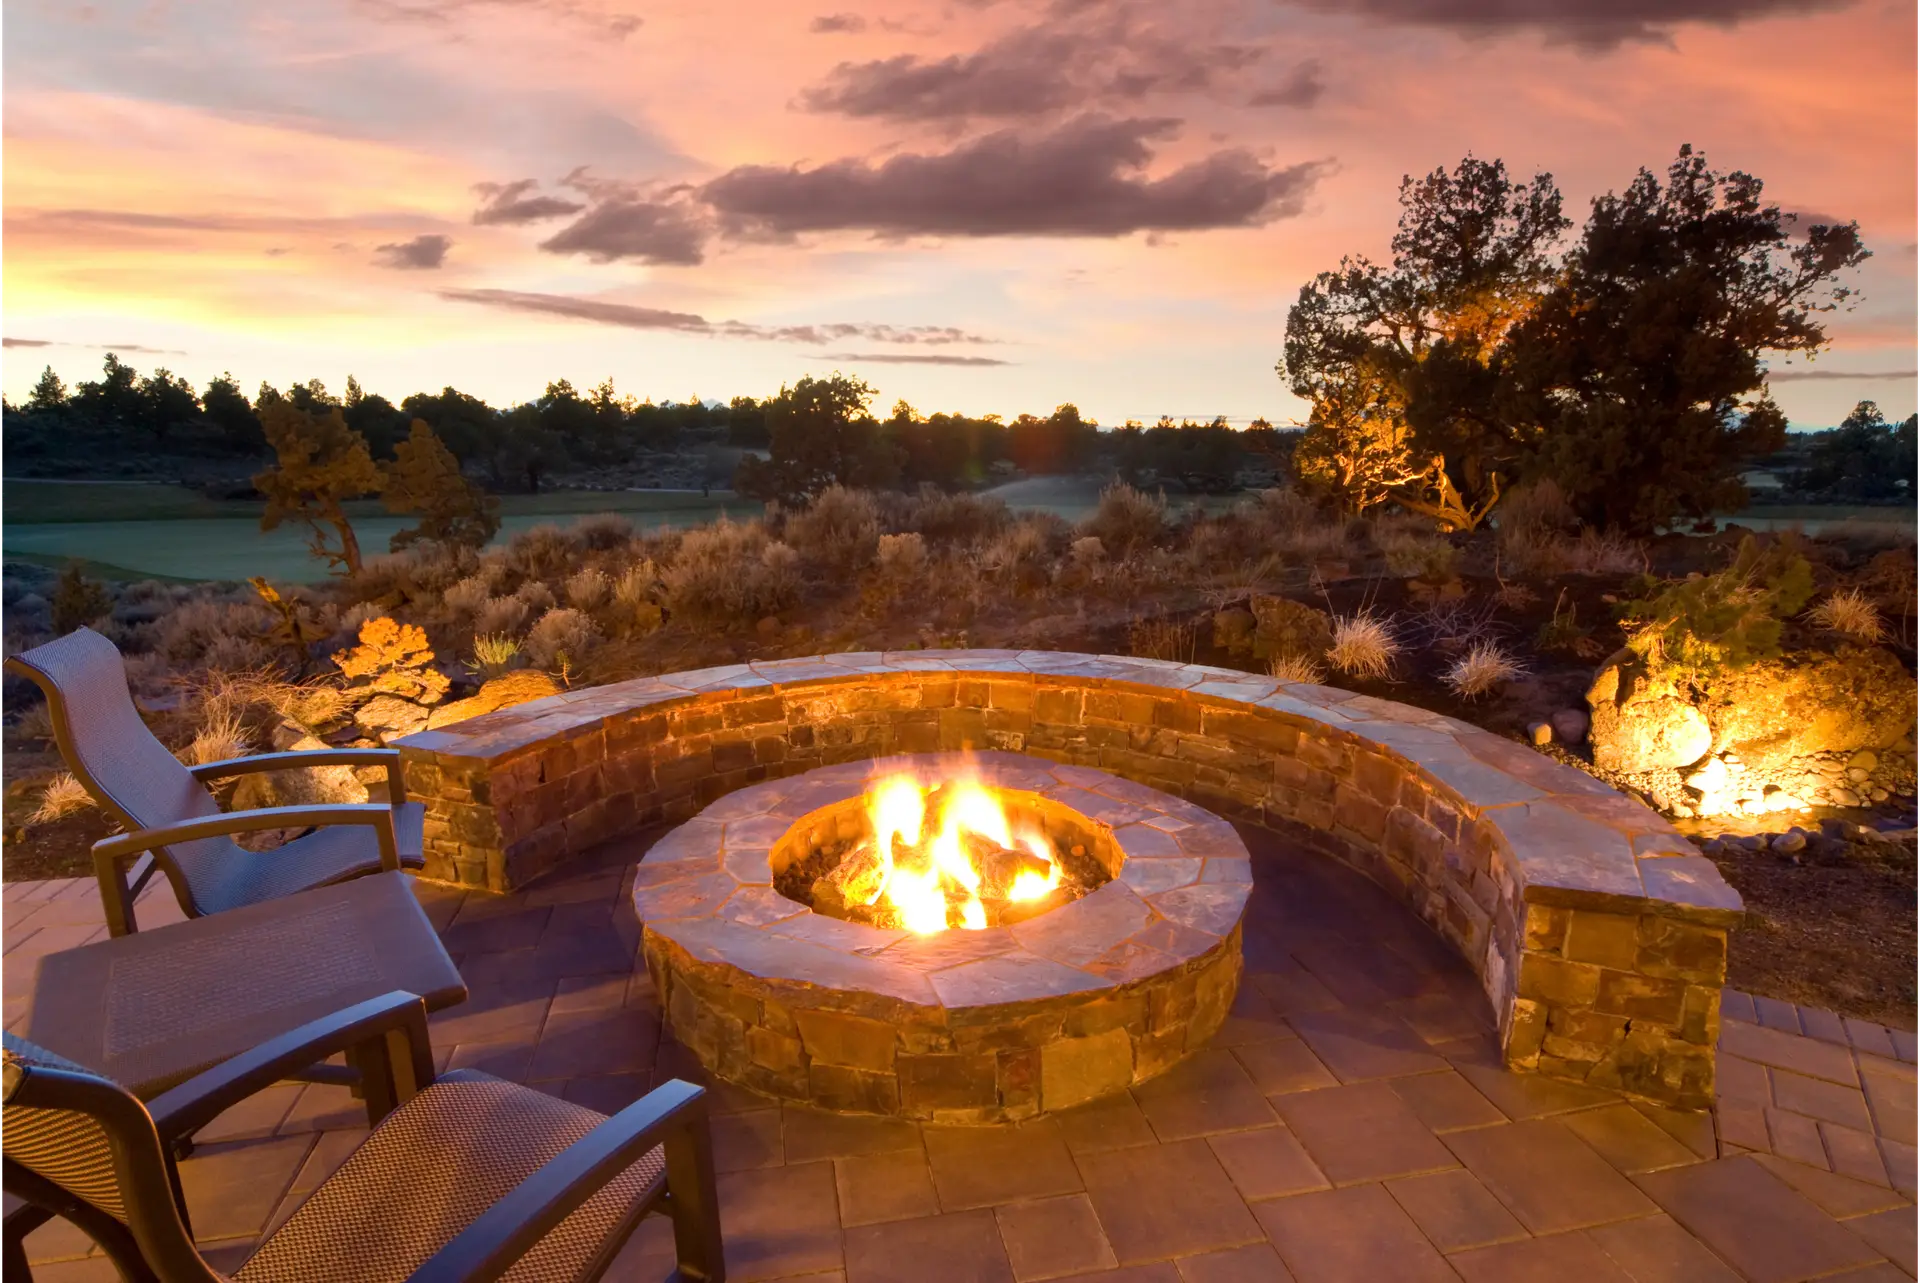
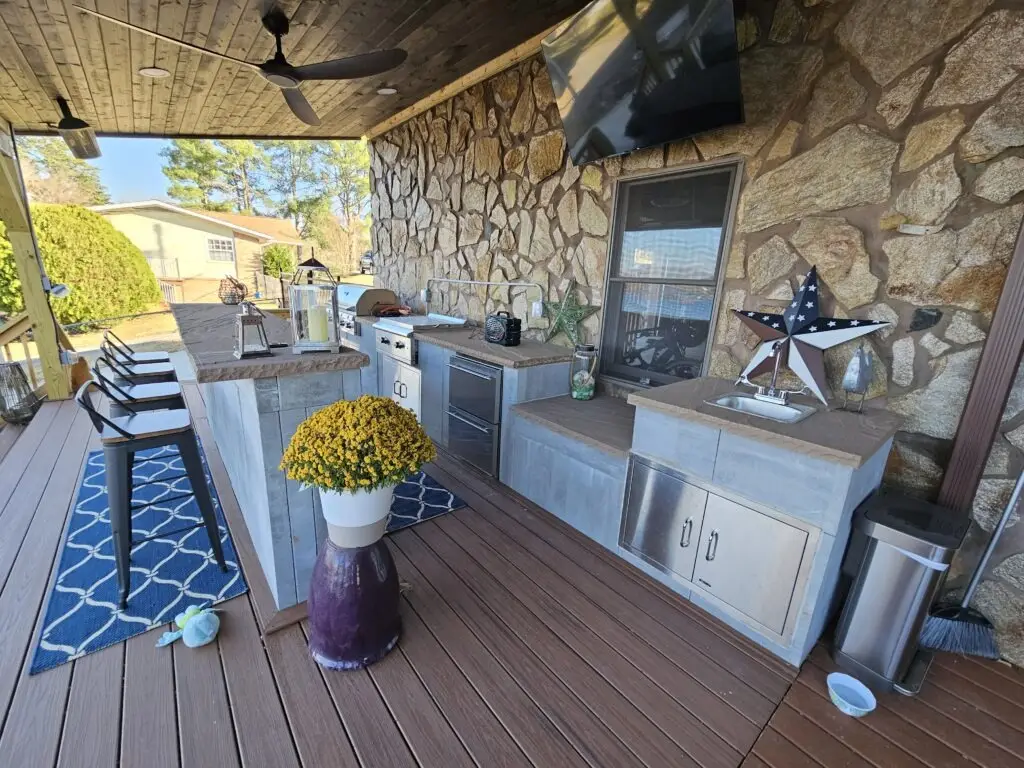
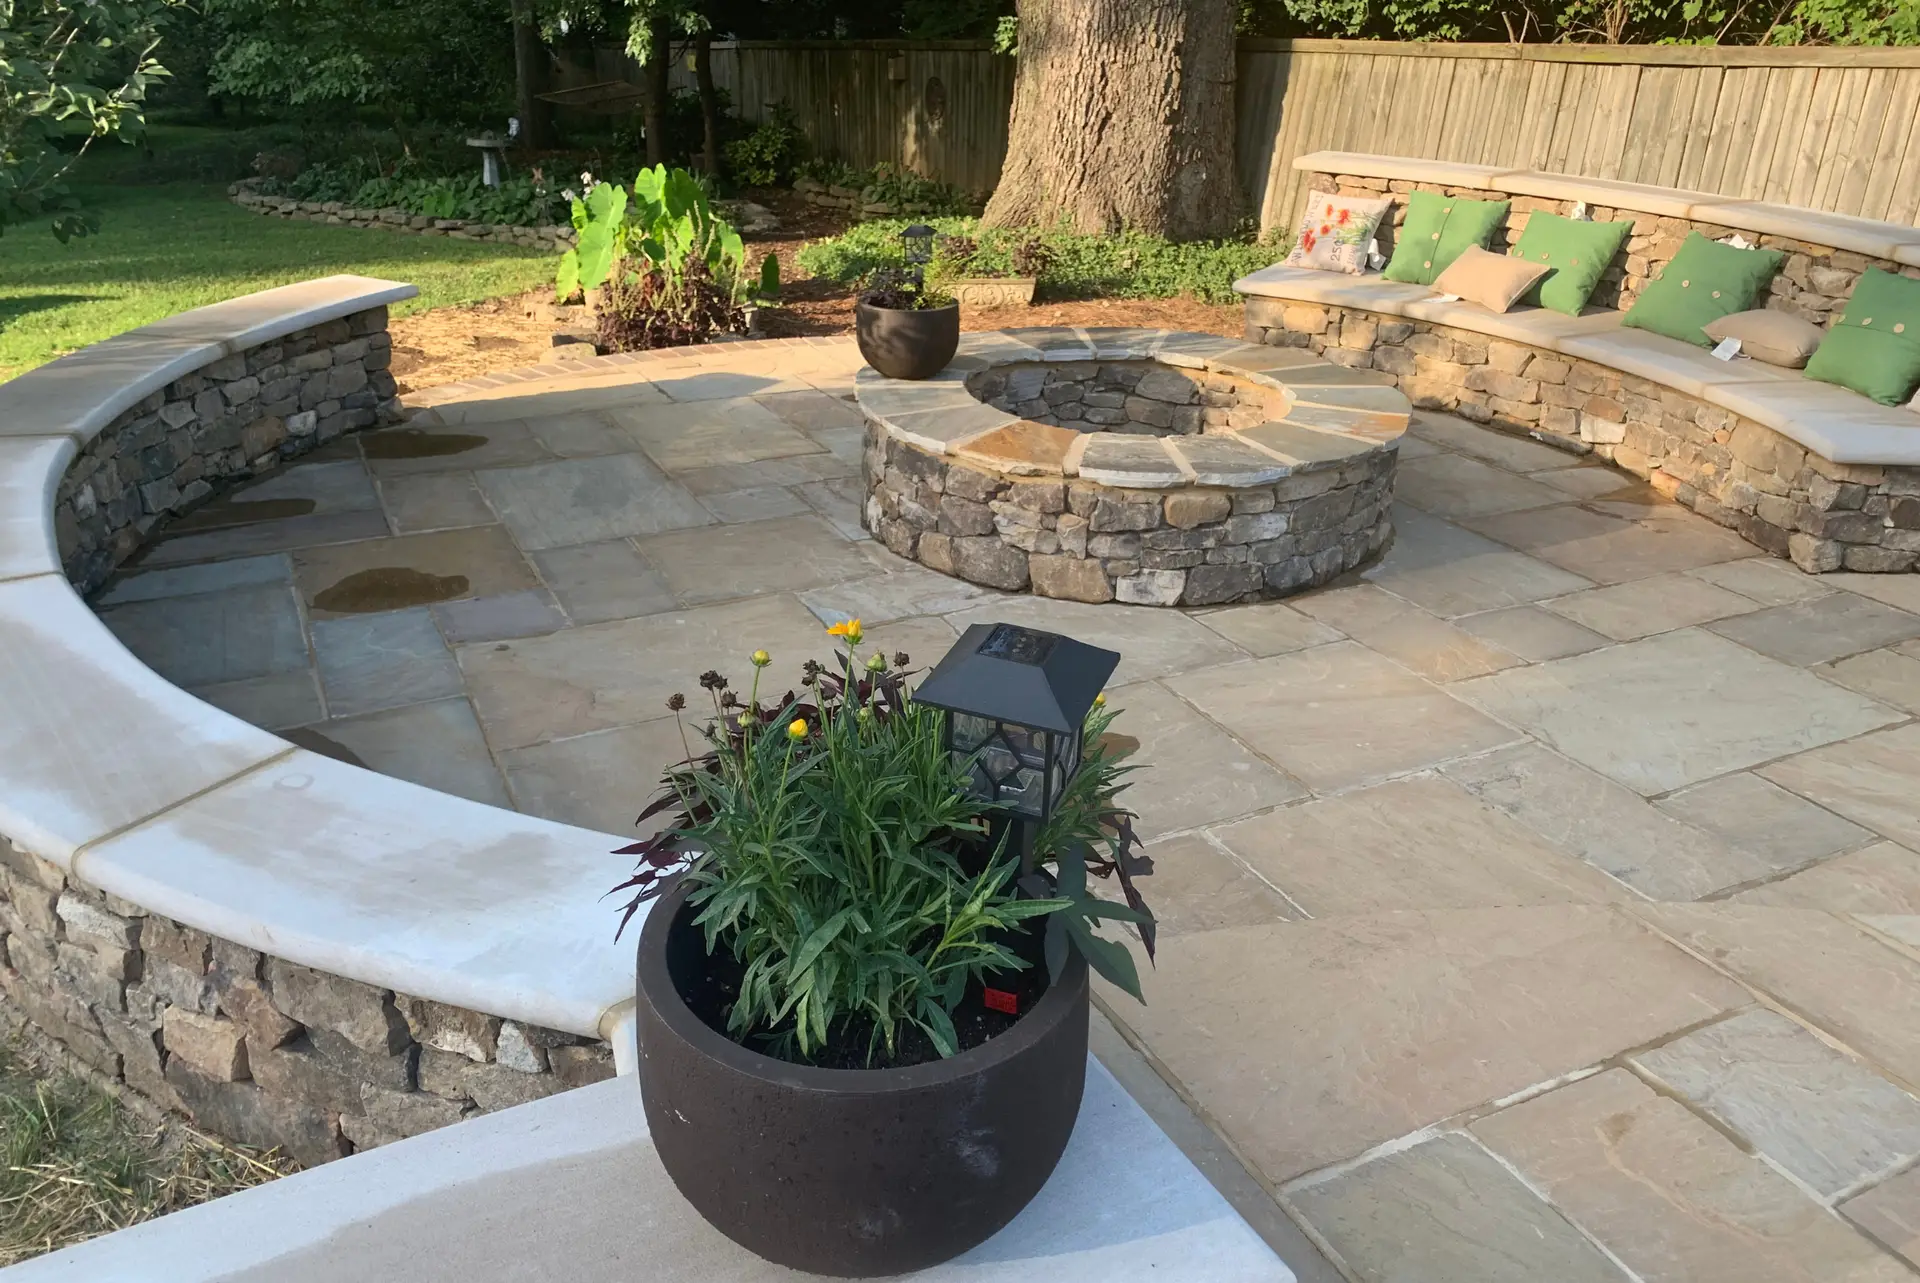
Patios, steps, and outdoor kitchens use the same base prep, formwork, and curing principles that make a durable surface. That shared approach reduces callbacks and keeps textures consistent across areas.
Services that streamline your project
- Deck building and hardscape installation to match elevation and access.
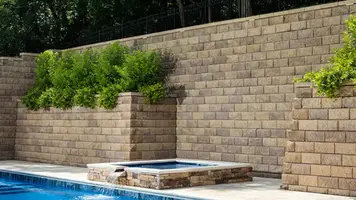
- Retaining wall construction and repair to stabilize grades and improve drainage.
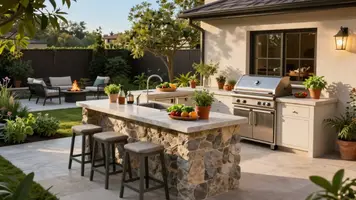
- Outdoor kitchen design and installation that ties into patios and steps.
- Bobcat and excavation services to shape the site and set a solid base.
- Commercial capabilities: warehouse construction, repair, and pallet racking.
Combining scopes cuts mobilizations and shortens timelines. You get one accountable team for layout, tools, and finishing across multiple projects.
Call Anchored Construction at (865) 316-6933 or email Info@anchoredconstructiontn.com to plan a walk-through of your area and start a complete plan.

Conclusion
Good workmanship and simple details make the difference between a short-lived patch and a lasting path.
Anchored Construction & Restoration uses proven specs: a 3–4 foot width, 4 inches thickness (6 inches where needed), and a 2–4 inch compacted gravel base to aid drainage and support the slab.
Quality forms and a straight screed board set the level so the top is true. Crews screed in a steady motion, float the surface with a magnesium float, and place control joints every 4–6 feet to limit random cracking.
Keep the slab moist for several days, restrict foot traffic for 24–48 hours, and plan heavy use after about 7 days with full cure near 28 days.
After 25+ years, Anchored Construction delivers reliable results. Call (865) 316-6933 or email Info@anchoredconstructiontn.com to plan your next concrete sidewalk or outdoor living project.