Can a single, well-planned project tame a steep yard and still look clean for years?
Anchored Construction & Restoration offers a straightforward plan. The team has served Knoxville and East Tennessee since 2000. Led by Travis Bullington, they bring over 25 years of experience to every job.
This guide lays out a practical, step-by-step path for a retaining wall that manages slope, drains well, and lasts. Preparation matters most. Accurate measurements and patient leveling of the first course make the biggest difference.
Expect most of the time spent on the base and first course, not on stacking blocks. Small concrete block jobs of 10–16 feet can take 8–10 hours. A 32-inch by 32-foot timber-style wall has been done in one day with a skid steer on site.
This is a homeowner-friendly way to follow planning, layout, excavation, base, first course, drainage, and finishing. Call Anchored Construction for quotes or when scope or site limits suggest professional help: (865) 316-6933 or Info@anchoredconstructiontn.com.
Key Takeaways
- Careful preparation and first-course leveling deliver straight, strong results.
- Most project time goes into the base, not stacking blocks.
- Small walls can be finished in a day with the right access and machinery.
- Walls over 48 inches usually need engineering and permits.
- Regional rain and clay soils make drainage and base design essential.
Why Retaining Walls Matter in Knoxville Landscapes
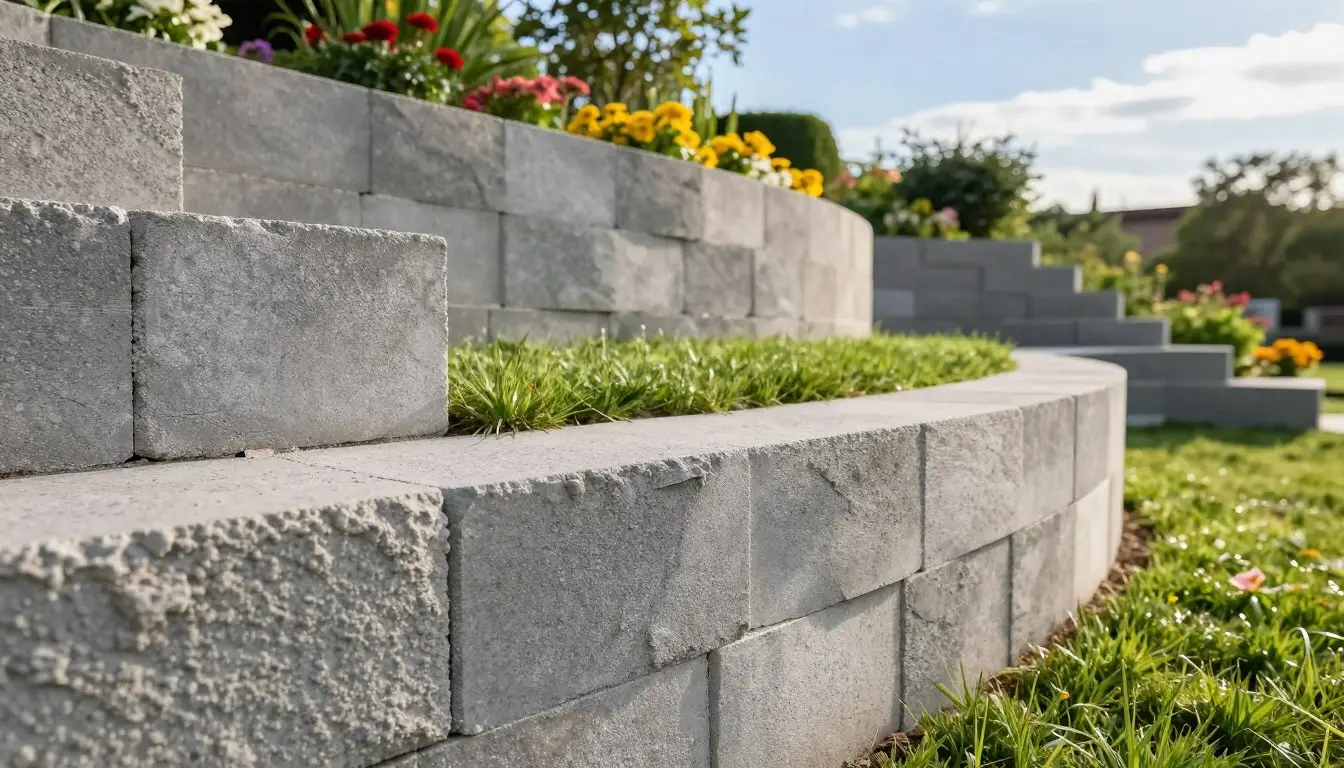
A smart retaining solution turns steep, erosion-prone ground into useful landscape areas. Knoxville storms and clay soils can push soil downhill. That movement harms lawns, beds, and driveways.

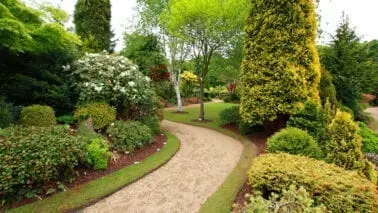
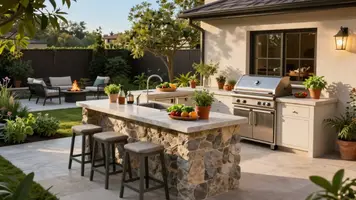
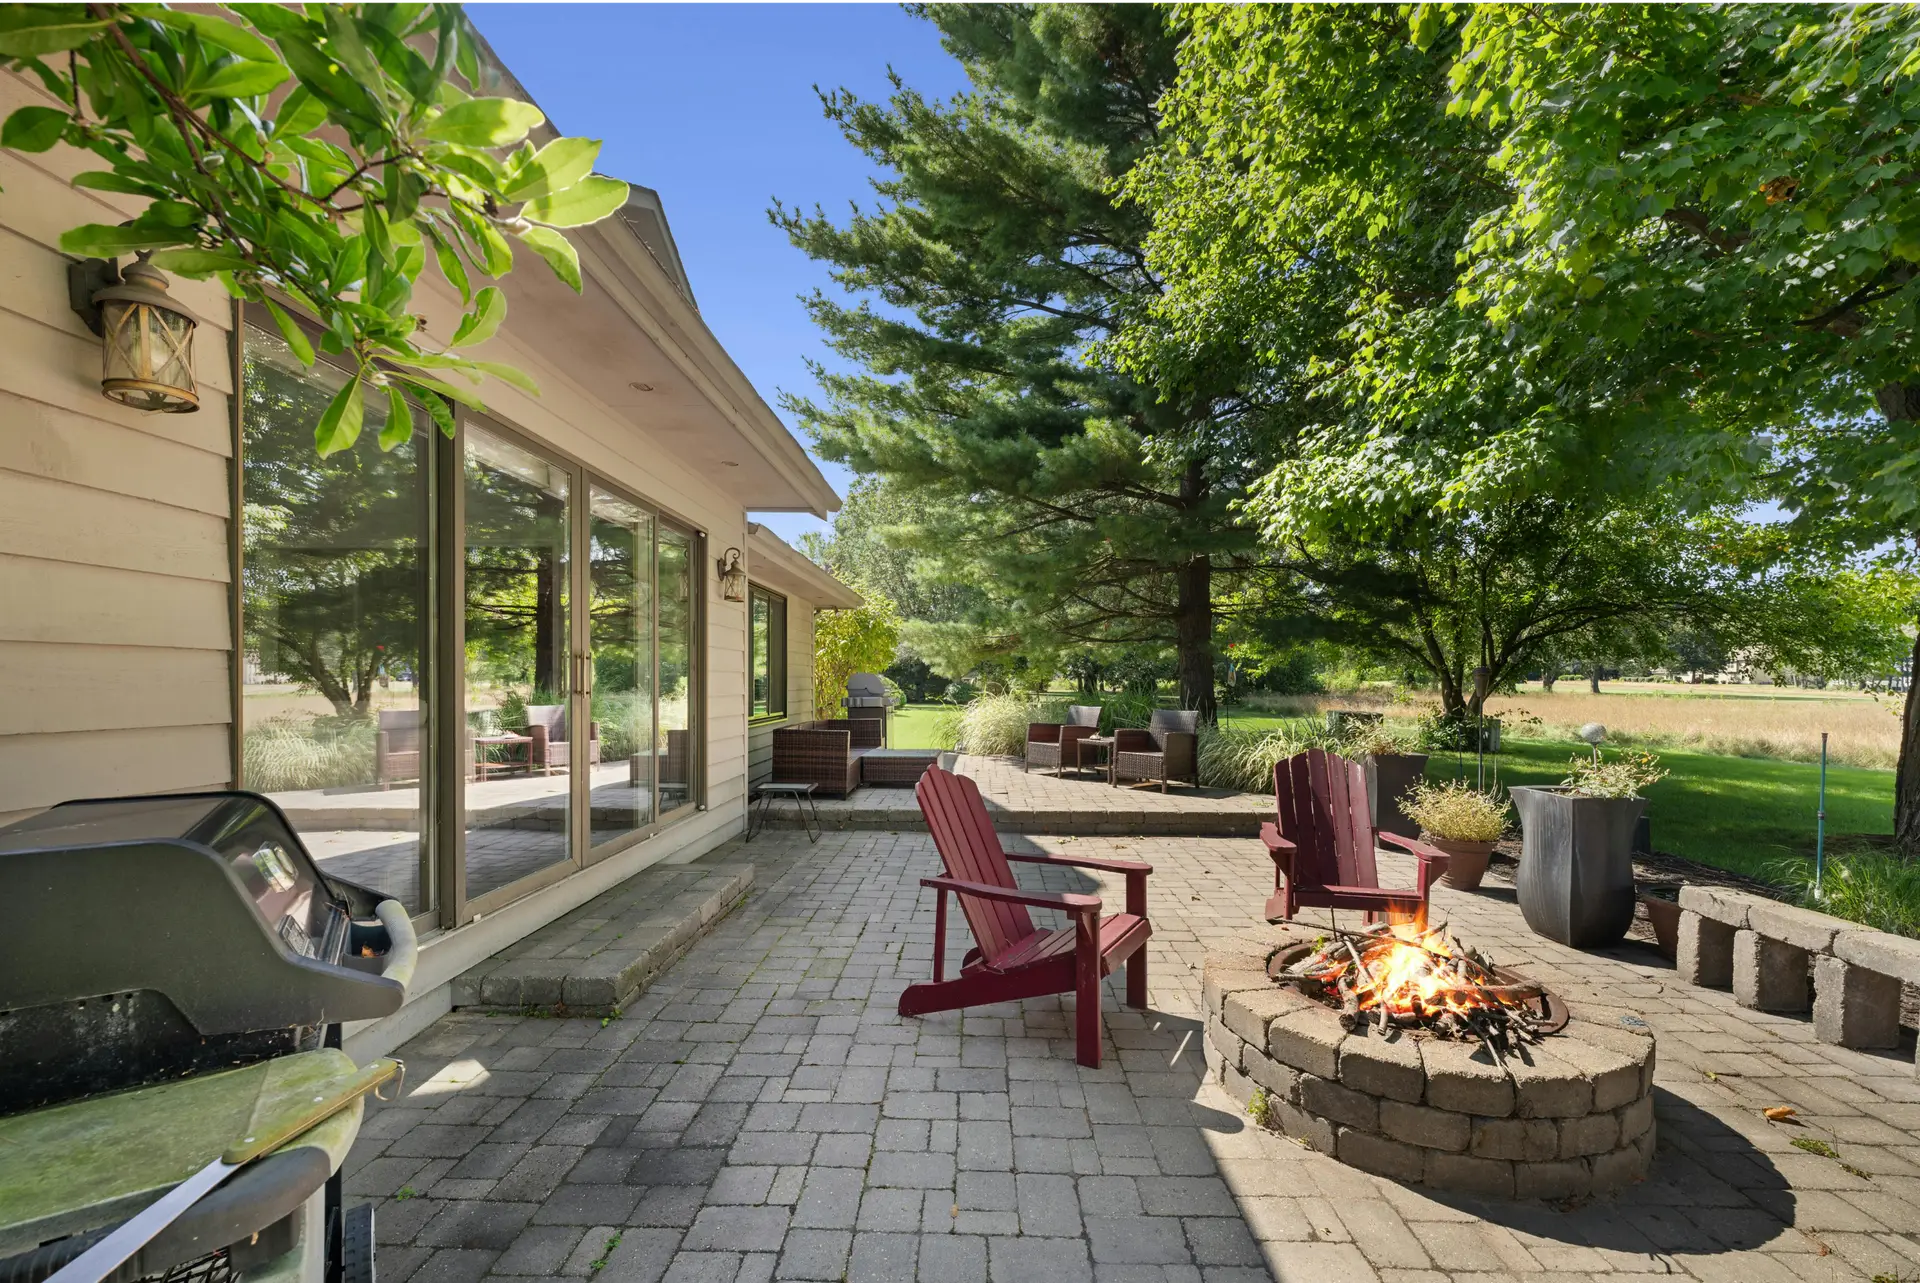
Erosion control and usable space: A properly built retaining wall controls slope and stormwater. It creates level terraces for planting beds, patios, or seating. Even a small terrace adds practical space and curb appeal.
When aesthetics meet function
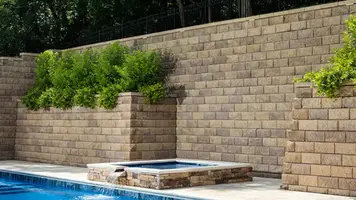
Material choice shapes looks and performance. Interlocking concrete blocks are durable and straightforward for many yards. Natural stone offers a classic finish. Treated wood can work for low applications when kept dry.
- Drainage: Clean gravel backfill or drain tile keeps water from building pressure behind the wall.
- Layout: A taut string makes straight lines so the finished face reads clean and professional.
- Finishes: Cap styles, textures, and color blends help the structure coordinate with nearby hardscape and plantings.
Anchored Construction & Restoration pairs landscape services with experienced retaining wall construction and repair. Consult the team to align budget, materials, and site limits for a solution that holds soil and looks right with your home.
Planning First: Site Assessment, Codes, and Safety
Before any digging, confirm utility locations, permits, and the target height. Call 811 early and document clearance. Mark utilities and roots so excavation crews avoid surprises.
Measure the planned length and footprint area with stakes and a mason’s line. Use a string level to check slope and estimate cuts and fills.
Review local building codes and HOA rules. Make sure permits and setback requirements are clear before excavation begins.
- Choose the right type for your soil and slope: interlocking block, natural stone, or treated timber.
- Plan drainage using crushed stone backfill and, if needed, a perforated drain pipe routed away from the site.
- Allow base depth and a small trench for a compacted footing to improve long-term stability.
Account for saturated soils; they need extra drainage detail. Take photos of staked lines and elevations. That record saves time during excavation and helps with permits.
For planning support in Knoxville and East Tennessee, contact Anchored Construction & Restoration: (865) 316-6933 or Info@anchoredconstructiontn.com.

How to Build Retaining Wall: Tools, Materials, and Time
Good preparation starts with the right tools and a realistic work plan. A short list of hand tools and staged tasks keeps the project moving. This saves effort and reduces rework.
Essential tools
Keep these on hand:
- Shovel, stakes, mason line, and string/line level for layout.
- Torpedo level, hand tamper, rubber mallet, rake, and wheelbarrow for setting and compaction.
- Caulk gun and small tools for finishing work.
Materials checklist
Order these before digging. Stage them near the work for less walking and strain.
- Interlocking concrete blocks and cap blocks. Buy ~10% extra for cuts and damage.
- Crushed stone or gravel, filter/landscape fabric, stone dust, and masonry adhesive.
- Concrete sealer, and any drain pipe components needed for good drainage.
Estimated time and pacing
For a 10–16 foot run, expect 8–10 hours with an assistant. Larger projects take a full day or more.
Suggested pacing: day one for layout and excavation, day two for the base and first course, day three for stacking, caps, and cleanup.
Pro support: Anchored Construction & Restoration offers bobcat and excavation, concrete services, and full retaining work. Call (865) 316-6933 or email Info@anchoredconstructiontn.com for scheduling and estimates.
Layout and Lines: Set the Stage for Straight, Level Courses
Setting clear reference lines early prevents guesswork and rework later on. Anchored Construction encourages careful layout so crews can place each course with confidence.
Stakes, string, and a line level for a dead-straight reference
Drive stakes at each end and at corners. Stretch a mason string between them and set the finished height on that line.
Measure down from the string for excavation depth. Account for one full block buried at ground level plus 6 inches of crushed stone and 2 inches of stone dust beneath the first block.
Marking trench width, depth, and finished wall height
- Make sure the mason string is level end to end before taking measurements.
- Mark a trench roughly three inches wider than the block depth so there is room for gravel on both sides.
- Place short line segments to square curves and changes of grade.
Benefit: A consistent reference line keeps each course straight and reveals small deviations early. Photograph stakes and marked heights for use during excavation and stacking.
Excavation and Base Preparation
Careful trenching sets the tone for a level, long-lasting foundation.
Digging the trench: inches to plan for block height and base
Mark the lines and dig a trench about 12 inches wide and 10 inches deep where the footing is specified. Plan the bottom so the first course can be buried and the visible section starts at ground level.
Gravel and stone base: thickness, compaction, and stone dust bedding
Add a 6-inch layer of crushed gravel in the trench. Compact in lifts with a hand tamper so the base does not settle under the stacked courses.
Spread 2 inches of stone dust on top, rake smooth, and compact. This creates a firm bedding layer for the first units.
Creating a stable foundation that handles water
Make sure the base is level front-to-back and side-to-side before setting any blocks. Check depth at the center and along edges for consistent thickness.
Route a perforated drain tile behind the base with an outlet that directs water away. In East Tennessee clay, good drainage reduces pressure behind the wall and extends service life.
- Key checks: trench width and depth, compacted gravel, smooth stone dust layer.
- Work method: compact in lifts, verify level at the center and edges.
- Need help? Anchored Construction’s bobcat and excavation services speed trenching and base prep in tight or rocky ground. Call (865) 316-6933 or email Info@anchoredconstructiontn.com.
First Course Fundamentals: Level, Plumb, and Perfect
The first line of blocks determines a project’s strength and appearance. Anchored Construction’s crews treat the initial run as the critical task. A solid start saves time and prevents visible errors later.
Prepare and place the base units
Remove the rear lip on base course interlocking units so each block sits flat on the compacted bedding. Set the first block at the lowest point and check the bottom is seated evenly.
Level, plumb, and align
Use a torpedo level and check front-to-back and side-to-side readings until the unit is true. Keep the face aligned to the mason’s line so the finished wall reads straight from end to end.
Fine-tune, step for grade changes, and lock the base
Tap each block with a rubber mallet for small adjustments without disturbing the bedding. When ground level changes, step the next unit half a block higher and reestablish level before continuing.
- Make sure adjacent edges are even for consistent joints.
- Check plumb at the block face as you work.
- Backfill crushed stone behind the first course and add a strip of fabric later to control fines.
Building Retaining Wall Courses Above the Base
Each course above the base locks the structure and protects the gravel drainage. Stack the second course so grooves fit over tongues on the units below. Offset joints by at least half a block to spread loads and reduce weak lines.
Install filter fabric directly behind each course. Weight the fabric with a few units, then fold it over the stone later. This keeps soil back and stops fines from clogging the clean stone.
- Backfill with crushed gravel behind each course. Compact lightly in thin lifts.
- Keep the stone clean of fines so drainage stays effective.
- Place a perforated drain tile low behind wall when site conditions demand it and route the outlet away from structures.
Pull a line on long runs or tight curves to keep the face straight. Check level and plumb at every unit. A neat work zone makes stacking blocks efficient and safer. Anchored Construction recommends consistent staggered joints and steady backfilling so the finished pattern complements the landscape.
Drainage, Caps, and Finishing Touches
Proper drainage and a tidy cap line protect the structure and boost curb appeal. Finish work keeps water away from the base and gives the top a clean, durable look.
Drain tile placement and keeping water away
Place a perforated drain tile low and slope it to daylight or a drywell. This keeps water from building pressure behind the wall and lowers long-term maintenance risk.
Backfill with crushed gravel around the tile and compact in thin lifts. Fold fabric over the stone before adding soil so fines do not clog the drainage layer.
Installing caps with construction adhesive
Dry-fit caps first so alignment and reveals are consistent. Clean dust from block faces before adhesive work for a stronger bond.
Set cap blocks with two beads of construction adhesive. Hold a one-inch overhang for a neat shadow line and extra protection of the face below.
Sealing, grading, and final backfill
If units are unsealed, apply a concrete sealer per manufacturer guidance to reduce staining and moisture uptake. Grade the top surface away from the structure so water sheds off the top and not toward the face.
- Backfill with gravel up near the top, fold fabric over the stone, then add soil.
- Leave a small maintenance gap between planting beds and the face for inspection.
- Keep one or two extra blocks and caps on hand for future repairs.
DIY vs. Pro Help: Height Limits, Soil Pressure, and When to Call Anchored Construction
Height and ground conditions are the main factors that push a project from DIY into professional territory.
Engineering thresholds and walls over 3-4 feet
Anything near 3–4 feet in finished height often requires an engineered design. Soil pressure increases rapidly with added height.
Pushing past that threshold means permits, calculations, and details for reinforcement or geogrid are likely needed.
Bobcat and excavation services to save time and labor
Saturated soils, steep slopes, or long runs make manual digging slow and risky. A bobcat or skid steer speeds excavation, places gravel, and compacts backfill.
Professional operators reduce site damage and finish the base faster so the project moves forward without costly delays.
When to call Anchored Construction & Restoration
- Call if height approaches 3–4 feet, access is tight, or the area sits above or below sensitive structures.
- Let pros handle permitting, engineering coordination, and inspections to cut risk and delays.
- Experienced crews manage corners, stairs, and special cuts, and they specify the right gravel, compaction, and drain layout for long performance.
After more than 25 years in East Tennessee, Anchored Construction has equipment, engineering partners, and field experience for complex sites. Services include bobcat and excavation, hardscape installation, retaining wall construction and repair, and concrete services.
Contact: (865) 316-6933 • Info@anchoredconstructiontn.com. Share photos and measurements for faster guidance and recommendations that protect your investment over years.

Conclusion
A precise first course and clean gravel backfill are the difference between a quick fix and lasting performance. A compacted 6-inch crushed stone base with a 2-inch stone dust layer, level bedding, and staggered joints set the stage for success.
Take time to level each block and keep the face straight while stacking blocks. Use filter fabric and clean gravel backfill so water moves off the back and does not stress the base.
Caps set with adhesive and a light concrete sealer protect the top. Match material and type to the landscape and the space you want to create.
For projects that grow beyond a day, tough soils, or engineered needs, contact Anchored Construction & Restoration. Founded in 2000 and led by Travis Bullington, the team provides quotes and turnkey services. Call (865) 316-6933 or email Info@anchoredconstructiontn.com.