Curious whether a well-placed fire ring can truly change your backyard gatherings? Anchored Construction & Restoration invites homeowners to explore a clear, proven path.
Anchored Construction has served East Tennessee since 2000. The team brings over 25 years of experience to every project. Travis Bullington, a Knoxville native, leads the crew with local knowledge and practical skills.
This short guide explains what to check before you start, how to plan the seating ring and area, and when to call professionals for excavation or custom hardscapes. The focus stays on safe, durable methods that suit Knoxville’s climate.
Expect straightforward steps, real pro notes, and tips that reduce rework. The goal is a stable, low-maintenance installation that looks like it belongs at your home and stands up season after season.
For estimates or guidance, call (865) 316-6933 or email Info@anchoredconstructiontn.com.
Key Takeaways
- Anchored Construction offers trusted local experience for backyard projects.
- Plan the area and seating ring before laying materials.
- Use simple, repeatable techniques for long-term stability.
- Learn what materials belong inside the pit and which do not.
- Call professionals when excavation or custom hardscape work is needed.
Plan, Size, and Safety: Set Your Fire Pit Project Up for Success
A clear plan for size, setbacks, and utilities makes the project easier and safer. Start by calling 811 to locate underground lines. Then review local codes, burn ordinances, and HOA rules so you know limits on fuel and size.
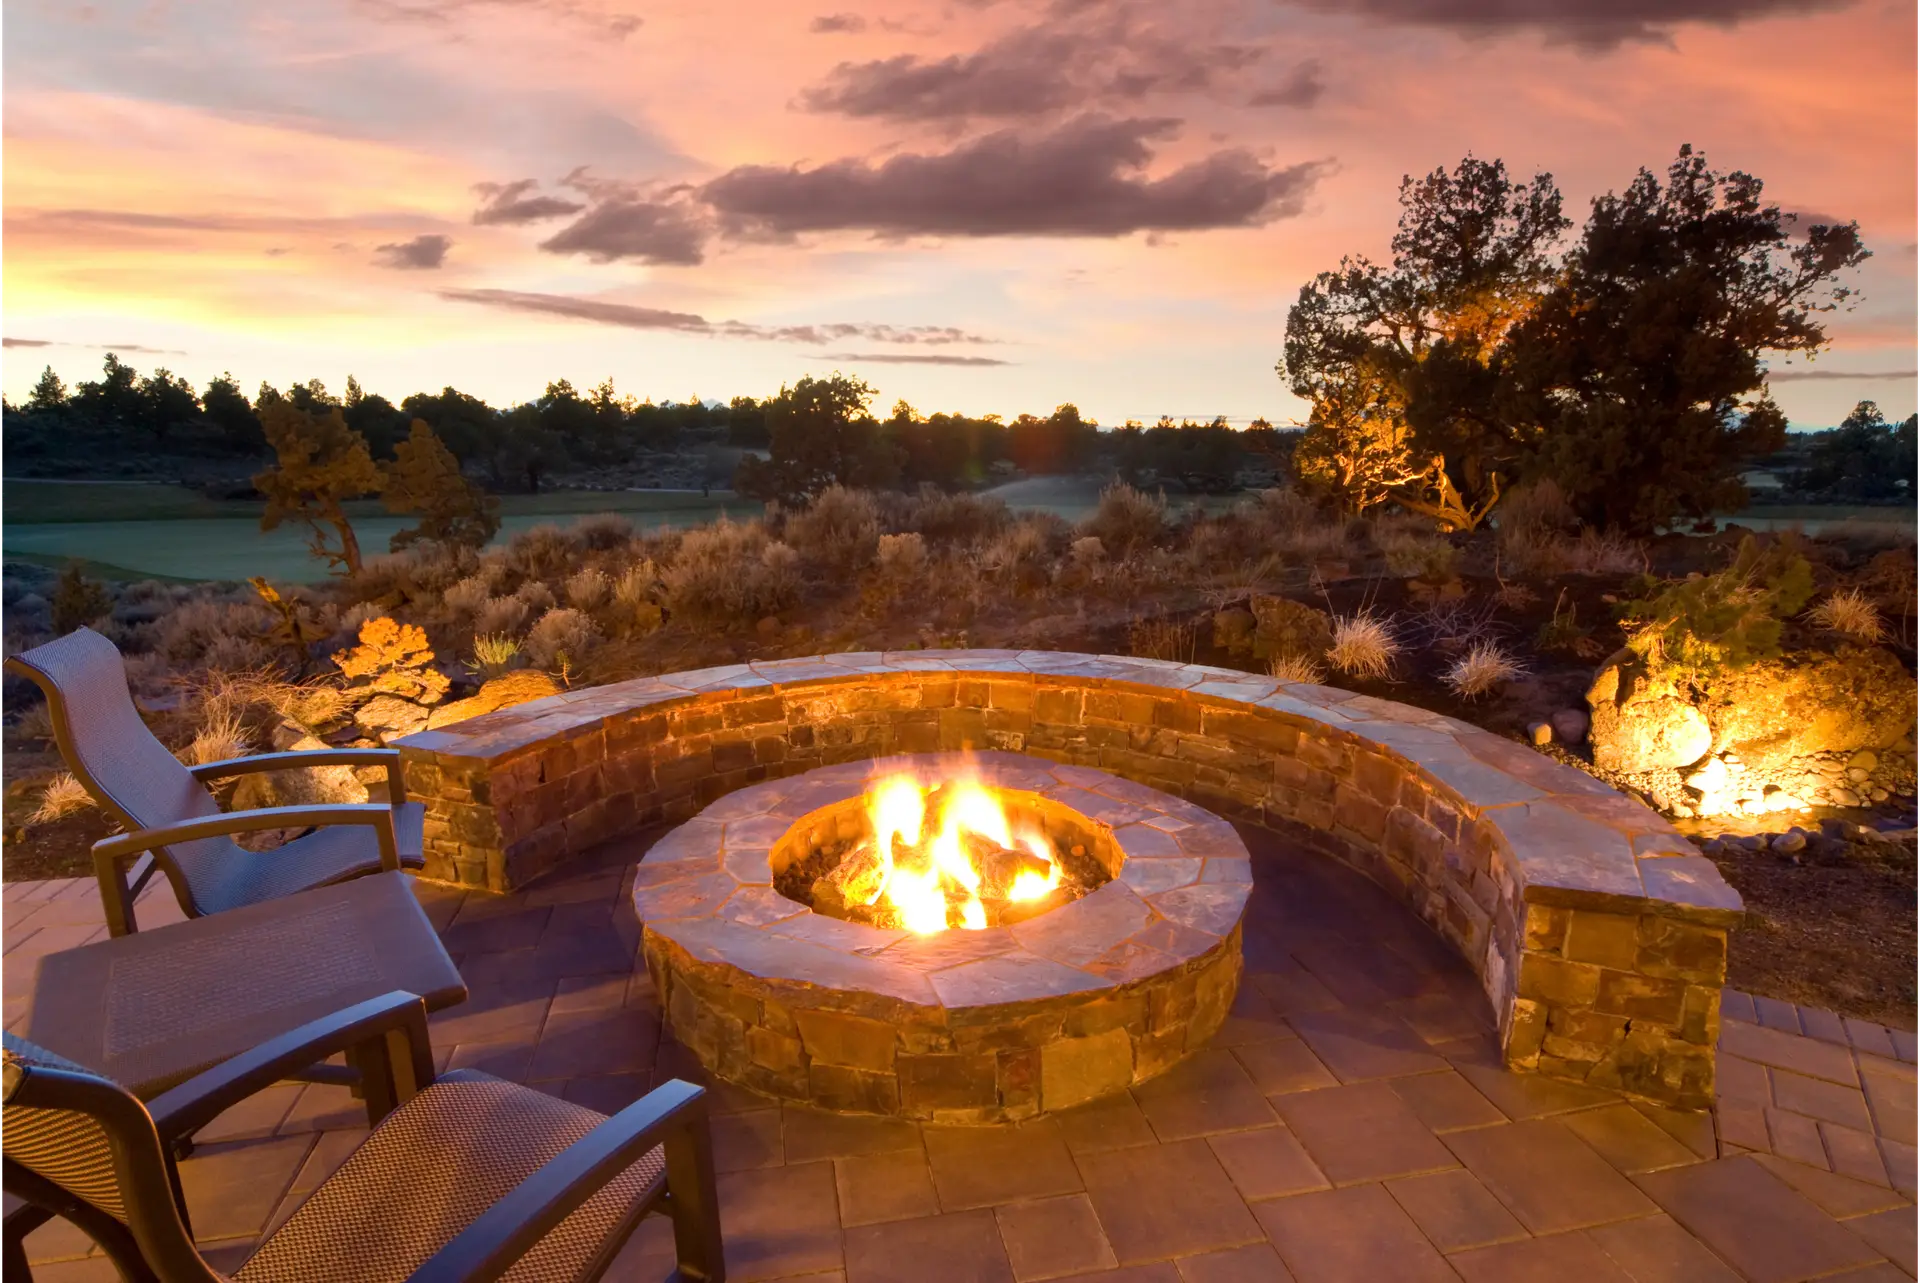
Keep the ring at least 25 feet from the house and trees when possible. If space is tight, maintain no less than 10 feet. Target an interior diameter of 3 to 4.5 feet for two to four people and aim for about 12 inches of depth so flames are visible and smoke clears.
- Map furniture so chair legs sit 6–7 feet from the heat.
- Stage a garden hose and a fire extinguisher within arm’s reach.
- Use spray paint and a tape measure to mark setbacks and block placements before digging.
Anchored Construction recommends local due diligence first. For Knoxville answers or plan reviews call (865) 316-6933 or email Info@anchoredconstructiontn.com.

Tools, Materials, and Heat-Safe Choices
Gathering correct equipment and heat-safe supplies saves time and reduces risks. Start with a checklist so each step stays efficient and safe.
Essential tools: sod lifter, wheelbarrow, circular saw with a concrete blade, saw horses, shovel, hand tamper, level, caulk gun, clamps, and PPE like gloves, eye and hearing protection, and a dust mask.
- Use heat-rated retaining wall blocks for the exterior shell and clay fire bricks for the interior lining.
- Place a paver base under the first course and add lava rock as drainage and support for the brick lining.
- Choose construction adhesive made for masonry and outdoor use; it holds courses through freeze–thaw cycles.
What to avoid: do not place pea gravel or river stones inside the ring. Trapped moisture can turn to steam and crack or explode under extreme heat.
Fuel choices include wood, fire logs, charcoal, or gel canisters. Anchored Construction can source matching blocks, fire bricks, and adhesive and bring jobsite tools and PPE for every Knoxville project. Call (865) 316-6933 for product guidance or diy advice on construction and materials.
Site Selection and Layout for a Level, Long-Lasting Build
Choose the right spot early; a smart location saves work and ensures safe use for years.
Start with safety and access. Avoid low branches and tight walkways. Pick an area with good clearances from structures and paths.
Drive a center stake and tie a string at the desired radius. Walk the circle while you spray paint the ground. This gives a true outline for test-fitting blocks.
- Test-fit full-size blocks on the painted line to confirm the ring diameter and pattern.
- Mark the trench edge with a shovel after fitting; then remove blocks and set them nearby.
- Group stones and blocks by size for fast placement during installation.
- Check the site is level; minor grade changes can be fixed with paver base and tamping.
Plan the seating area at the same time. A 12-foot radius seating circle offers roomy paths and safer chair placement from the fire pit.
Anchored Construction can help pick the best location and tie the ring into future decks or outdoor kitchens. Call (865) 316-6933 or email Info@anchoredconstructiontn.com.
Step-by-Step: how to build a fire pit
Start with the ground and finish with a clean edge for a professional-looking fire ring. A steady base and correct block placement cut rework and keep the ring true through freeze–thaw cycles.

Excavate and prepare the base
Remove sod and loose soil about 2 inches to make a paver base pocket. Tamp the subgrade with a hand tamper. Add 2 inches of gravel paver base, wet it, and tamp. Add another 1/2 inch and re-tamp until the surface is level across the circle.
Lay the first course
Place blocks tight to the layout line. Check each block front-to-back and side-to-side so the ring sits perfectly level. Adjust base under any low spots before moving on.
Stagger and secure courses
Stagger joints on the next rows for strength. Lift two blocks at a time and apply construction adhesive between courses. Leave a small gap in one spot for airflow if desired; this can help combustion.
Install fire bricks and drainage
Line the interior with clay fire bricks. Raise the bottom with extra base or bricks so the top of the fire brick matches the top of the ring.
Add a few inches of lava rock at the bottom for seating and improved drainage. Avoid pea gravel or river stones inside the ring.
Final checks before first burn
- Verify level and roundness across the top.
- Trim blocks with a circular saw and concrete blade; finish cuts with a chisel if needed.
- Wipe excess adhesive and allow full cure per manufacturer instructions.
Anchored Construction & Restoration offers bobcat excavation, precise base prep, and clean spoil hauling for faster installs. For block cutting, leveling help, or adhesive application, call (865) 316-6933 or email Info@anchoredconstructiontn.com.
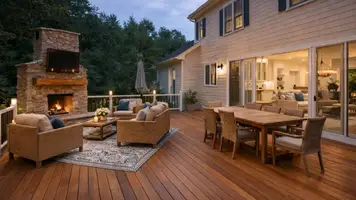
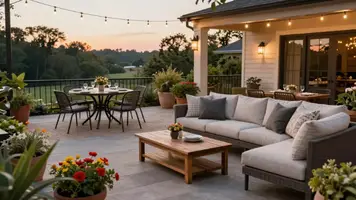
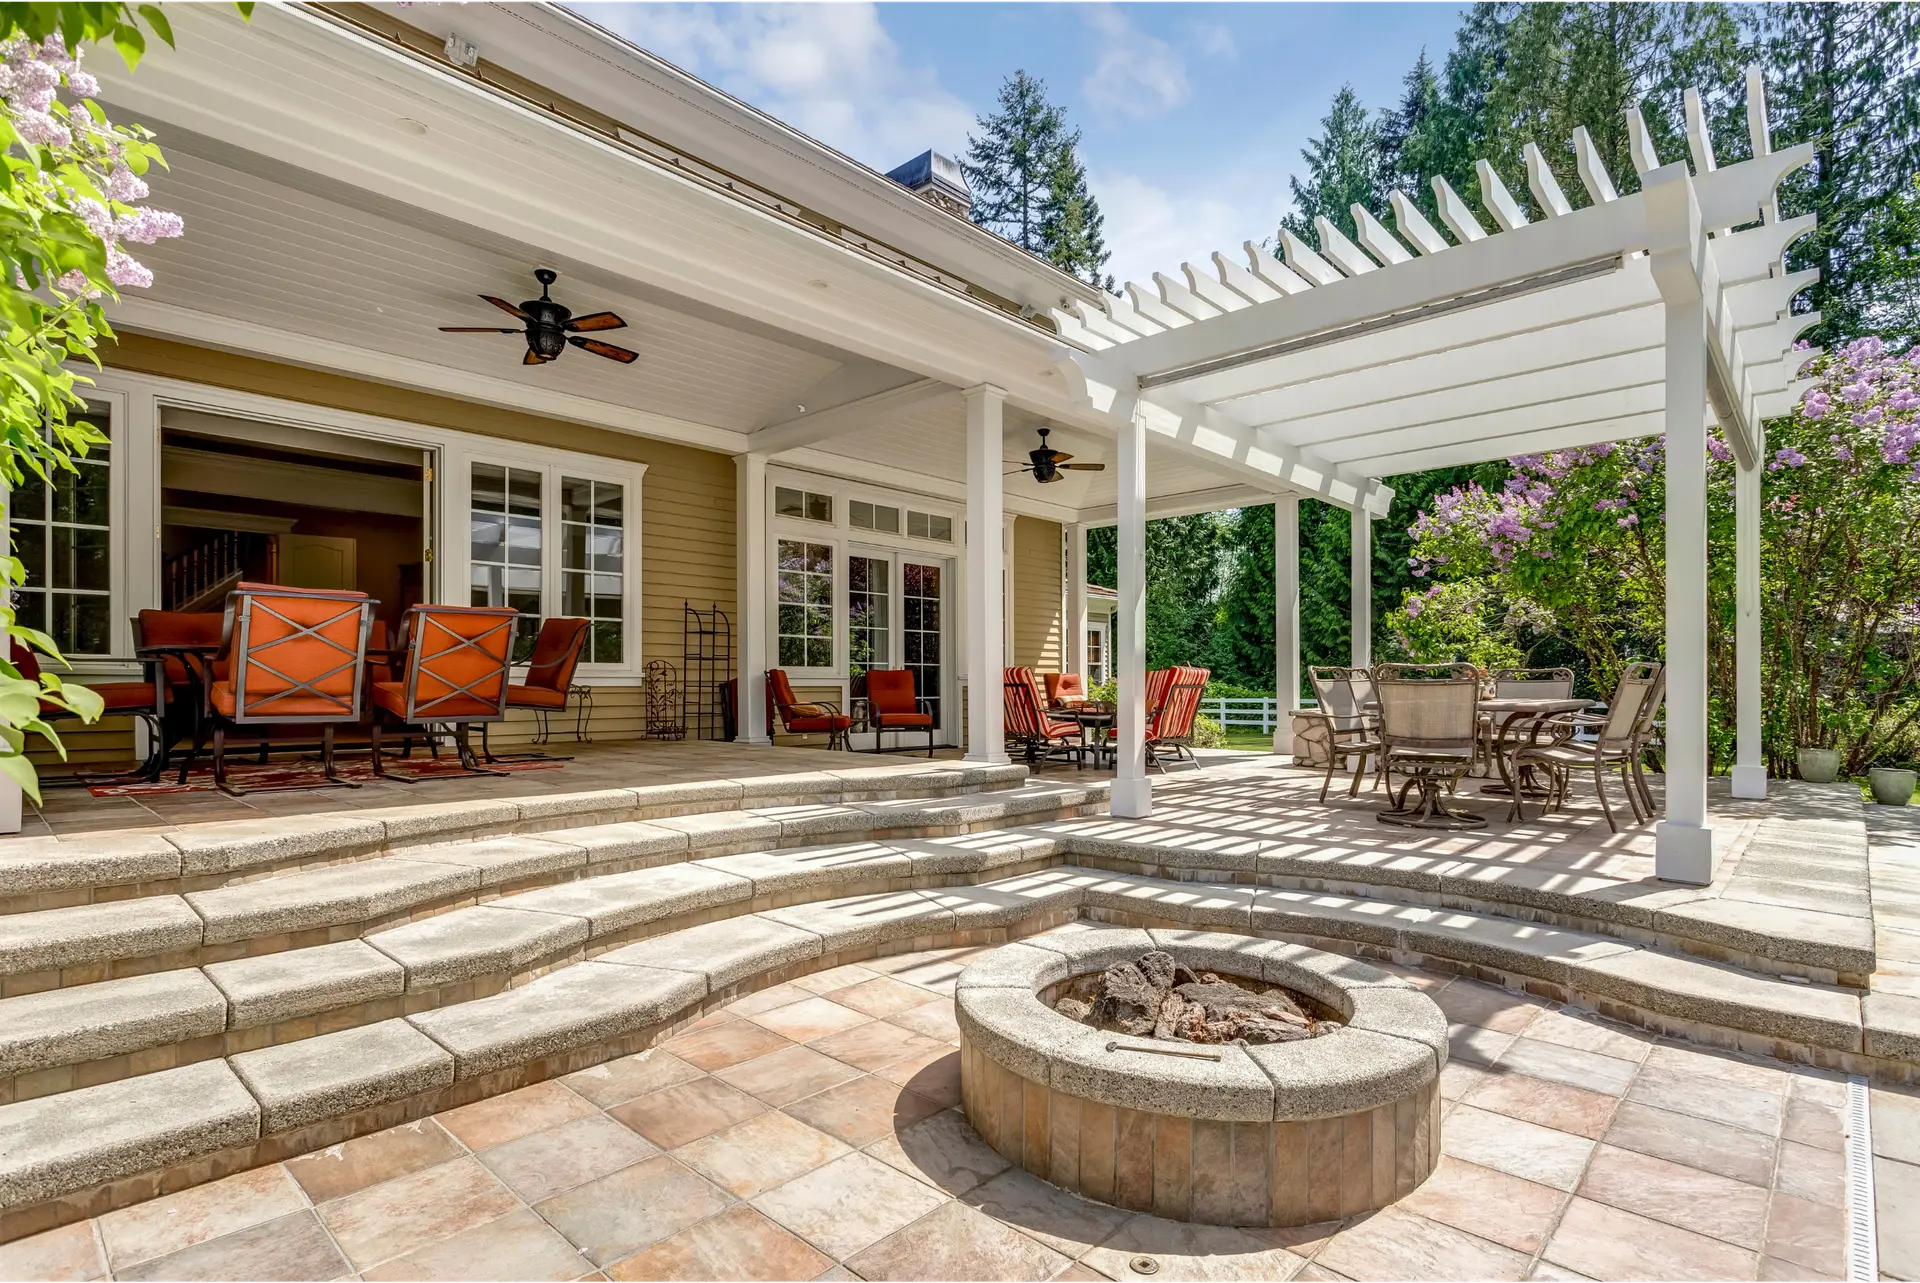
Create the Seating Area and Path for an Outdoor Living Upgrade
An inviting seating area turns a backyard ring into a true outdoor living room.
Edging and fabric. Use spray paint, a center stake, and string to mark a smooth curve that complements the pit. Install flexible landscape edging and leave an opening for a walkway.
Apply weed control and allow proper dry time. Roll landscape fabric and stake it tightly. This keeps the landscape area low maintenance and clean long term.
Choose and spread gravel
Crushed limestone compacts well and gives a refined look. Pea gravel costs less but moves underfoot more easily.
A real-world build used about 7.5 tons of crushed limestone for roughly $535 delivered. Spread in thin lifts and rake from the far edge toward the path. Working in two days keeps the surface level and consistent.
Add comfort and ambiance
Place chairs 6 to 7 feet from the pit edge for safety and comfort. Add solar path lights and citronella torches for evening use.
- Plan material delivery so trucks can reach the yard without damage.
- Rake in thin layers for a uniform, level surface.
- Stage storage such as a woodpile out of main walkways.
Expect DIY spreading and leveling to take real time. If you prefer faster results, Anchored Construction & Restoration designs full outdoor living spaces, patios, and hardscapes that pair with your fire pit. Request a consultation at (865) 316-6933 or Info@anchoredconstructiontn.com.
Pro Tips from Knoxville’s Anchored Construction
Anchored Construction shares practical tips that save time and keep projects on budget. After 25 years of experience the team refines methods that cut callbacks and speed site work. Travis Bullington leads crews that handle deck, concrete, landscape, and hardscape work across Knoxville.
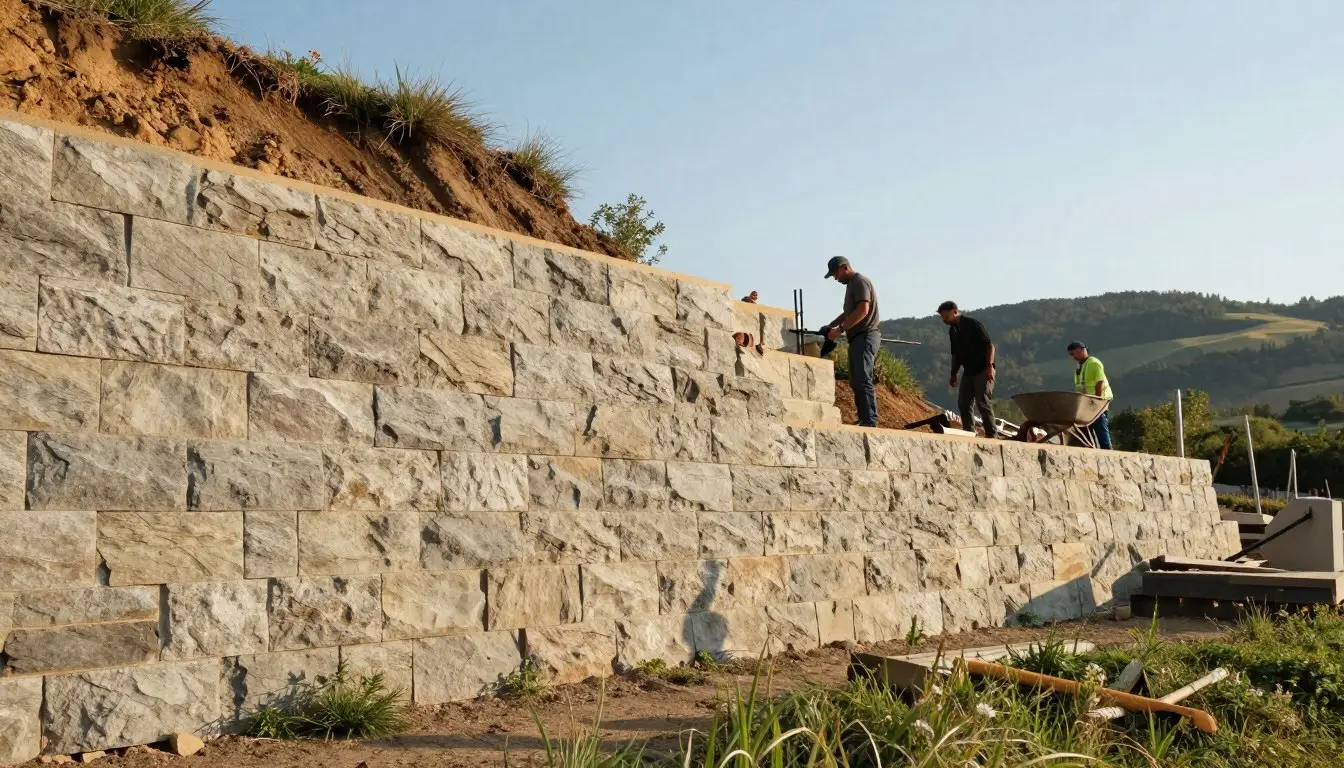
When DIY meets heavy lifting: excavation, cutting blocks, and leveling
Consider professional excavation when soil is rocky or access is tight. A bobcat creates a flatter base and reduces manual work.
Use pro-grade layout tools. Laser levels and string lines keep blocks straight and the ring true. Dry-fit a full course before adhesive. This cuts cutting and keeps the layout clean.
Call in the pros for custom hardscapes, retaining walls, and concrete
- Choose stone and stones that match your design and budget.
- Set adhesive after verifying level and alignment for a neat bond.
- Bring pros for integrated concrete bands, retaining walls, or grade transitions that add yard value.
Ready for the next step?
For phased work or an upgrade that grows from a diy fire pit into an outdoor kitchen, contact Anchored Construction & Restoration. Call (865) 316-6933 or email Info@anchoredconstructiontn.com. The team will assess the space and place the right equipment for lasting results.

Conclusion
Wrap up the project with simple checks that protect the ring, site, and seating for years of backyard use.
You now have a clear diy fire pit roadmap from planning and safety into a finished space. Confirm size, a compacted base, true level, and good drainage before placing stones or setting the top course.
Use heat-ready materials inside the pit, set fire bricks at the top, and lock courses with adhesive. Keep gravel and landscape finishes neat. Organize spoil, tools, and allow cure times for tidy results.
For help with blocks, circle layout, or a full outdoor living plan, Anchored Construction & Restoration is ready for Knoxville homes. Call (865) 316-6933 or email Info@anchoredconstructiontn.com.